Follow my detailed guide to understand image dimensions and how to change aspect ratio of image without distortion.


Change an image’s aspect ratio by resizing or cropping it. Use editing software like Photoshop, GIMP, or online tools such as Canva. Maintain proportions by locking the aspect ratio or manually adjust width and height. For precise control, use aspect ratio presets or enter custom dimensions.
In this post, I’ll explain how to change aspect ratio of image with and without distortion and resize your artwork.
Changing an image’s aspect ratio ensures compatibility with platform-specific requirements, device screens, and artistic intent. Social media platforms, print media, and branding materials demand specific ratios to maintain a professional appearance. Adjusting aspect ratio optimizes display, enhances composition, and prevents unwanted cropping, stretching, or black bars.
I know many struggle with changing an image’s aspect ratio, only to have distorted results. If you’re working with photos, graphics, or printable templates, this guide will show you five professional methods for changing aspect ratios while maintaining image quality.
This method uses advanced AI tools to extend your image naturally:
Step 1: Use Photoshop’s Generative Fill feature by enabling the contextual taskbar in the Window section in the Top Menu Bar.

Step 2: Create a rectangular selection on the empty spaces, slightly overlapping the artwork.
Step 3: Click Generate to receive three AI-generated options that smoothly extend your image.

You will get three images to choose the most suitable one. If you don’t have the AI generator feature, use Content-Aware Fill for older Photoshop versions by:
Right-click on your image layer and choose ‘Rasterize layer.’

Selecting empty spaces.

Using Content-Aware Fill with color adaptation enabled.

This method, however, cannot preserve the essence of your art piece. The next method will explain how you can fill empty spaces with negative colors.
This method is perfect for artwork that works well with solid-color backgrounds. Here is what you need to do.
Step 1: Select the background layer.
Step 2: Use the Paint Bucket tool to fill empty spaces with a complementary color.

Alternatively, add an adjustment layer with a solid color for more flexibility. This method works best for designs that already incorporate solid-color negative space. This technique is limited to artwork that has a solid color background. To make it more creative, you can use the mirror technique.
This creative approach can yield artistic results. How? Follow these steps and learn.
Step 1: Duplicate your artwork layer (Ctrl/Cmd + J).
Step 2: Use Transform tool (Ctrl/Cmd + T).
Step 3: Choose your reference point based on negative space location.

Step 4: Right-click and flip the duplicated layer horizontally or vertically as needed.

Step 5: Repeat for other empty spaces. This technique creates a balanced, symmetrical composition. The next technique explains how you can change aspect ratio of image without distorting it.
Maintain image integrity while fitting new dimensions by the following steps:
Step 1: Select the artwork layer.
Step 2: Enter Free Transform mode (Ctrl/Cmd + T).
Step 3: Resize while maintaining proportions.
Step 4: Position artwork to highlight key elements. This step may take your artwork beyond the canvas area. Hence, focus on the central elements of your artwork.
Step 5: Accept some cropping to preserve image quality.
This method prioritizes maintaining the original look over showing the entire image. To preserve, the entire image, you can follow the distortion technique.
While not ideal for all situations, this can work for certain designs:
Step 1: Create a new document with the desired dimensions.

Step 2: Import your artwork.
Step 3: Select the Layer of your Image and use Free Transform (Ctrl/Cmd + T).
Step 4: Hold Shift while dragging corners to stretch individual sides.

Step 5: Adjust until the image fills the canvas.
Note: This method will distort the original artwork.
You now know how to change aspect ratio of image by using these five conventional methods. They are good enough when you are working on a single file.
If you’re looking for aspect ratio templates in PSD format, try our free templates.
Use the discount count “fullvideo” to get it for free.
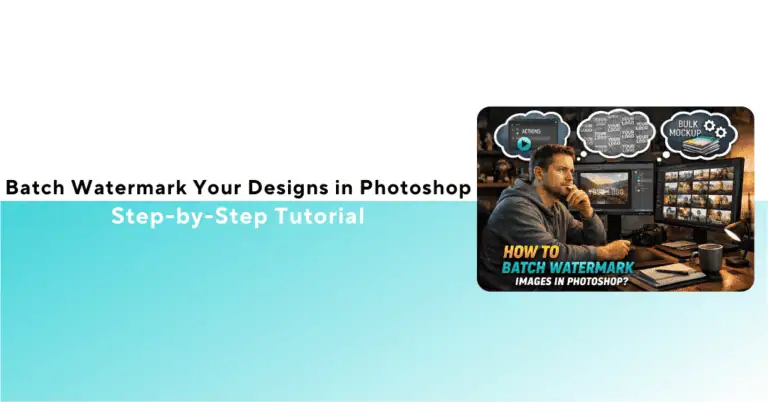
What if you have to create hundreds of files, one after another? You can use the Bulk Mockup plugin with Photoshop to change aspect ratio of image in simple steps. Let me show you how to do it.
You can change the change aspect ratio of image into multiple formats when you use this plugin. Follow the steps below.
Navigate to the plugins section in Photoshop and install the Bulk Mockup plugin to begin the automation process.
Photoshop has a built-in aspect ratio calculator. Use it to design two or more templates and save them in that folder. Create a dedicated “Portrait Template” folder to store the five aspect ratio templates needed to resize your artwork.

Set up an “Artwork” folder to store your original design files that need to be resized into different aspect ratios.
Make an empty “Export” folder that will serve as the destination for all your resized artwork versions.
Launch Bulk Mockup from Photoshop’s plugins menu and get ready to set up your automation workflow.

Use the Browse buttons to select your three folders (templates, artwork, and export).
Then, choose your preferred resize method: Fill Canvas Stretch (stretches artwork), Fit to Canvas with Cropping (crops excess), or Fit to Canvas without Cropping (preserves artwork with empty spaces).

Click “Start Generating” and wait approximately 20 seconds. The plugin will automatically create five different aspect ratio versions of your artwork, each saved with appropriate dimensions in the filename.
That’s it. Your resized portraits are ready and saved in the Export folder automatically. You can do the same for multiple images simultaneously and save tedious work hours.
This ‘change aspect ratio’ automation bears better fruit when you know these important terminologies of photo editing.
Changing an image’s aspect ratio can sometimes backfire if you’re not prepared. Here’s a breakdown of how to solve them without losing your sanity:
What happens: You resize the image, only to realize half your subject or important text got chopped off.
How to fix it:
What happens: The image looks warped like a funhouse mirror because you forced it into a new ratio.
How to fix it:
What happens: Cropping too tightly or enlarging a small section turns your image into a fuzzy mess.
How to fix it:
What happens: Your Instagram post looks great, but the same image on YouTube or LinkedIn feels “off-brand.”
How to fix it:
What happens: You’ve got black bars or random blank areas that make the image feel unfinished.
How to fix it:
What happens: You upload an image, and the platform crops it in a way that hides your subject or message.
How to fix it:
What happens: Your 4×6 photo print arrives with half the image missing or white borders.
How to fix it:
Quick Tips to Avoid Headaches
By tackling these problems head-on, you’ll save time, keep your visuals looking sharp, and avoid that “why does this always happen to me?” frustration.
DPI stands for Dots Per Inch. It measures the resolution of an image or a printing device. Higher DPI values indicate greater detail and sharper quality. Standard printing resolutions range from 300 to 1200 DPI.
CMYK stands for Cyan, Magenta, Yellow, and Key (Black). It’s a color model used in printing to create a wide range of colors. In CMYK, the combination of cyan, magenta, and yellow ink produces the colors, while the key (black) ink adds depth and darkness.
In Paint, go to Resize > uncheck Maintain aspect ratio > adjust width/height independently (may cause distortion).
Divide the image’s width by its height (e.g., 1200×900 = 4:3 ratio). Check dimensions via Properties > Details.
Use the Photos app: Edit > Crop > tap ratio icon (e.g., 1:1, 9:16) to apply preset ratios.
Crop to a preset ratio (e.g., 16:9) in editing tools like Photoshop, Canva, or smartphone apps.
A 4:3 ratio example: 800×600, 1024×768, or 1600×1200 pixels (width 1.33x height).
3:4 is a portrait ratio (e.g., 900×1200 pixels), common in prints or vertical photos.
Divide width by height and simplify (e.g., 1920 ÷ 1080 = 16:9).
1920×1080 is a 16:9 aspect ratio, standard for widescreens and HD video