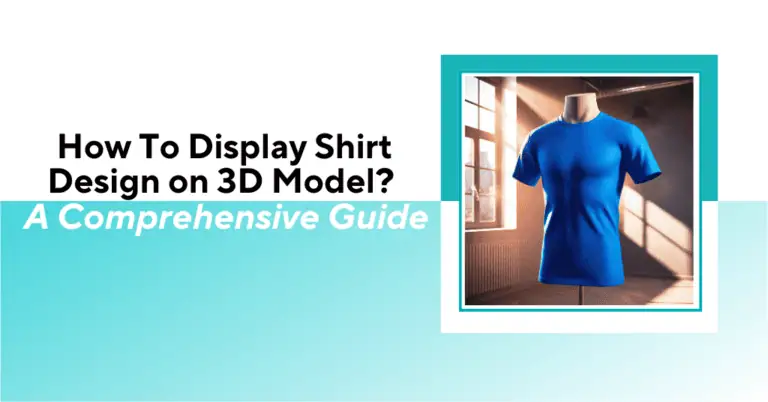


Top apparel brands are ditching flat product photos for 3D shirt displays and customers are rewarding them for it. This shift isn’t just about looking modern; it’s about closing sales faster and slashing return rates. In this piece, we’ve explained how to display shirt design on 3D model that turn casual scrollers into confident buyers.
3D visualizations of shirt designs make the online shopping experience better, making it feel closer to buying in-store. Here are the key benefits:
These benefits make it essential for POD sellers to learn how to create 3D t-shirt mockups and improve their design display.
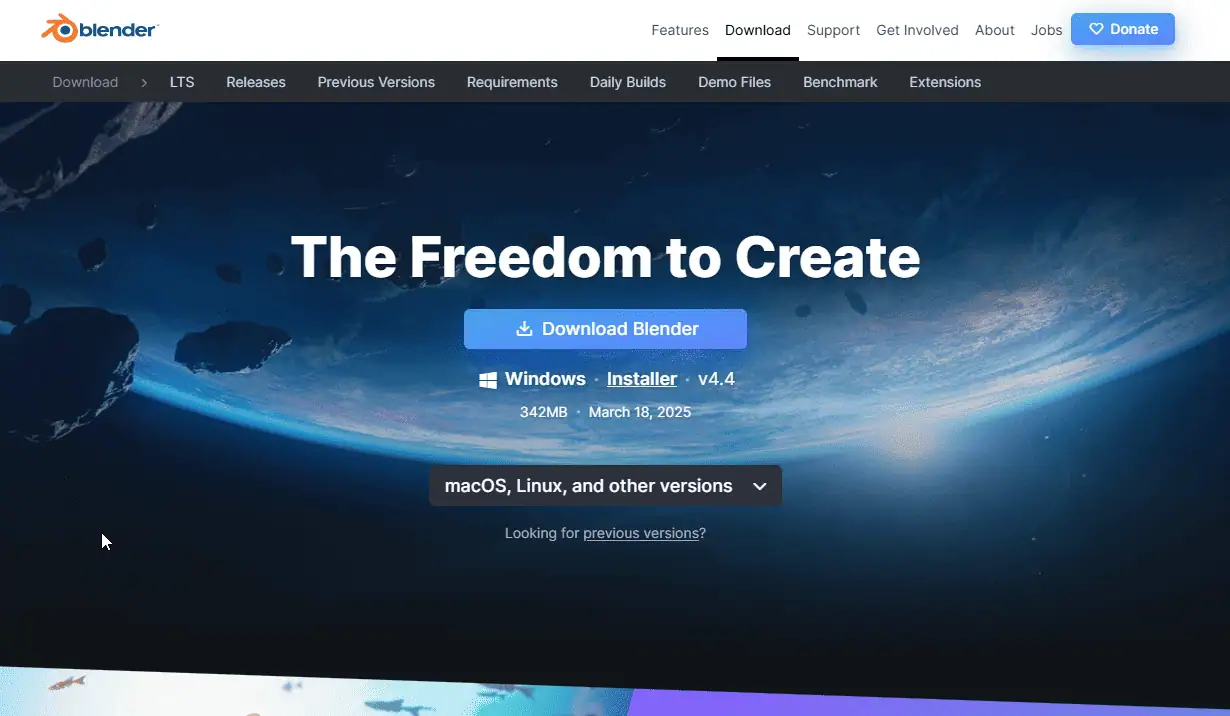
Here is how you can display a shirt design on a 3D model using Blender.
Visit blender.org and download the latest version compatible with your operating system (e.g., Apple Silicon for M1/M2 Macs). Install the software.
Open Blender and load the provided T-shirt template file . Familiarize yourself with the interface, including the viewport options (e.g., wireframe, solid, material preview, rendered view).
Use the UV mapping overlay (enable UV Empty in Photoshop) to align your design correctly on the T-shirt. Avoid placing graphics too close to seams or edges.
Go to Render > Render Image to generate a high-quality static preview. Adjust the render resolution (e.g., 1200×1200 pixels) in the Output Properties tab. Save renders as PNG for transparency.
In Photoshop or Premiere Pro, overlay the rendered T-shirt on custom backgrounds (e.g., solid colors, patterns) to match your brand’s aesthetic.
Double-check alignment, lighting, and design visibility across all angles. Share your work on social media or with clients, tagging relevant creators
Here is a set of 5 best generator tools other than Blender to put your shirt designs on 3D models.
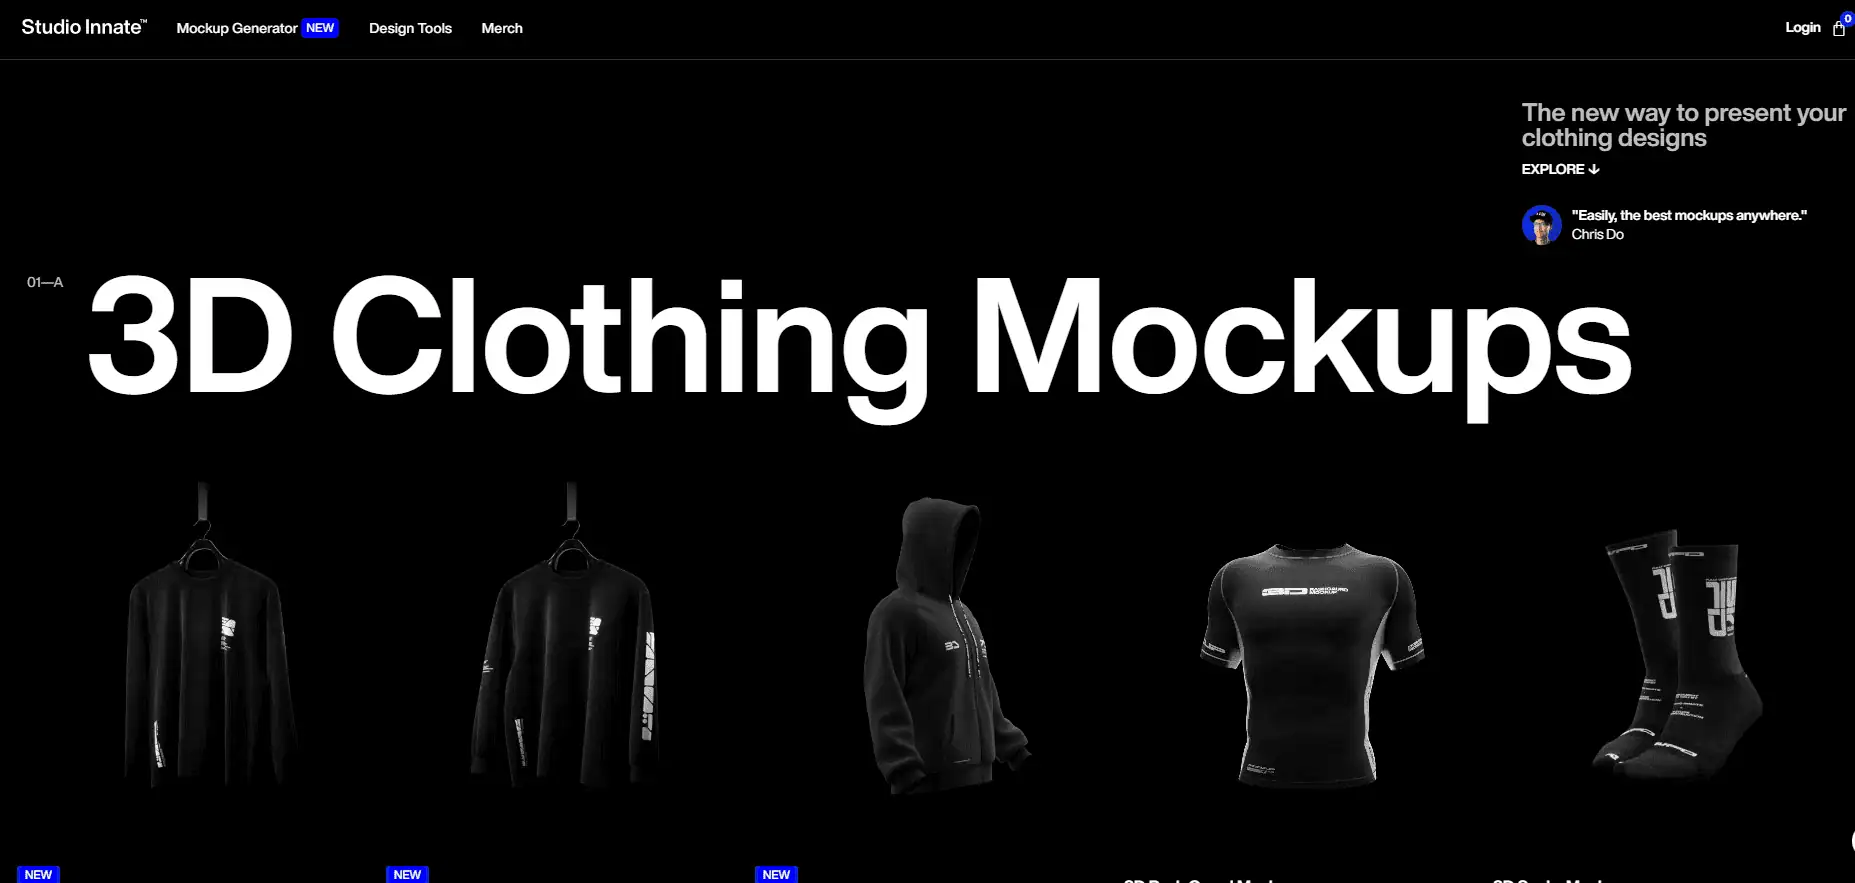
Studio Innate is a free 3D mockup generator for shirts where you can get a 3D shirt design preview easily. Choose an animated mockup template and put your design to check.
It has a built-in mockup generator to create mockups and download them for display. You can change fonts, build Photoshop mockups, Blender mockups, vector packs, motion packs, etc on this website.
All the mockup templates require a license to buy. It offers a free trial period to try the 3D mockup tool. Its pro plan starts at $32/month.
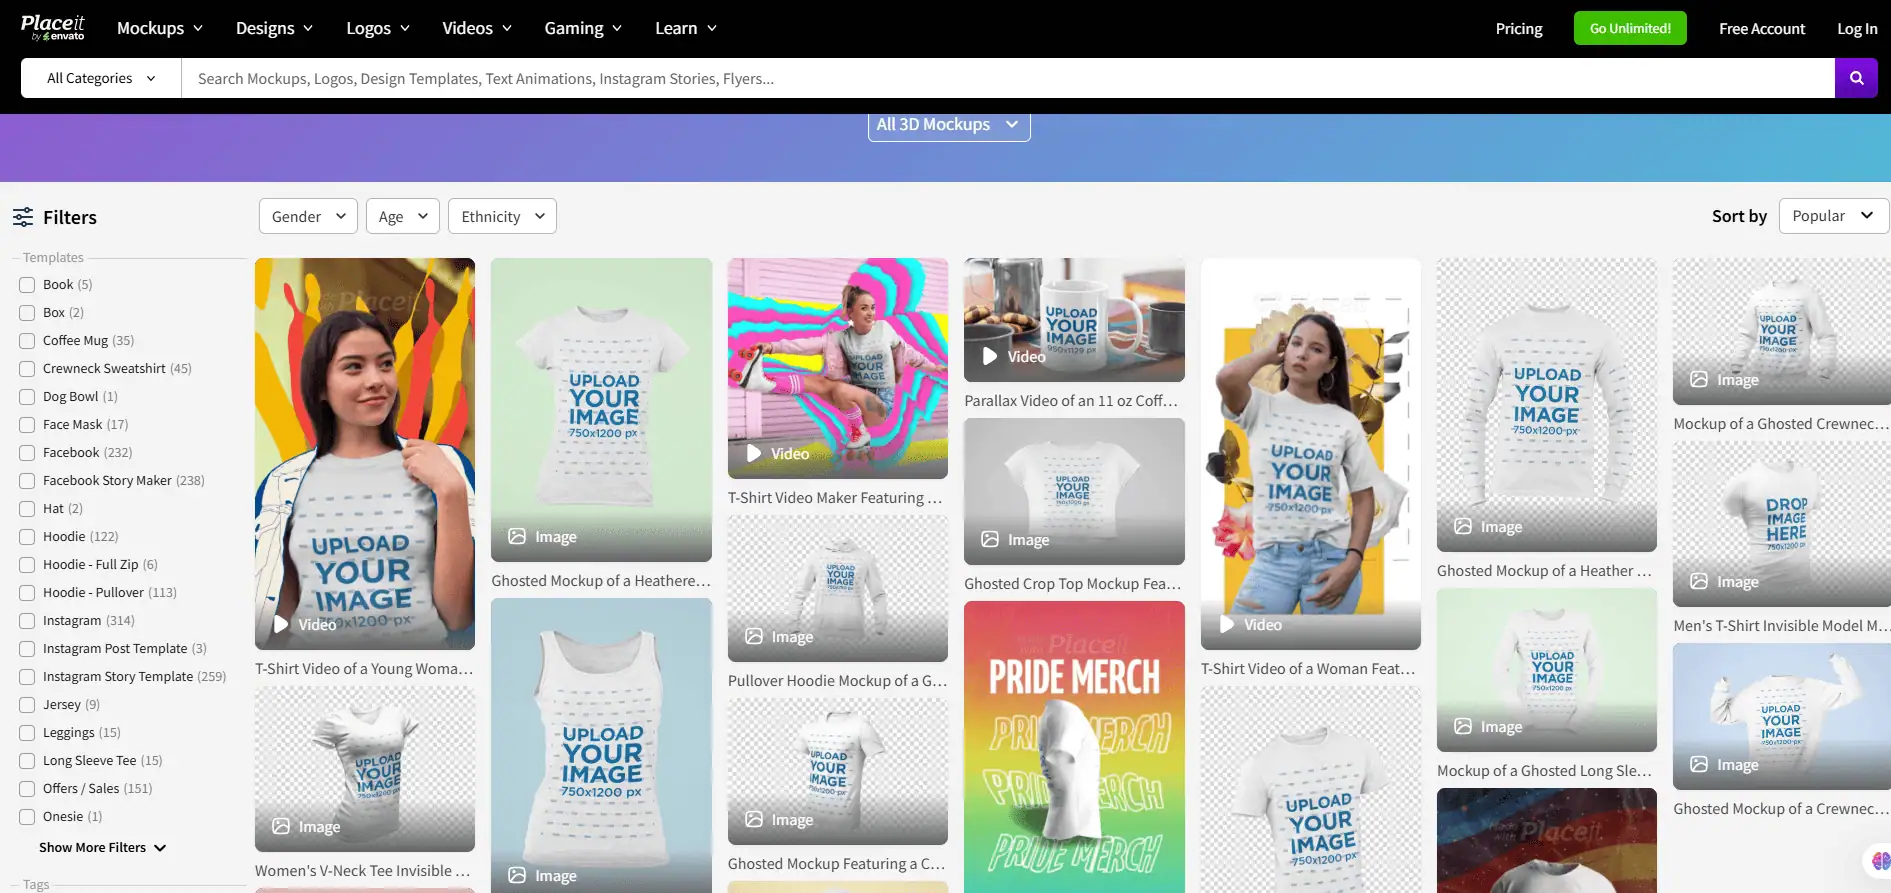
Placeit is a turnkey website where you can find video mockups with 3D models to check your shirt designs. This website also has a built-in 3D model shirt mockup generator for instant preview.
Search for 3D shirt mockups and you will find multiple templates to work with. Select one and check your designs in real-time.
The only drawbacks are its limited 3D model mockup templates and rigid mockup generation. You cannot change the features much and have to rely on your instincts. You can easily learn how to create 3D t-shirt mockups here for free. For downloads, you need to pay a subscription. Its pro plan starts at $14.95/month.
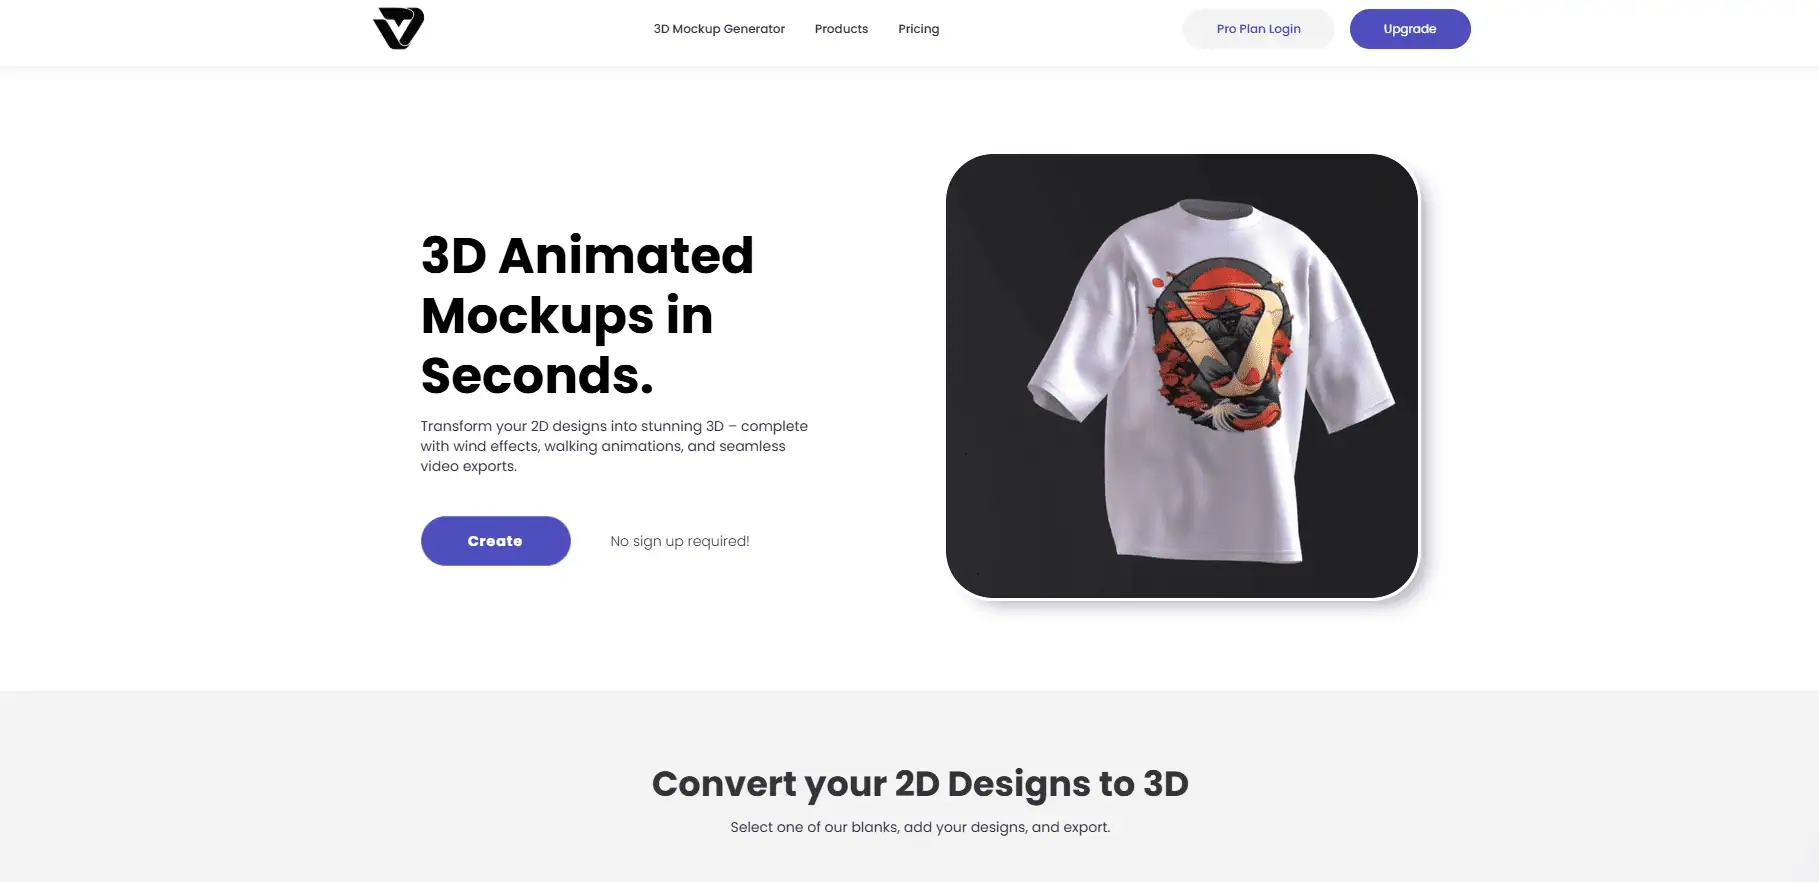
VirtualThreads lets you transform your 2D shirt designs into 3D animated presentations. The best part is you can add wind effects and walking animations to a shirt design.
Select a template considering your shirt design and check it live. It offers 3D shirt templates with a variety of features like sleeve length, neck, collar, etc.
The only drawback is that it does not have models to adorn your designs. However, you can still get a good idea of the mockups by rotating and zooming the previews.
Use its mockup generator for free and get limited HD exports with 3D backgrounds. Its pro plan unlocks all the features for $19/month.
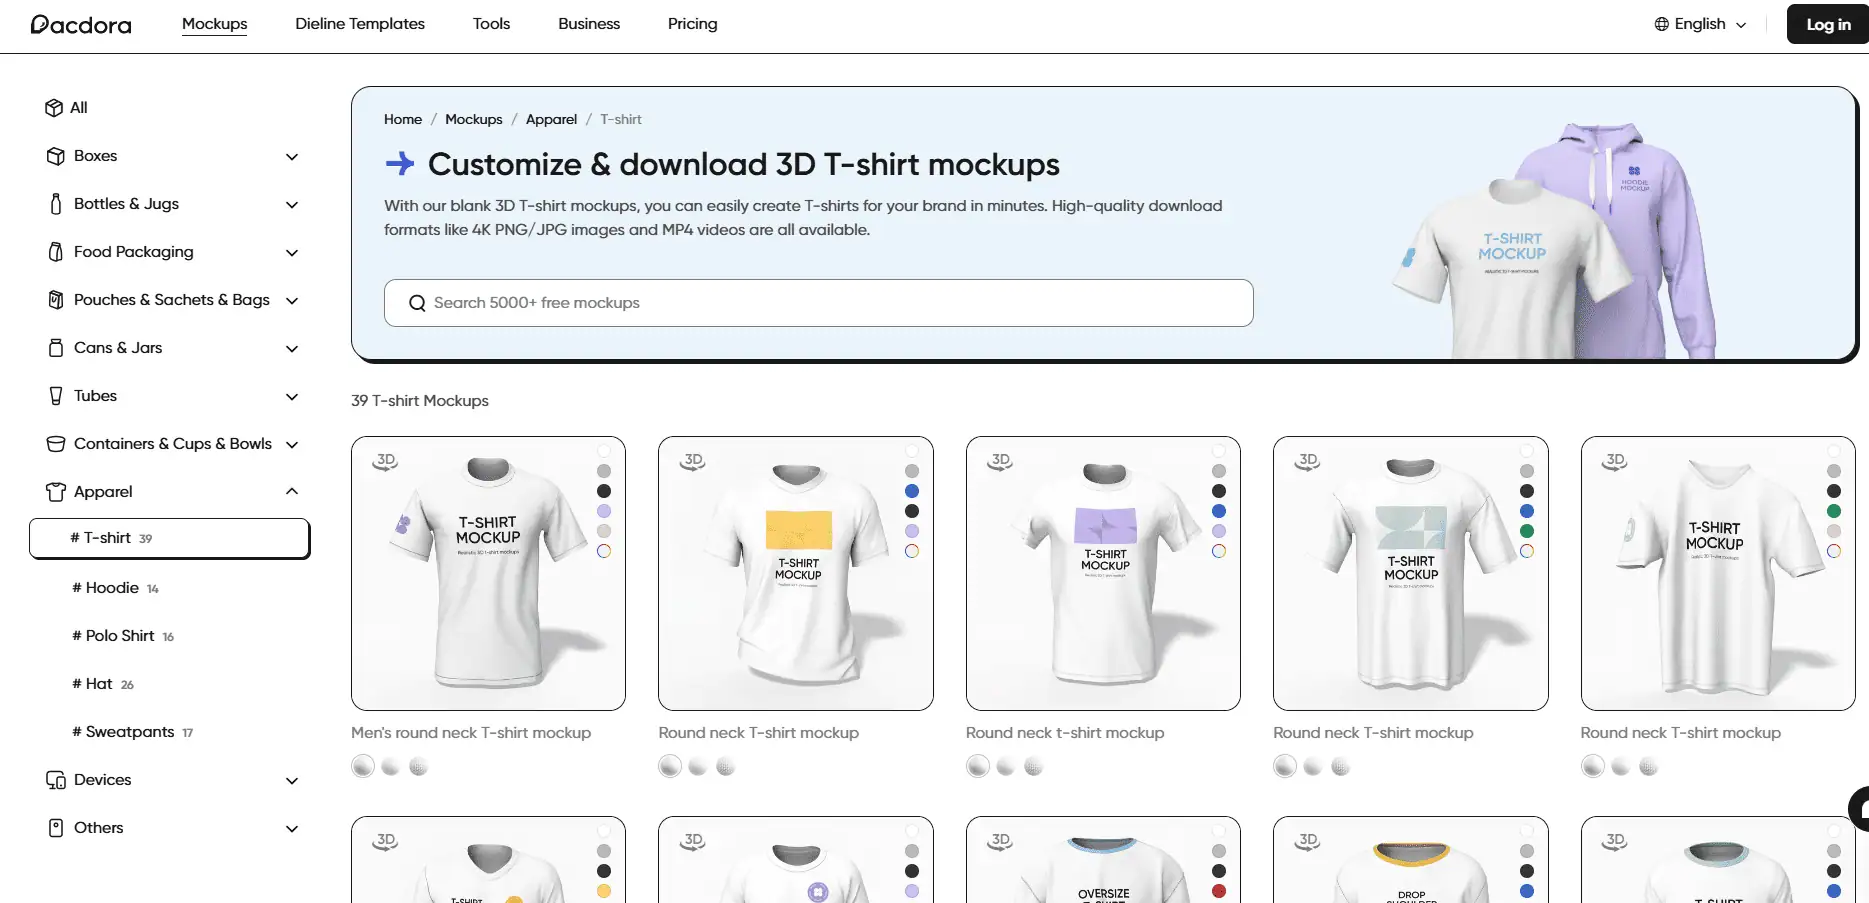
Pacdora is the best software for 3D t-shirt mockups I have found that offers around 40 3D templates. Its built-in 3D shirt mockup generator offers advanced web-based tools for quick editing and previewing.
Choose a template, click on its 3D version and you will be redirected to its 3D design tool. You can select various parameters like neck size, neck type, and sleeve lengths.
You can even adjust the dimensions of designs on this web tool. Its 3D shirt mockup generator is free to use. Its pro plan for all tools and features starts at $5/month billed annually.
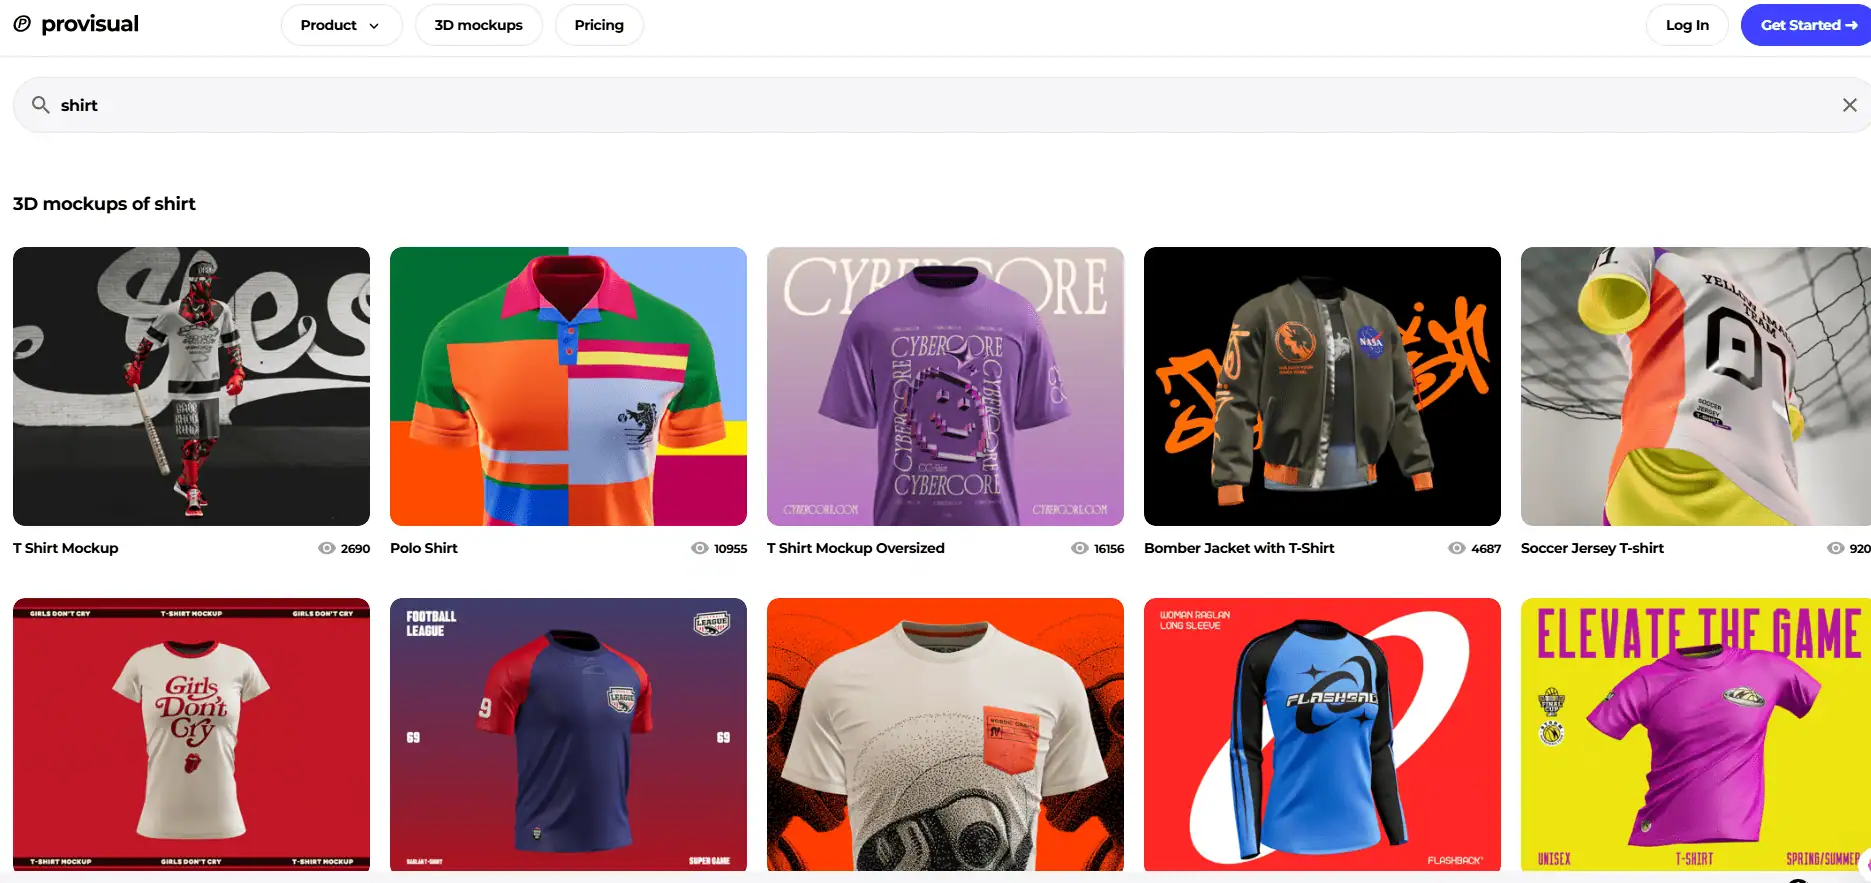
Provisual has 3D short templates to apply and check your designs. You can select a template, add a design, and check its preview.
The best part I found on this website is its tutorial for every template that teaches how to create 3D t-shirt mockups with an existing template.
You will get 3D shirt templates with different features such as jerseys, oversized t-shirts, long-sleeved t-shirts, polo shirts, shirts on hangers, etc.
Its free version allows you to make custom 3D shirt mockups for three projects. The pro plan costs $23/user/month and unlocks all the features.
These tools are good enough to try your shirt designs and download 3D mockups for display. However, they cannot produce mockups in bulk.
These 3D model shirt mockups are good for display but take too much time to design one preview. You may need mockups in bulk for better promotion.
For this, you can install Bulk Mockup, a Photoshop plugin, to generate 2D and 3D shirt mockups in bulk. This helps streamline your bulk shirt mockup generation in very simple steps.
That’s all you need to do. With simple Photoshop knowledge, you can create hundreds of shirt mockups in seconds. No need to wait to render 3D model shirt videos anymore!
Join 5,000+ designers automating their Photoshop workflow today!
You can check the preview of a 3D shirt model online. Such mockups are used for displays only but not for printing.
Use VirtualThreads, Pacdora, and Placeit for 3D t-shirt design. They have good templates for preview and mockup downloads.
Use t-shirt mockup generator tools for a mockup design. You can also use Bulk Mockup to automate mockup generation in bulk with Photoshop.
Yes. You can replace a smart object in Photoshop and design 3D templates. Make sure the PSD templates have defined smart object layers.