Whether you’re retouching portraits, designing graphics, or compositing surreal art, Photoshop is a creative powerhouse. But its real magic? Plugins.
We combed through Reddit threads, photography forums, and real user workflows to find the most recommended Photoshop plugins in 2025. From AI tools that retouch in one click to analog-style filters pros swear by.
Here’s our user-driven, experience-backed list of the best Photoshop plugins worth installing right now.
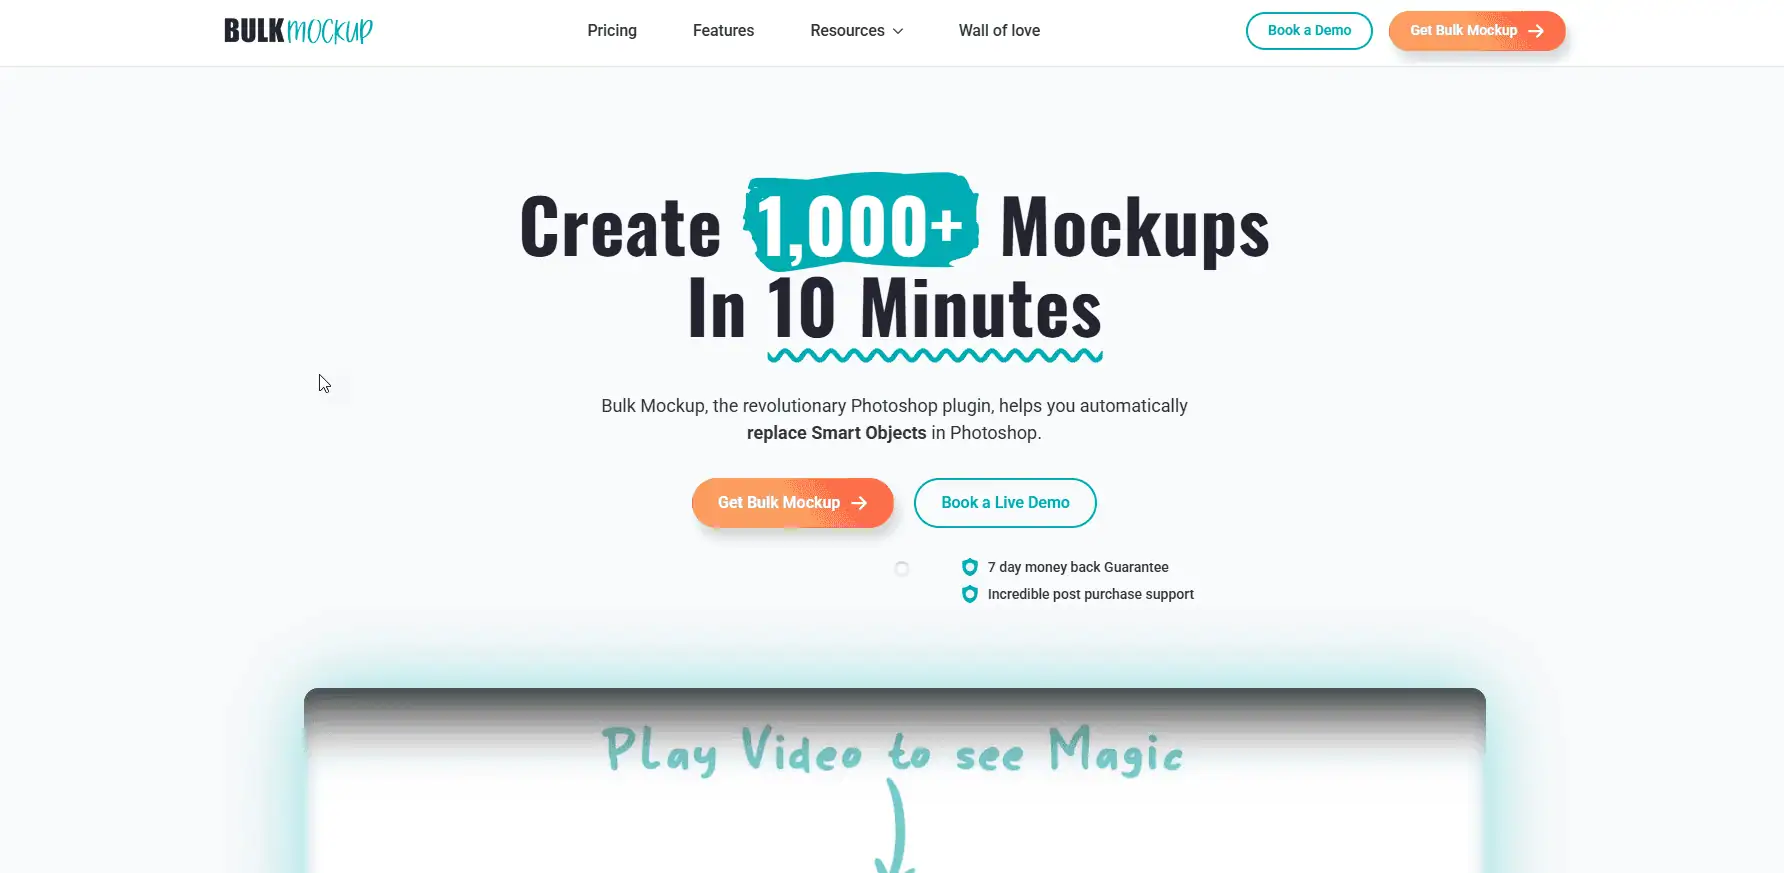
Designers and POD sellers need to create bulk mockups to showcase their merchandise. Manually placing a design image onto a mockup template can be time-consuming. Consequently, creating hundreds of mockups can take hours of tedious work. Bulk Mockup is the best Photoshop plugin for automating this entire process. It can:
Replace smart objects from mockup templates automatically
Resize and set design files on mockup templates
Export complete mockups to selected locations with proper names
Let me show how it works:
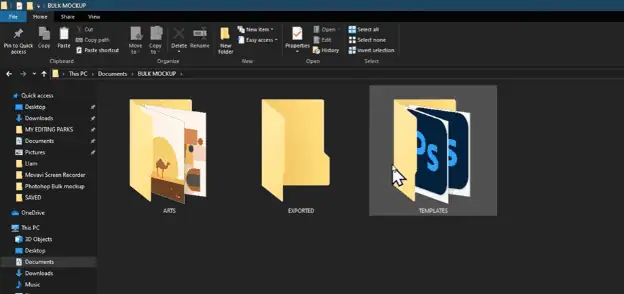
All you have to do is install the Bulk Mockup plugin in Adobe Photoshop and create three folders (as shown above). Each folder will signify:
PSD template folder (carries all your templates)
Design folder (carries the design you want to replace smart objects with)
Export folder (will carry the completed mockups)
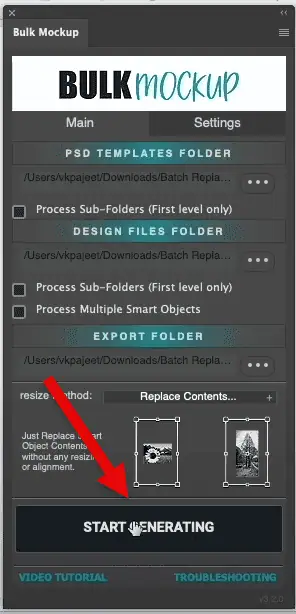
That’s it. Select the correct resizing option and set an export setting.
Once done, hit the ‘Start Generating’ button. Complete mockup files will generate automatically and be exported to the designated folders.
For example, you have five designs of t-shirt mockups and five PSD templates. It means you can automate bulk mockup creation and prepare 25+ t-shirt mockups in seconds. You can create hundreds of mockups in a few minutes. Every step happens in an organized manner without your intervention. You can check our pricing and select your plan.
I can’t say enough good things about working with Vikash. He walked me through Photoshop with such patience and he never made me feel rushed or silly for asking questions. I scheduled a demo, and he walked me through the setup of the plugin and helped me setup my files in an organized way that made things flow just like in the YouTube videos. – Monique Cherice.
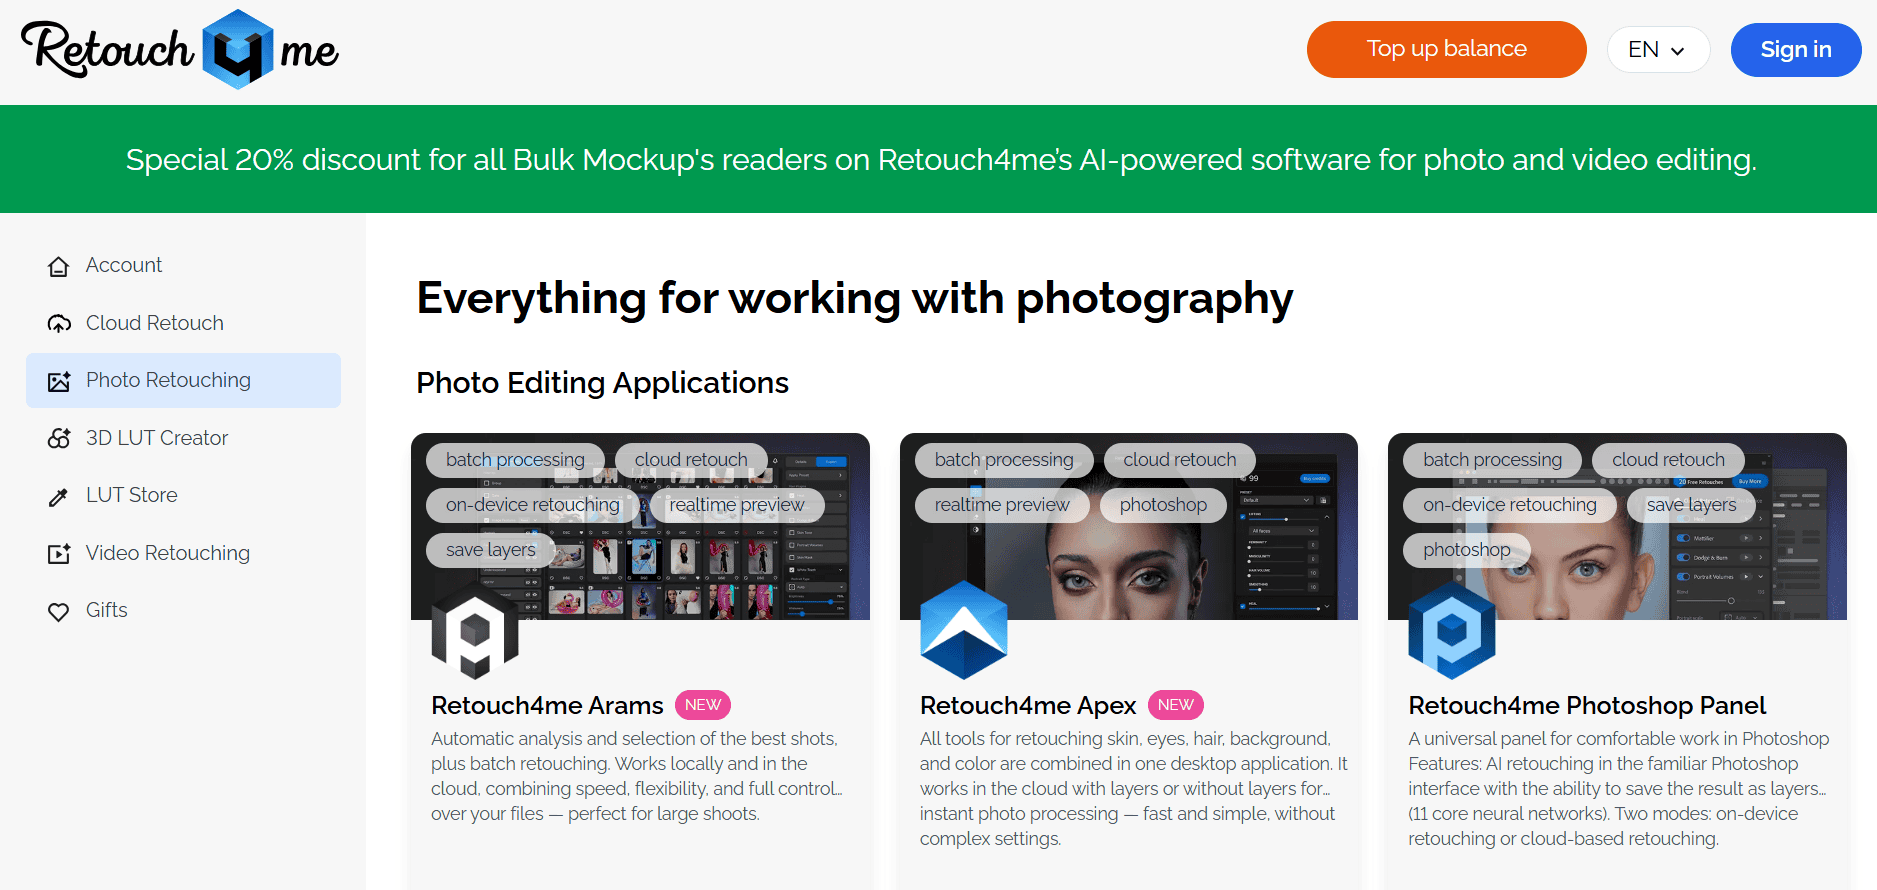
Retouch4Me consistently comes up in professional forums and Reddit threads as a must-have for high-volume portrait retouching. It’s loved for its AI-driven approach that eliminates repetitive tasks like skin smoothing, eye enhancement, and dodge & burn — all while keeping edits non-destructive.
Unlike traditional actions, this plugin uses neural networks to produce realistic, high-end results in just one click. If you’re a wedding or beauty photographer, this tool is a massive time-saver.
Users often compare it favorably to traditional retouching techniques used in plugins like Portraiture and ON1 Portrait AI — with many switching entirely to Retouch4Me for its “set it and forget it” efficiency. Retouch4me offers 20 free AI retouches to get you started, plus 20% off all plugins and cloud retouching, so you can elevate your portraits
“Saved me hours during wedding season. I trust it more than my own hand.” — Reddit user
The Nik Collection is a legend mockup plugin for photoshop, especially among photographers who want that filmic, moody, or analog look. Reddit threads often highlight Color Efex Pro for enhancing landscapes, Silver Efex Pro for stunning B&W conversions, and Viveza for localized tone and color adjustments.
The suite is praised for its depth and versatility, with photographers noting that “it brings back the magic of film”, a common sentiment among those who also use Exposure X or Luminar for similar aesthetics. DxO’s ongoing development means the suite stays compatible and modern while keeping its vintage soul.
The interface can feel cramped on my 4K monitor, sliders are tiny but zooming in helps. Also, while the one-time $159 fee stings a bit upfront, I’ve saved hours of editing time, making it worth the splurge for pros or serious hobbyists.
I use în since back then when it was just Nik collection, I think about 3-4 years. My workflow is so easy & fun, I can’t do my photography without it. I update it once yearly and it goes flawless. – ShoutOHgraphy.
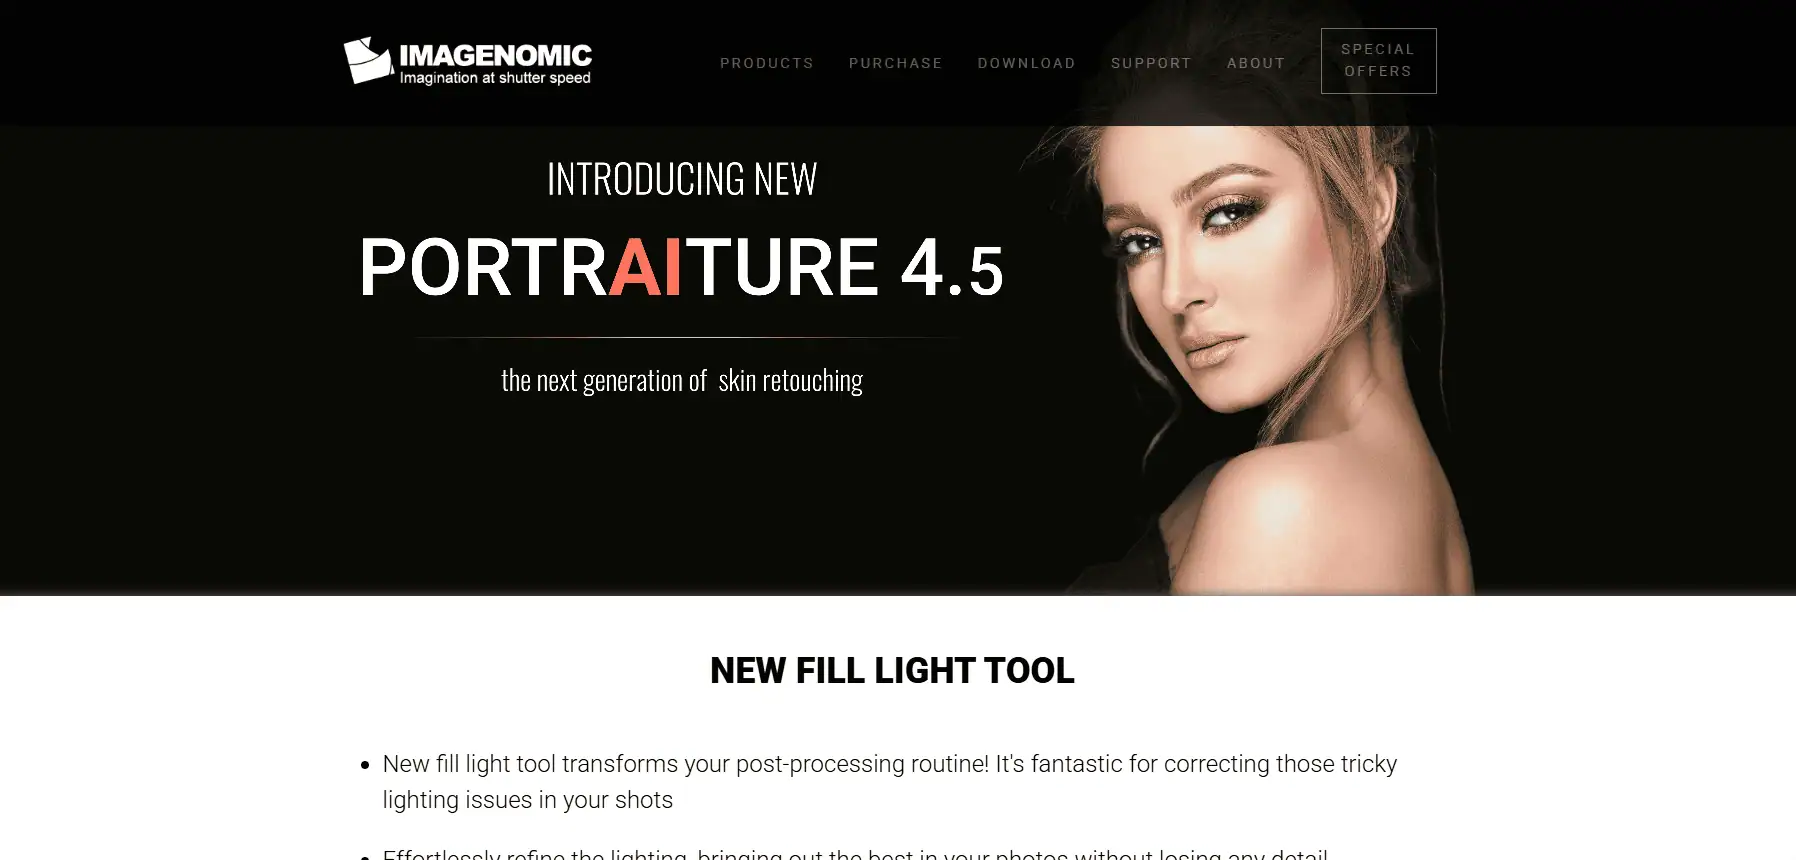
Portraiture 4.5 has saved me countless hours on portrait edits. I’ve used it for everything from wedding gigs to studio headshots, and its AI-powered masking is awesome. Instead of manually selecting subjects, it nails the separation between skin, hair, and backgrounds.
The real standout is how it handles subtle retouching. I’ll often crank up the “Skin Smoothing” slider just halfway to avoid that airbrushed plastic look, while the “Tone Uniformity” tool balances redness or shadows under the eyes. The presets are a lifesaver for rushed deadlines, though I tweak the opacity to keep textures natural.
The interface feels a bit dated compared to newer plugins, and the $99.95/year subscription adds up if you’re not using it daily. That said, the one-time license (if you catch a sale) is worth it for pros who retouch portraits regularly.
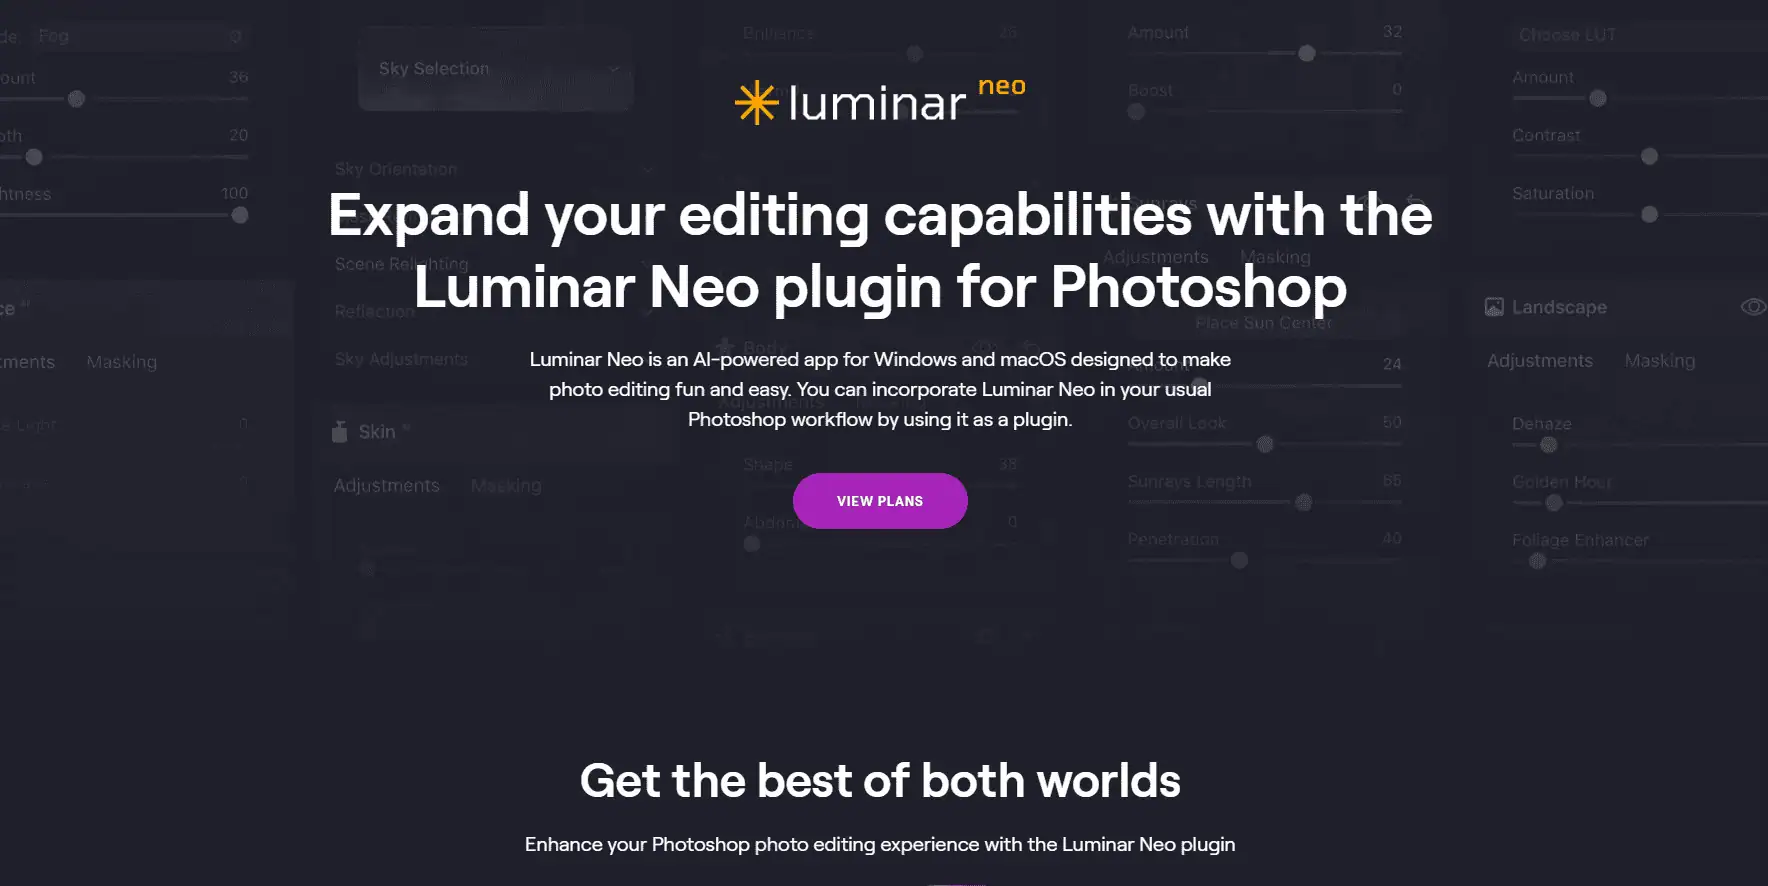
Luminar Neo – Best for conceptual edits, sky replacements, fast compositing
I’ve used Luminar Neo for wildlife, portraits, and landscapes. Its “Noise Reduction” works well on high-ISO bird shots—feathers stay crisp, though I add slight sharpening in Photoshop afterward. Sky AI speeds up landscape edits. During a coastal shoot, it swapped dull skies quickly, but I lower the “glow” slider to avoid unnatural blends.
For portraits, the Skin Enhancer at 60% opacity fixes minor flaws without losing texture. I use the eye tool sparingly for client previews. AI Relighting saved a backlit bear photo—shadows lifted cleanly, unlike Photoshop’s dodge tool, which often creates halos.
The interface feels cluttered, but the results justify it. Its subscription starts at $69 billed annually. It has received the Red Dot Design Award and TIPA World Award in the best imaging software category.
Luminar works great, I’ve been using it since day one. It is quite easy to use and learn and you can get nice results very easily. It runs stable and fast on my Mac mini M2 so your M2 MacBook will be fine too. – ipeewest
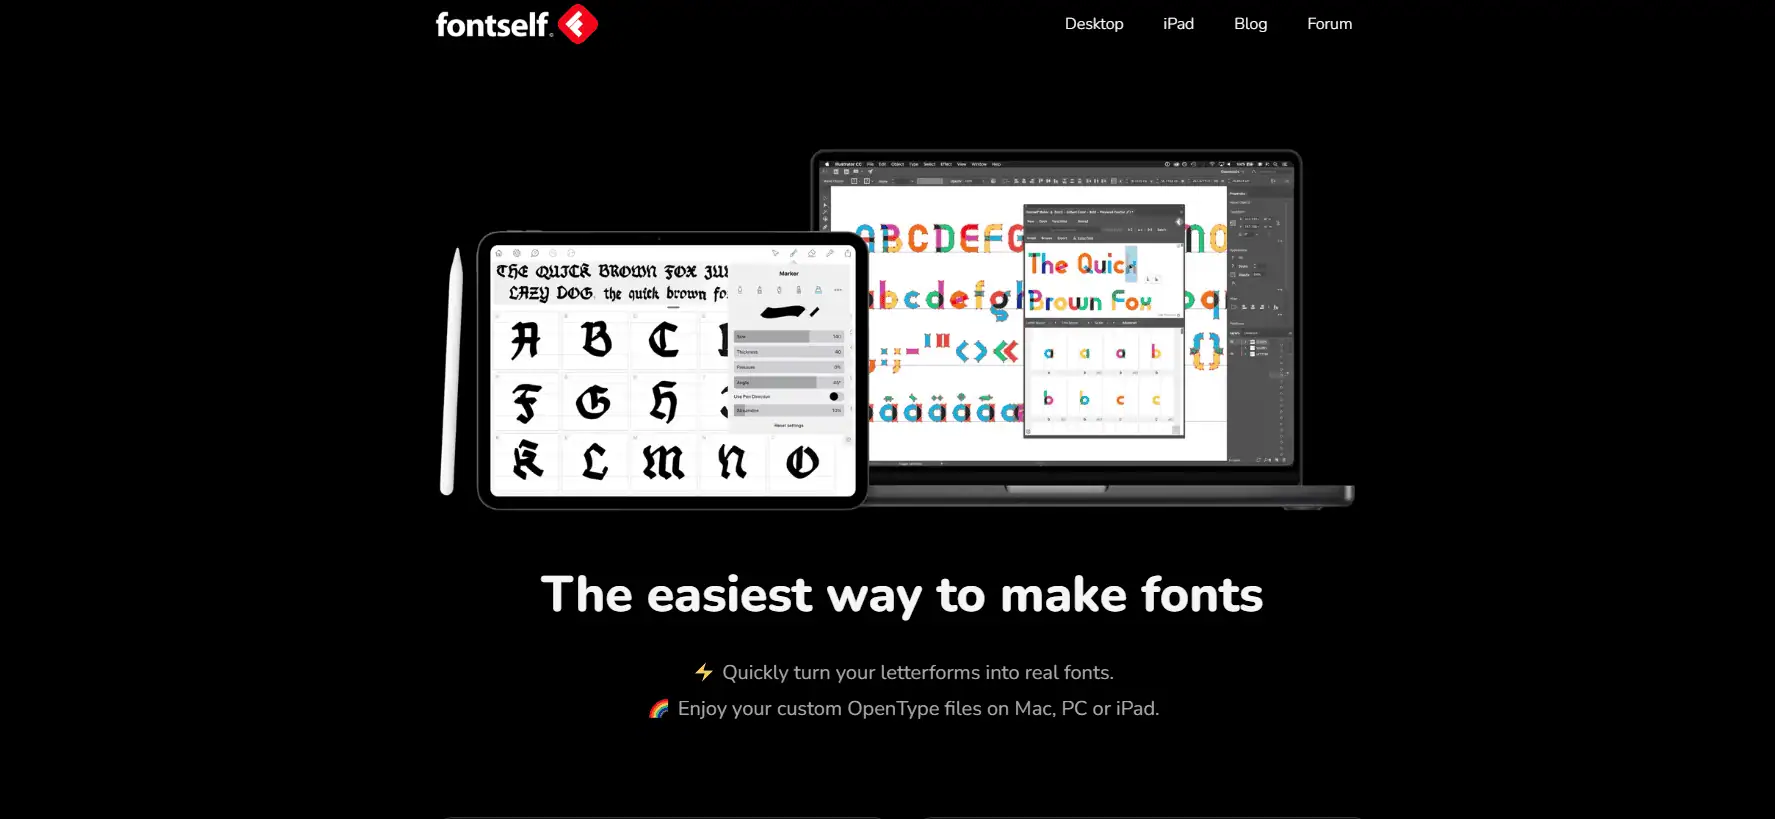
As someone who dislikes FontLab’s complexity, this plugin simplifies turning hand-drawn sketches into functional fonts. Dragging vector letters into the panel and instantly testing them in Photoshop sold me: no coding or manual glyph mapping.
For a project, I designed a script font with alternates for repeated letters (like double “t” in “latte”) in under an hour. The kerning adjustments are intuitive; I tweaked spacing between “A” and “V” by dragging sliders while previewing text live. Ligature support worked smoothly, though creating more than 10 contextual alternates felt clunky compared to dedicated font software.
The one-time $39 fee is fair for designers needing occasional custom typefaces. It’s not for intricate multilingual fonts, but for branding, posters, or social media graphics, it saves hours.
The upside of Fontself Maker is the direct integration it provides with Adobe Photoshop and Adobe Illustrator and there comes no need to switch between applications while working on the custom fonts that perfectly fits my post production works. The best plug-in i have come across. – Ar. Nilanjan Paul
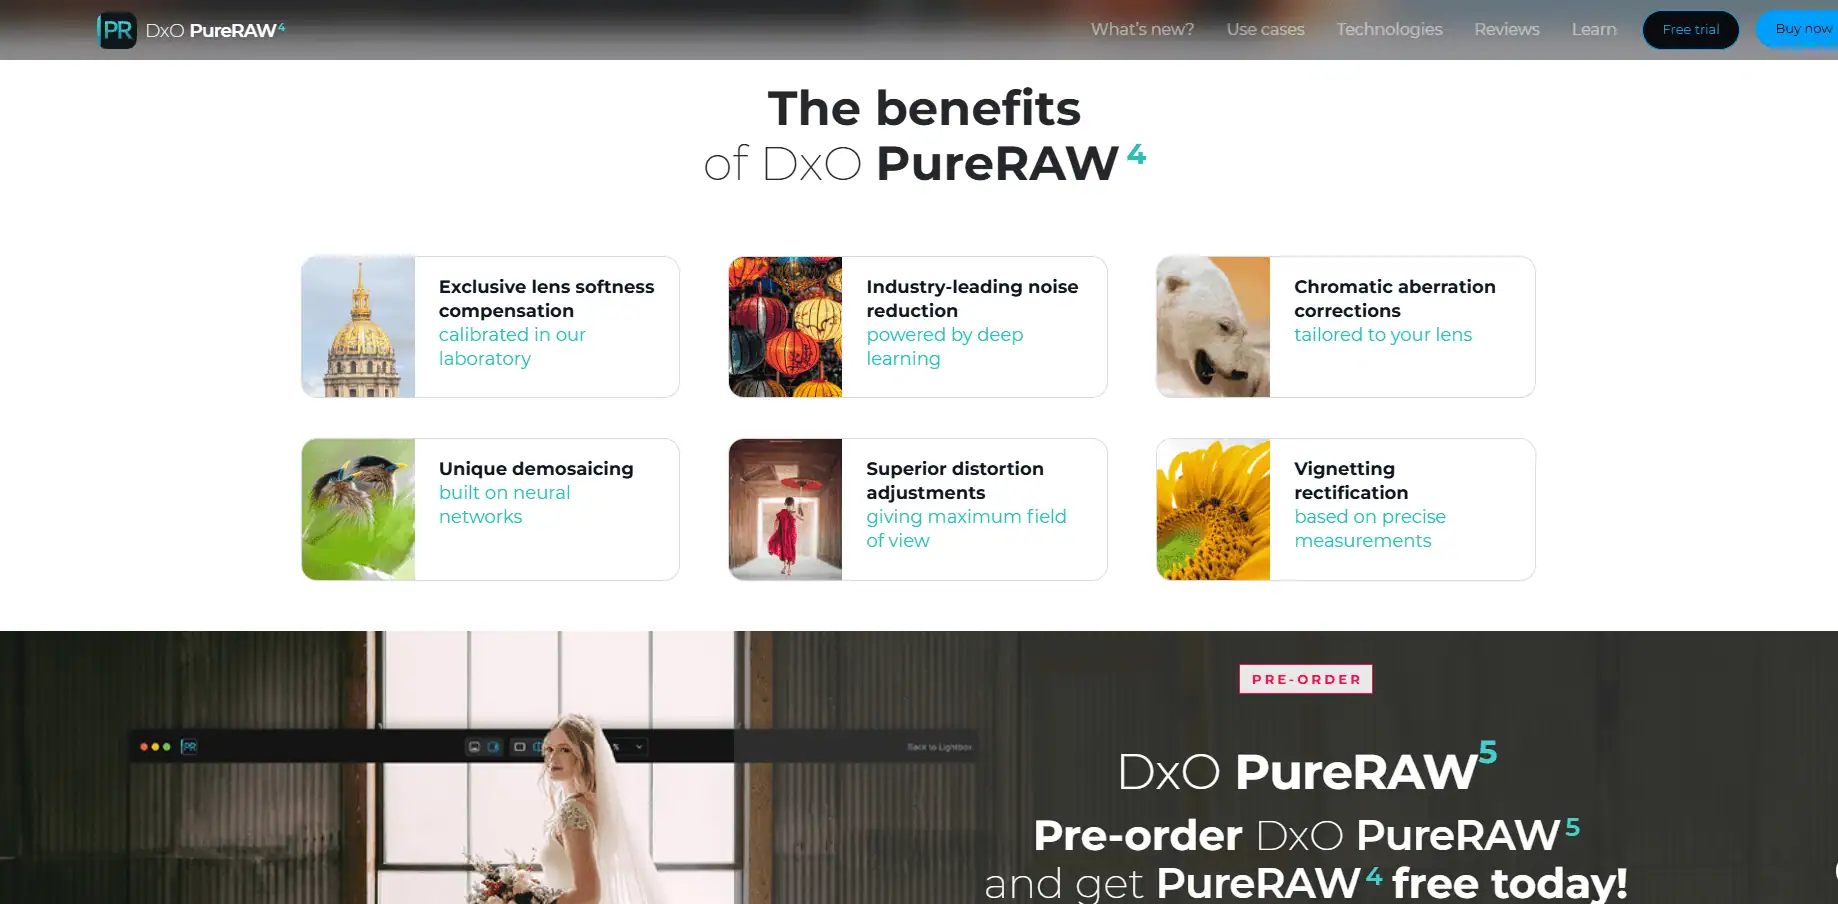
I rely on PureRAW for high-ISO concert photography and low-light cityscapes where noise often destroys critical details. After comparing it to Lightroom and Photoshop’s tools, DeepPRIME consistently outperforms. It rescued a dimly lit jazz club photo shot at ISO 6400, preserving skin textures in shadows without the plasticky artifacts.
The automatic lens corrections are underrated. My vintage 50mm lens produces heavy vignetting, but PureRAW fixed it seamlessly in a cityscape RAW file. It also tackled chromatic aberration on backlit foliage shots more precisely than Photoshop’s manual adjustments, saving me 10-15 minutes per image.
The interface is minimalistic—no sliders for fine-tuning results. I batch-process RAWs through PureRAW first, then refine in Photoshop. At $119 for a lifetime license, it’s a smart buy if you shoot in challenging light or use lenses prone to distortion. Casual photographers might not need it, but for night or event shooters, the free trial is worth testing.
I found it to be better than adobe’s AI denoise. I bought it for less on their BF sale. I use it for almost every iso image 2500 or higher. I think it was definitely worth it. You can use it pre-import or as a plug-in in LR after you import. It is very important to note that DXO PureRaw only works with raw files and has to be used first before additional changes. – Neither_Hand_792
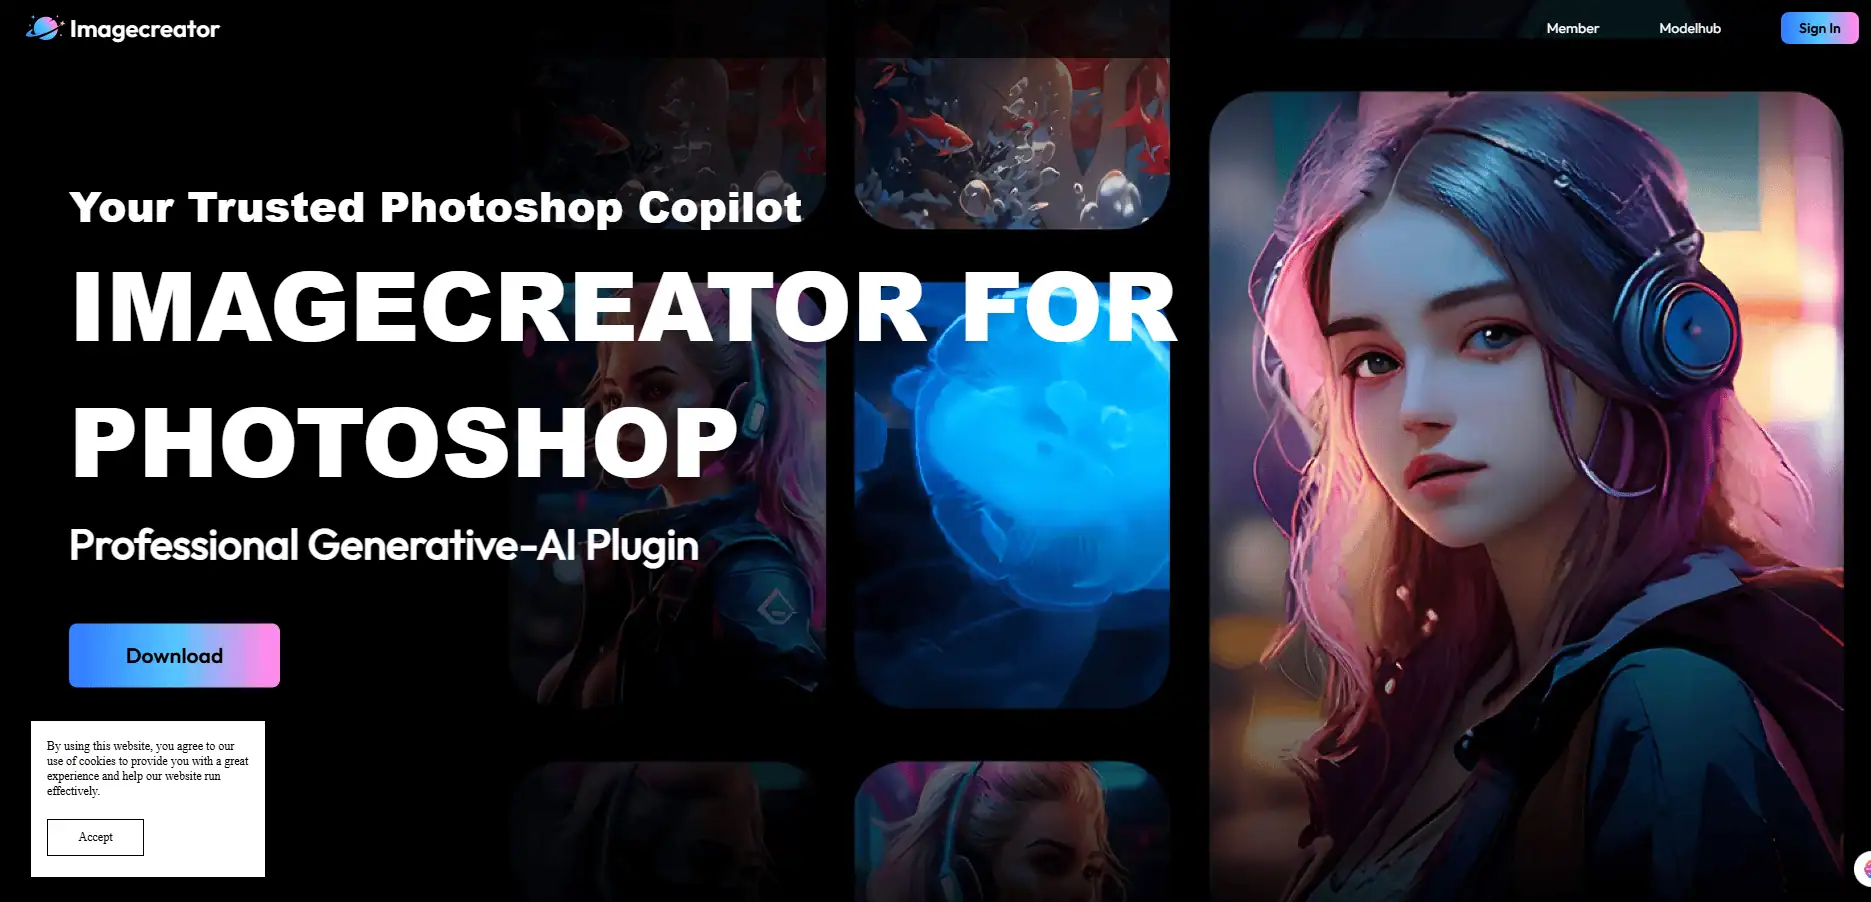
ImageCreator is one of the best free Photoshop pluginsfor graphic designers for generative AI filling. Even though Adobe has a dedicated AI image-generation feature, this plugin is the cherry on top.
This professional Gen-AI plugin allows you to generate images from texts, enlarge images, fill images, and upscale. It also offers a model library to scale your generative requirements.
It produces four results in squared thumbnail formats. You can also find the previous outputs in the History panel. It is free to use.
The AI Empower plugin for Adobe Photoshop has been a game-changer in my creative journey. Its seamless integration with Photoshop and user-friendly interface make it accessible to both beginners and experienced users. – Alexandra Grant.
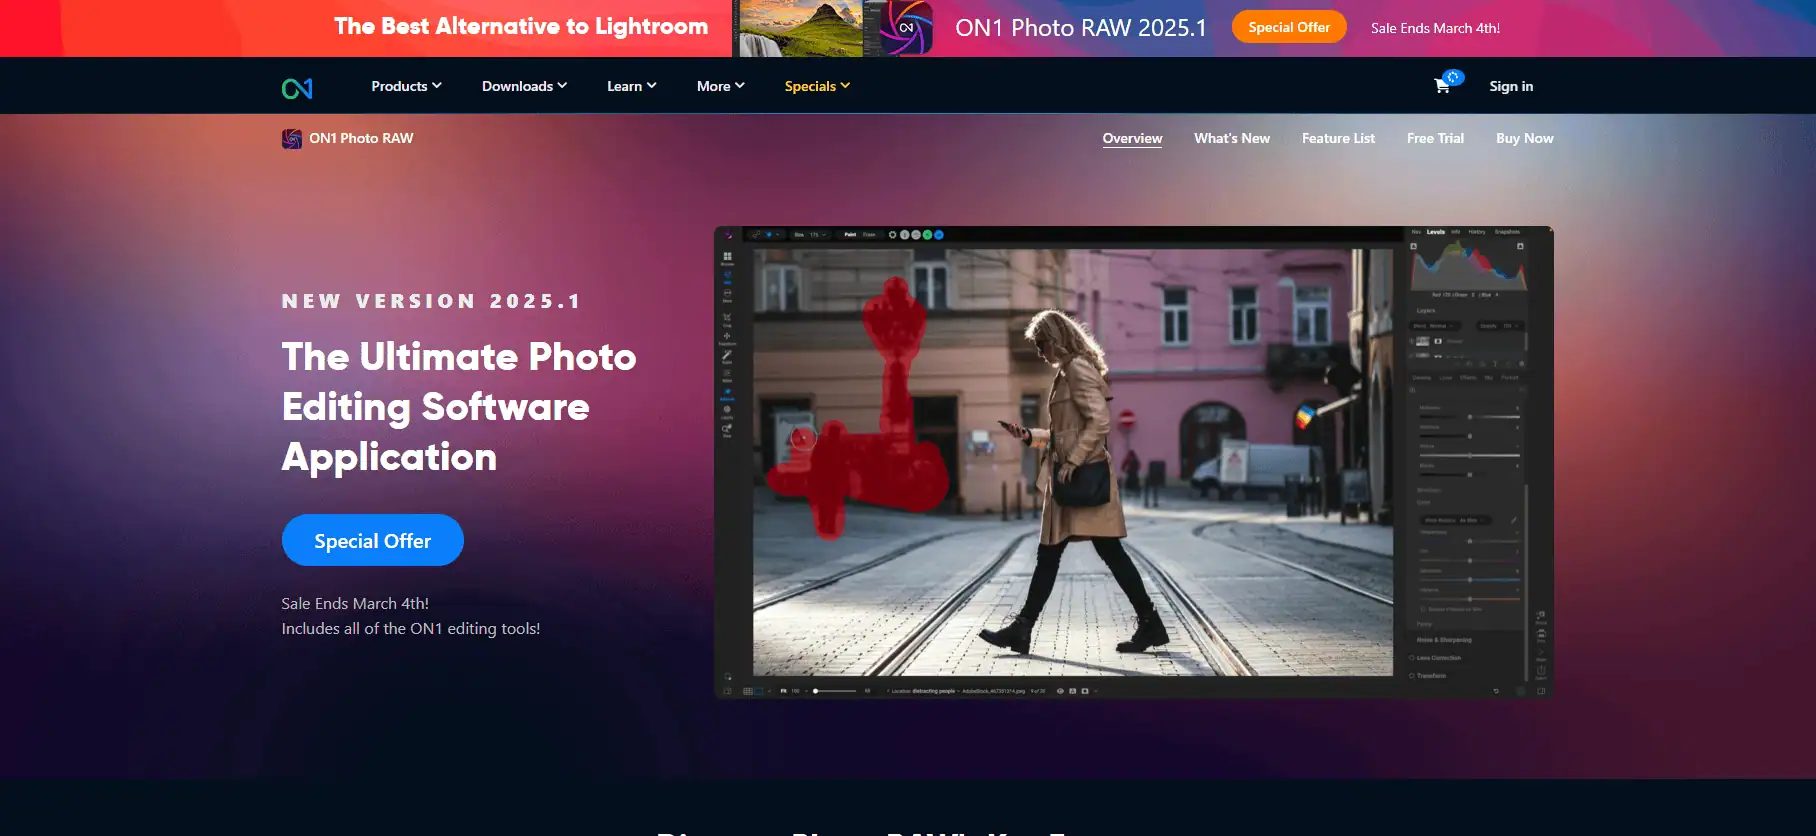
ON1 Photo RAW – Best for editors who want AI power with manual control
ON1’s plugin lineup, particularly Portrait AI, is a sleeper hit among portrait editors. Reddit users often mention how it balances automation and manual control, especially for facial features and skin texture.
Compared to Retouch4Me or Portraiture, ON1 is praised for letting users override the AI with sliders, making it a favorite for retouchers who want both speed and precision. O
N1 Effects also gets nods for its versatile filters, textures, and color grading — many users treat it as a final step for “punching up” their edits before export. Its 2025 version is available at $49.99 for two users.
I switched to On1 six years ago and no regrets. It’s a different workflow that will take some getting used to, but it’s easy to pick up. You get cataloging, layers, raw editing, filters, effects, masking everything. It’s really very good. – Createsean
PixelSquid – Best For 3D Objects With Photoshop Layers
This Shutterstock plugin for Photoshop is resourceful for graphic designing and digital photo illustrations. You can add 3D objects to a canvas in a customized way.
Its vast library comprises more than 356,000 3D objects to search and add to your design creations. You can pick and add objects like animals, flowers, vehicles, etc, to your Photoshop lightbox.
Add optional shadows, transparent PNGs, layered PSDs, and watermark-free objects. It offers a free starter plan, but objects cost $12.99 each. Its annual plan costs $199.
PixelSquid is a great asset for making photo comp images, using the models as drawing aids to be used as roughs to help you visualise an image, or as part of a paintover piece. Essentially, it’s awesome and it’s free. – David Cousens.
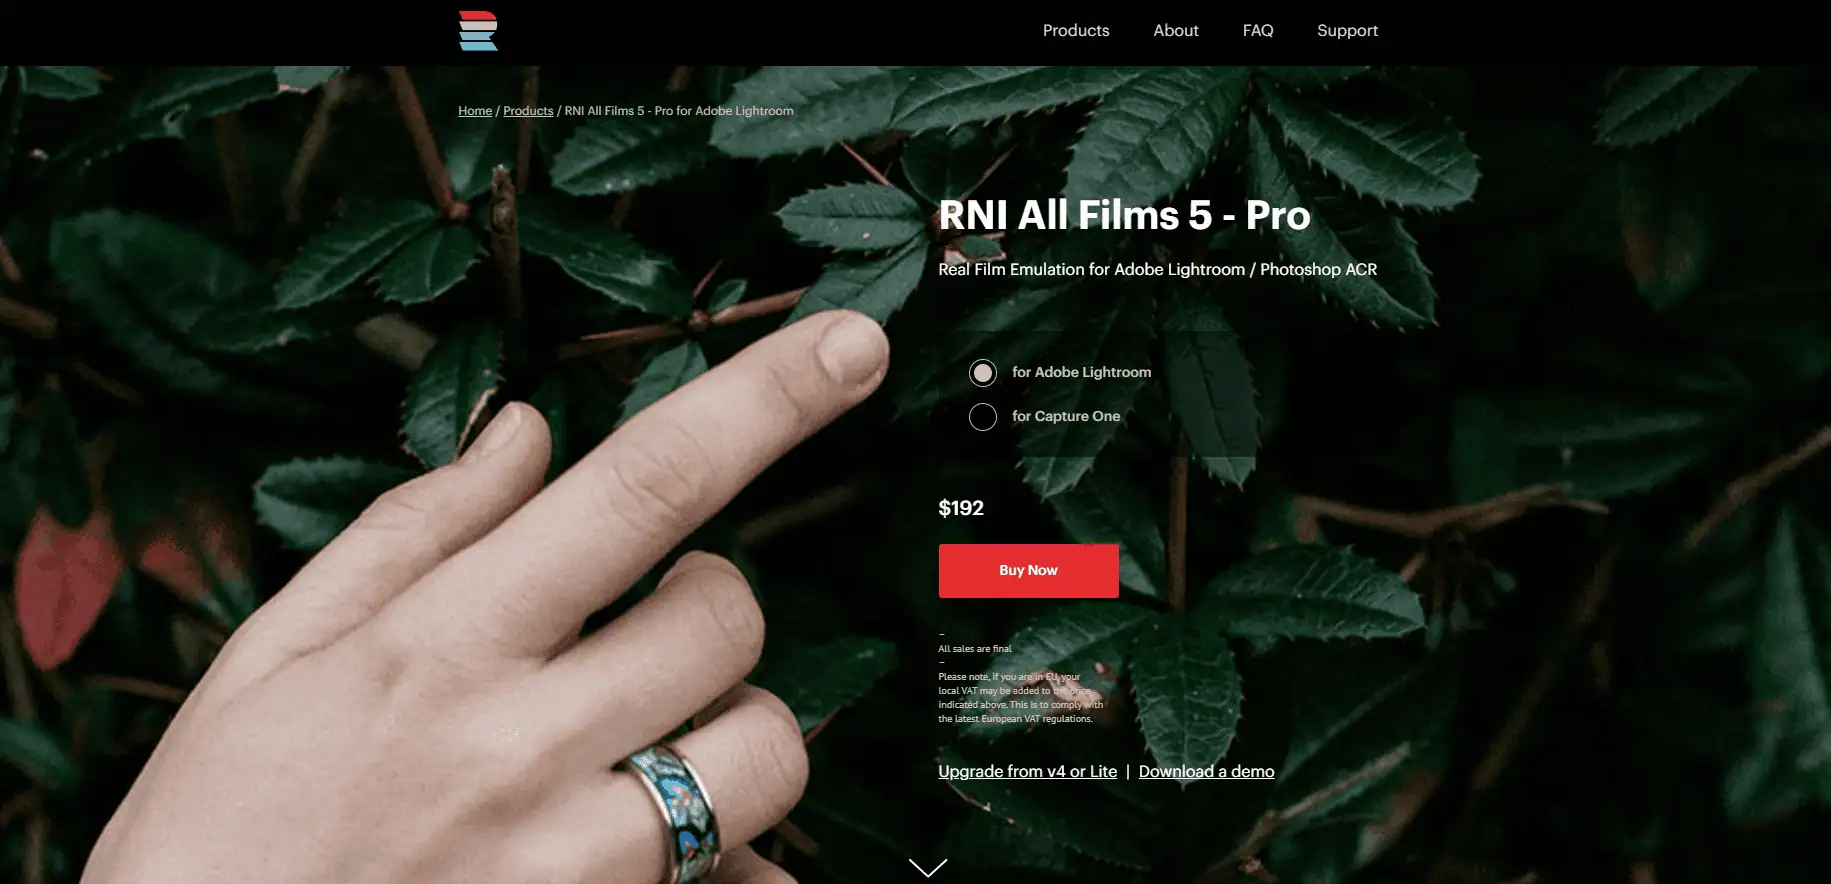
RNI All Films 5 allows you to capture the essence of various film styles and add them to your images. It offers more than 40 film presets to add to your images in one click.
This plugin helps you retouch your photos and transform colors to get a more aesthetic appearance. It can easily integrate and organize your digital workflow.
You can also tune down the strength of fil style adjustments and get custom outputs without altering the original photos. You can try some presets for free. Its one-time license fee is $192.
I have them and I like them! Regarding pro/lite: I find that I’m using more than anything else some presets that are pro only: Portra 400 v2, Kodak E200 v2, Fuji Velvia.The quality is super high, but the price is indeed a bit steep, especially since I have no use for 18 infrared presets. The separate set of profiles for Nikon & Sony to keep saturation under control is a super nice touch. – Aragost
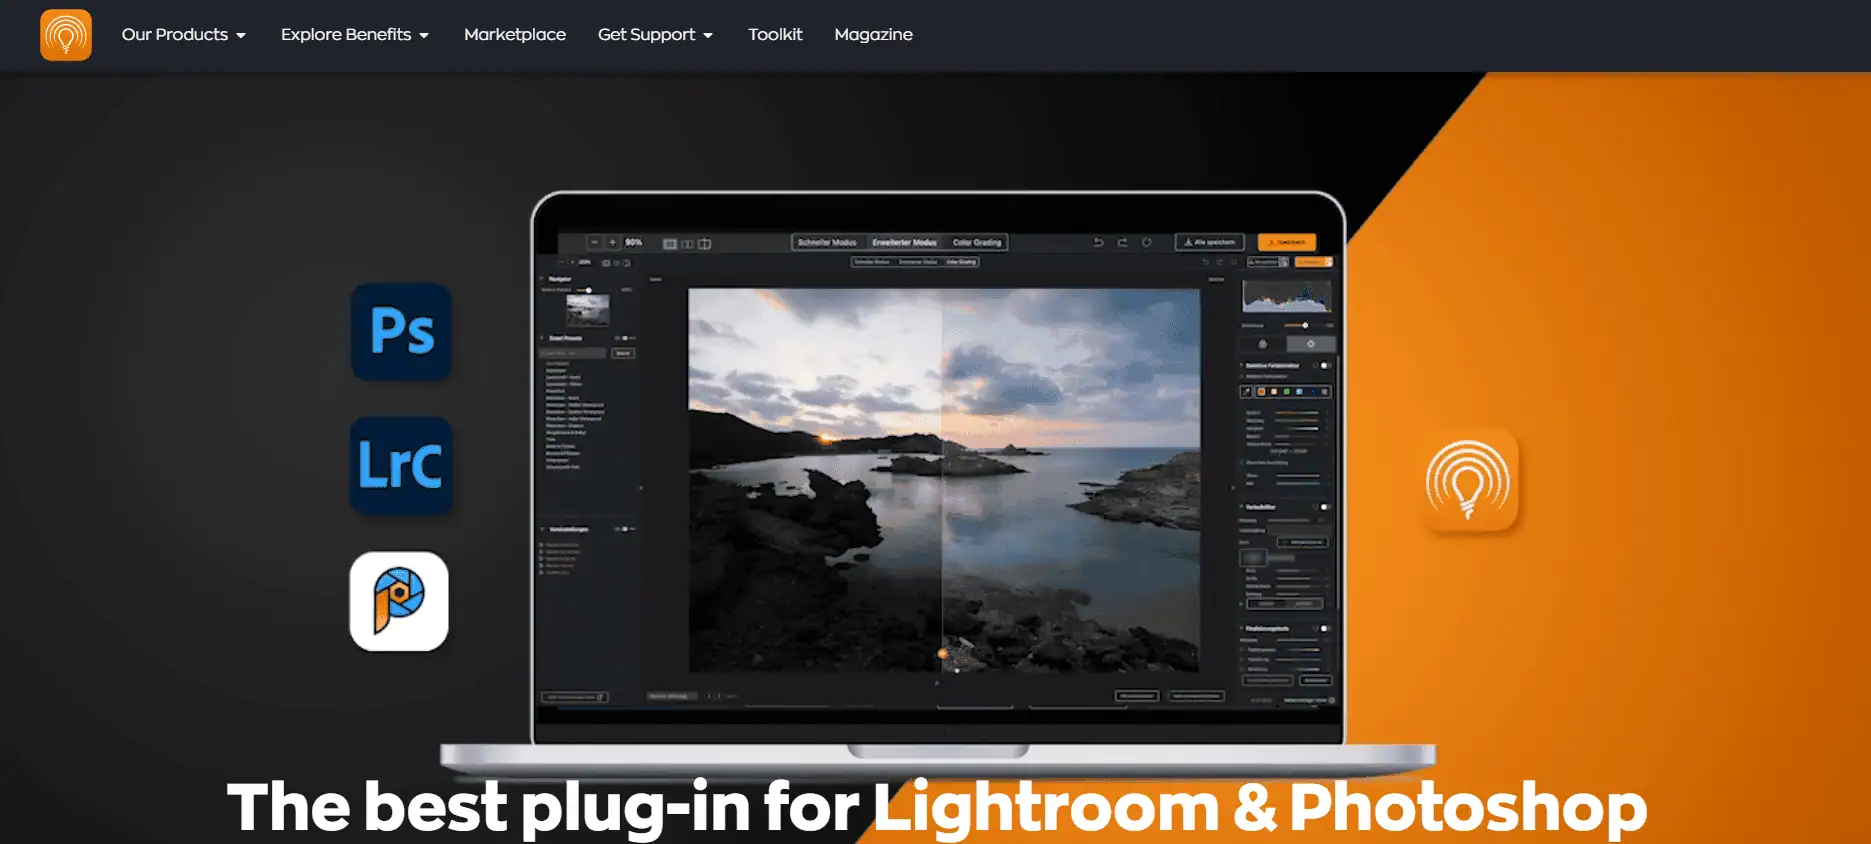
Radiant Photo – Best For Color Rendering and Correction
This plugin uses AI to select the ideal optimization and color rendering requirements for you. Its automatic color correction features identify the requirements, reproduce colors and render your images.
This plugin can be used for true-to-life color production and rendering of your photos. Hence, it is an ideal tool for photographers.
There is no need to manually adjust every photo. It offers an intelligent slider to optimize images in seconds by adding radiant tones.
It offers a 30-day trial period. The plugin comes with a toolkit that costs $50/year. You can also buy selective photo looks from its marketplace. Radiant Photo 2 costs $159 as a one-time license fee.
The software is just getting its legs under it and the folks doing the coding work are really serious about helping out their customers – freebies, extras, direct conversations if you just can’t get something to work the way you want – it’s a very cool atmosphere – and it is a complete experience – forums, pros, newbs, before & afters for editing ideas and inspiration – all kinds of things.. – Bert-63
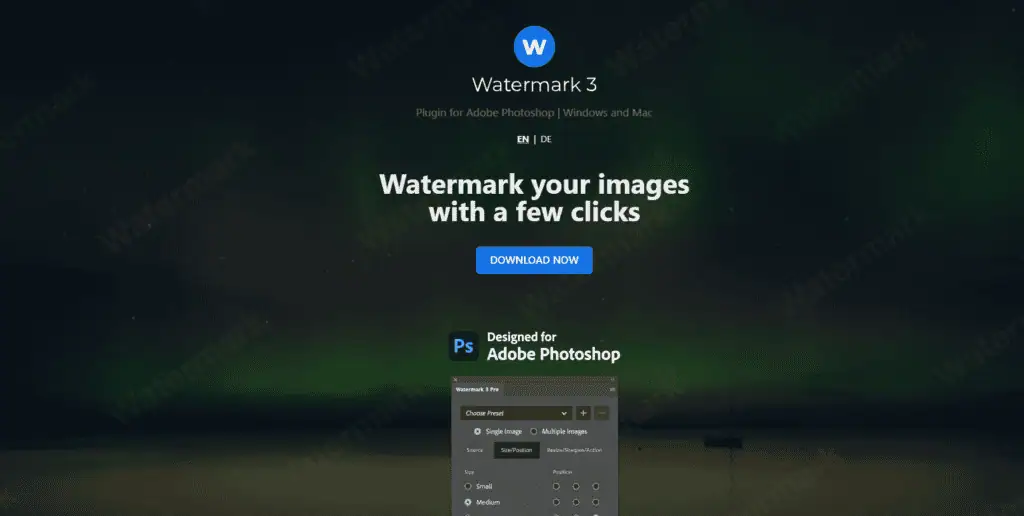
This plugin lets you edit texts, color, opacity, and font size of watermarks and signatures on your photos. You can also use a logo as a watermark.
Watermark 3 Pro allows you to add watermarks to your photos all at once. You can also save your settings for a one-click watermark addition.
The Watermark 3 is a free plugin for Photoshop 2022 and above but comes with limitations. The Pro version costs $34.90 as a lifetime fee where you can avail customizable features.
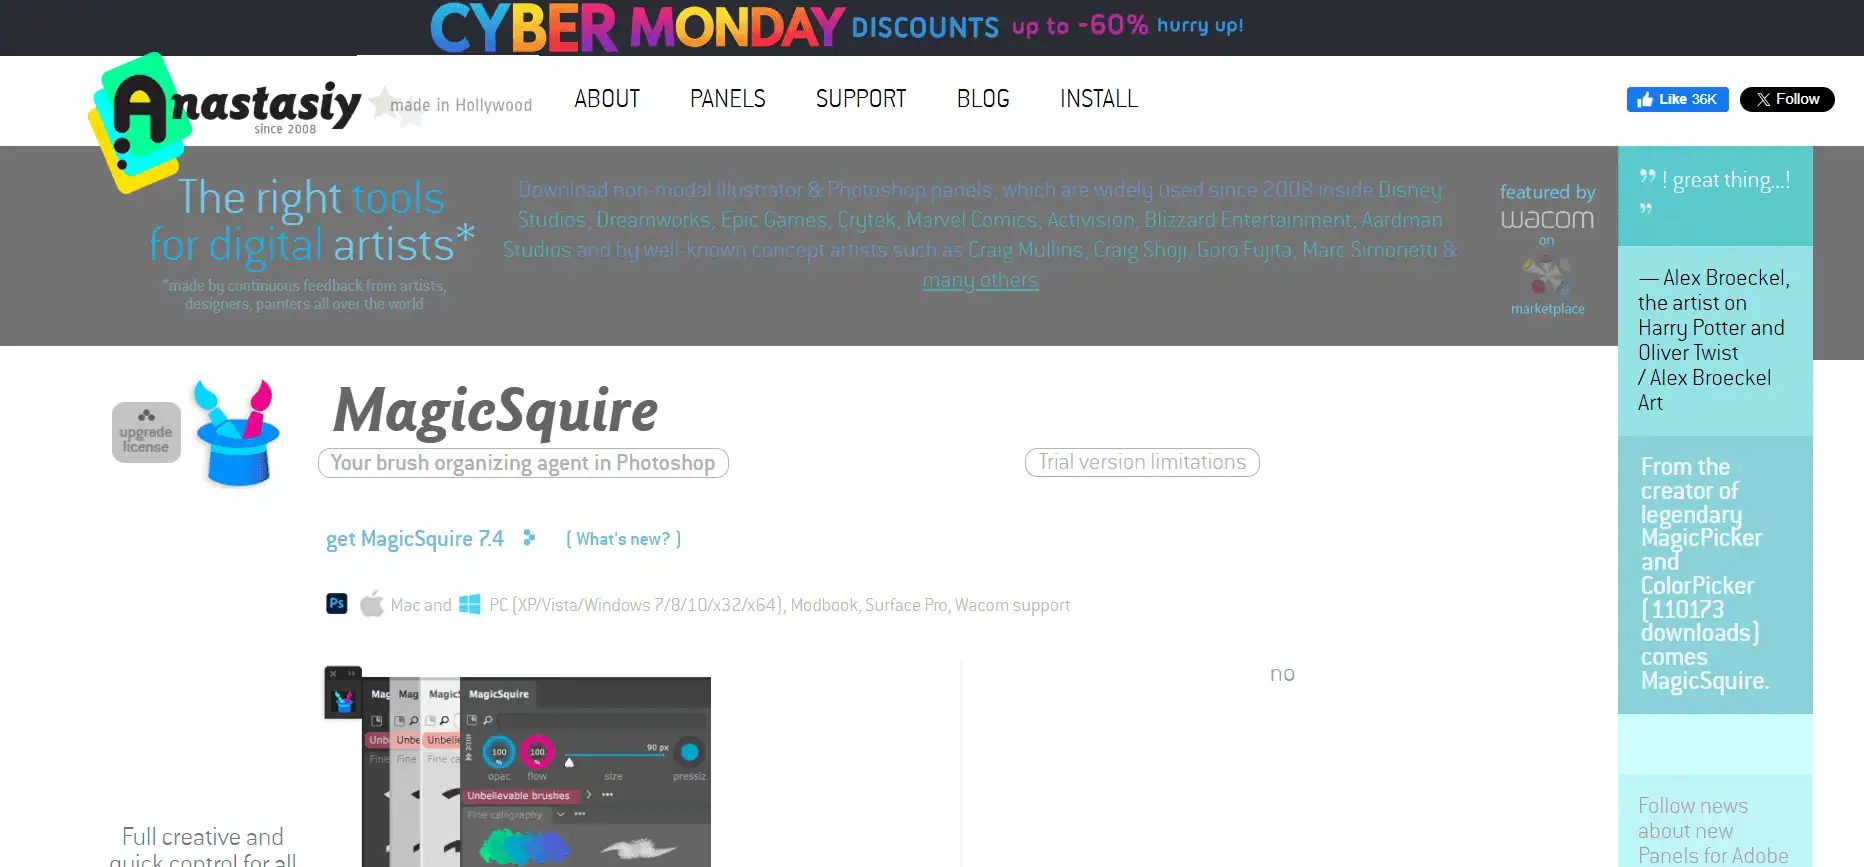
MagicSquire: Best for Digital painters, illustrators, and heavy brush users
Photoshop’s brush engine is powerful but clunky to manage. MagicSquire is a game-changer for digital artists — allowing you to organize, tag, and switch brushes faster than ever. It’s a quiet favorite in concept art and comic book communities.
Topaz Gigapixel AI – Best for Rescue missions, low-light photography, old photo upscaling
Topaz Labs’ suite, especially DeNoise AI and Sharpen AI, is nearly always brought up in Reddit photography threads — especially by those working with low-light or high-ISO shots.
Sharpen AI is known for rescuing slightly out-of-focus shots, while DeNoise AI preserves detail better than most Photoshop-native methods. Users frequently compare these plugins to ON1 NoNoise or DxO’s DeepPRIME, but many still prefer Topaz for its ease of use and minimal learning curve.
If you shoot events, wildlife, or handheld night photography, Topaz is probably already part of your toolkit — or should be. It also offers a generative AI platform where you can transform photos with text prompts. It offers a free trial for testing the features. Its lifetime license costs $99.
If your main job is to Upscale, then GigaPixel is the best cost effective tool for you (assuming you are not owning any Topaz Tool at the moment). – Akila33
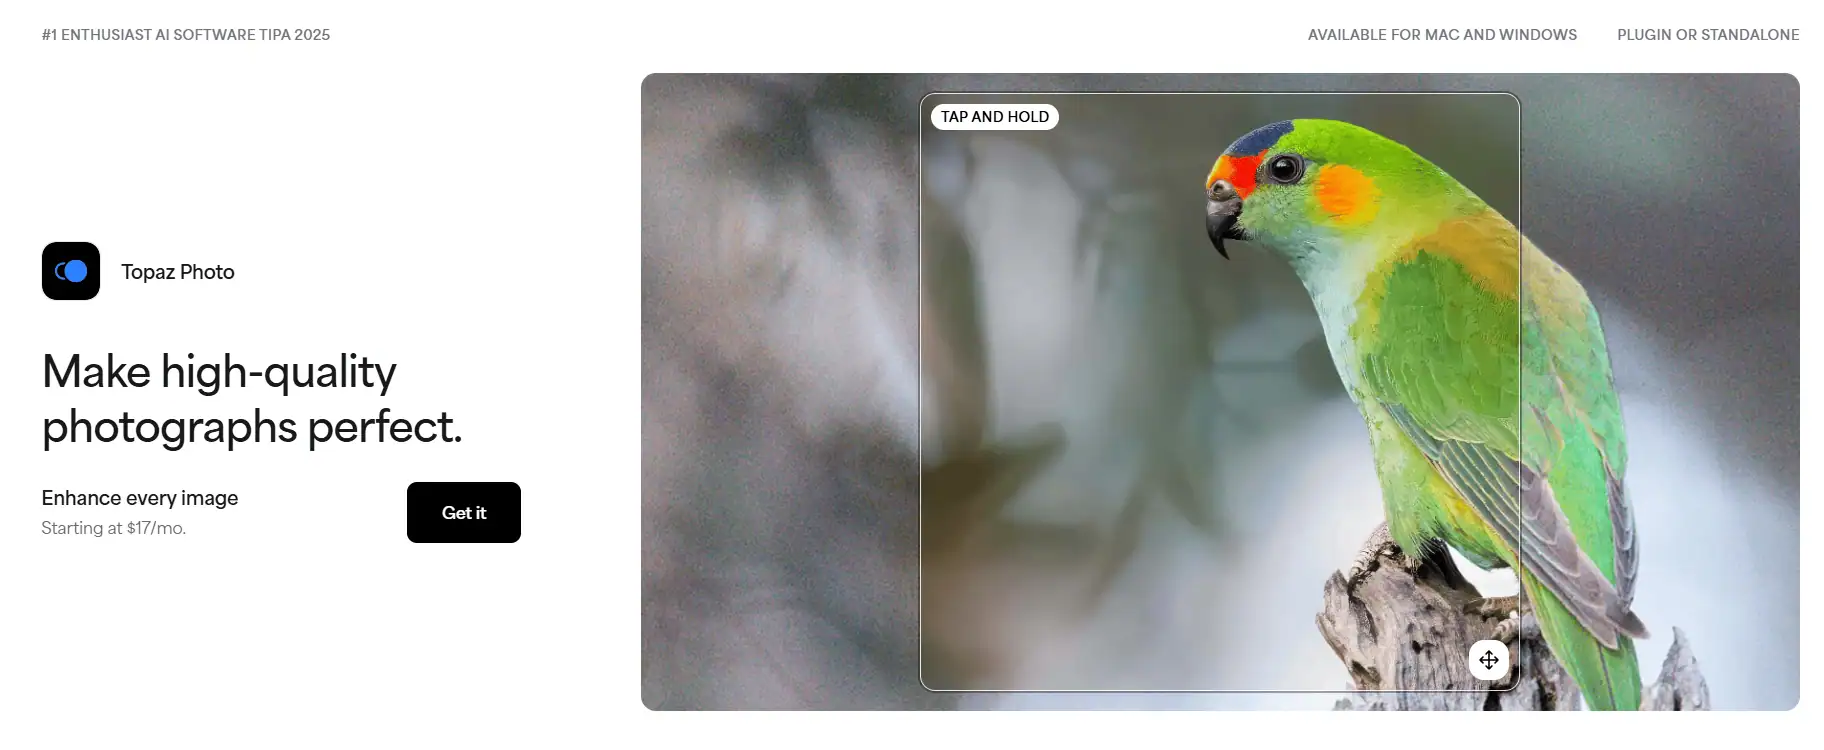
Topaz Photo AI is like having a mini-AI lab inside Photoshop. It combines Topaz’s famed AI tools – Denoise, Sharpen, and Upscaling into one plugin that intelligently applies what your photo needs.
I love using Photo AI on images that need a quality boost: it can remove high ISO noise, rescue slightly soft focus, and even enlarge images with minimal quality loss. The plugin analyzes each shot and applies the right model. Many photographers on forums note that Photo AI’s results “preserve detail better than most Photoshop-native methods,” often outperforming Adobe’s built-in tools.
It’s especially handy if you don’t want to bounce between separate tools – one click in Photo AI, and it handles multiple issues. The downside is it can be slow on large files, and purists might still prefer manual control or Topaz’s dedicated apps for critical work. But for 90% of cases, Photo AI is a huge time-saver. It offers a free trial, and if you frequently deal with low-light or slightly soft images, it’s worth considering.
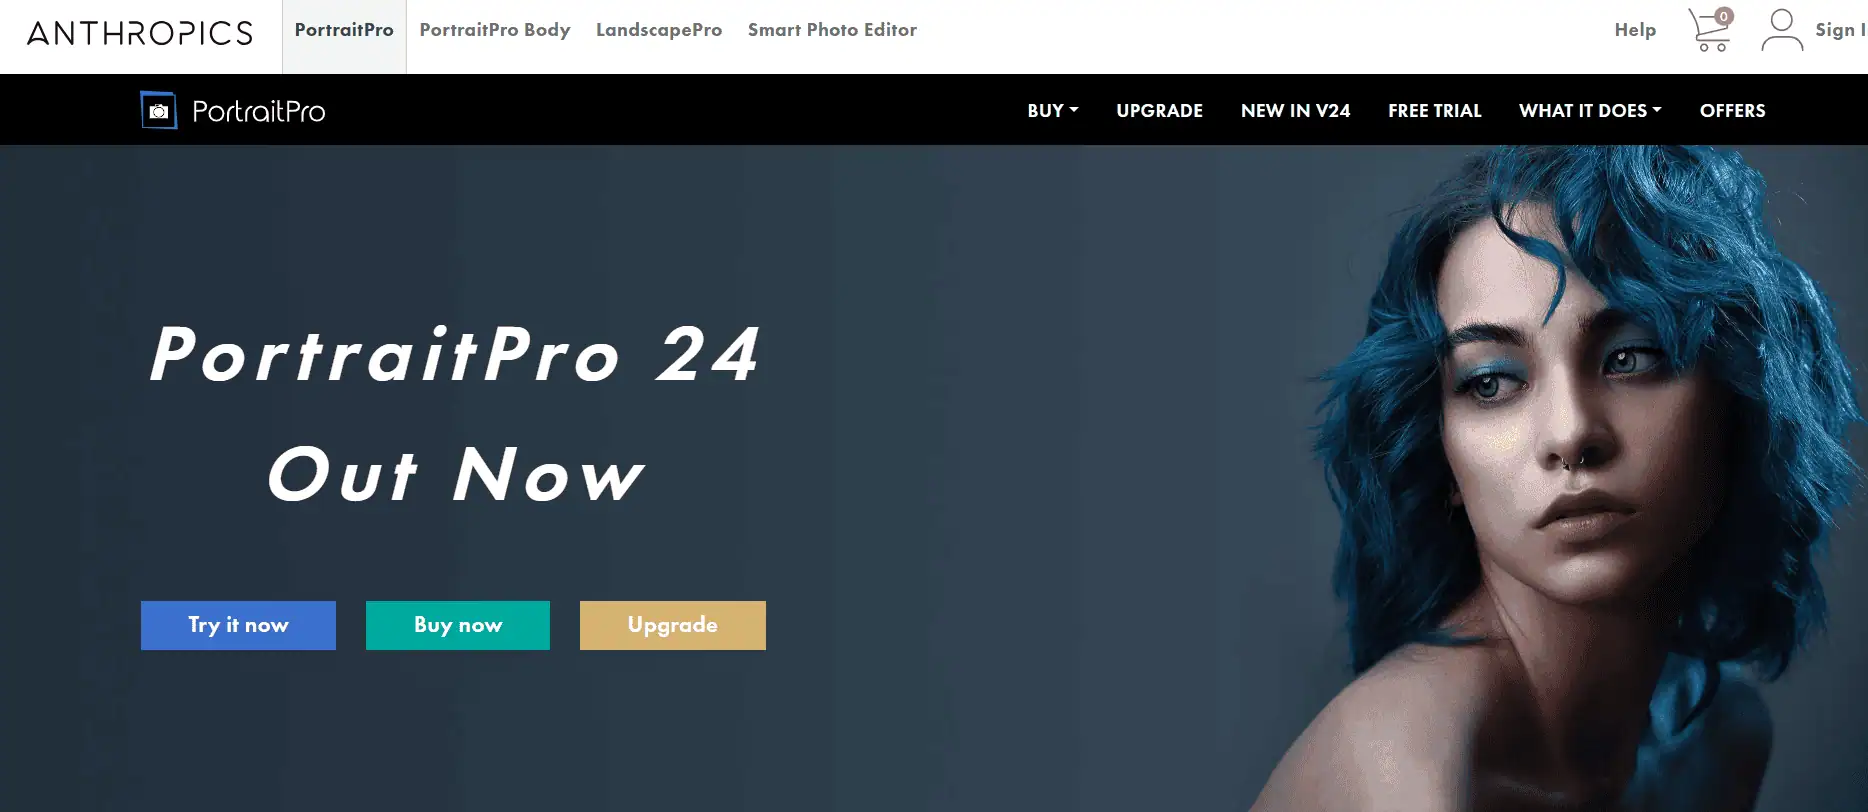
PortraitPro 24 – Best For AI Portrait Editing & Facial Adjustments
PortraitPro is an AI-driven portrait editing powerhouse that has been around for years and continues to get smarter. The latest version (PortraitPro 24) by Anthropics offers quick yet highly controllable portrait retouching.
This plugin/software can detect the subject’s face, age, and gender, and then provide an array of sliders to enhance or reshape features. It’s almost like a virtual makeup and lighting artist. I use PortraitPro when I want to glam up a portrait or do a full beauty retouch in under 5 minutes.
One of its coolest tricks is relighting: you can virtually move the light source or add fill light to fix uneven lighting after the fact. It feels a bit like magic (or witchcraft)! Of course, with great power comes responsibility – it’s easy to go overboard and end up with an unnatural look.
Some pros have a love/hate with PortraitPro because it can overdo edits if you’re not careful, but nearly everyone agrees it’s super easy to use and a real lifesaver for batch retouching.
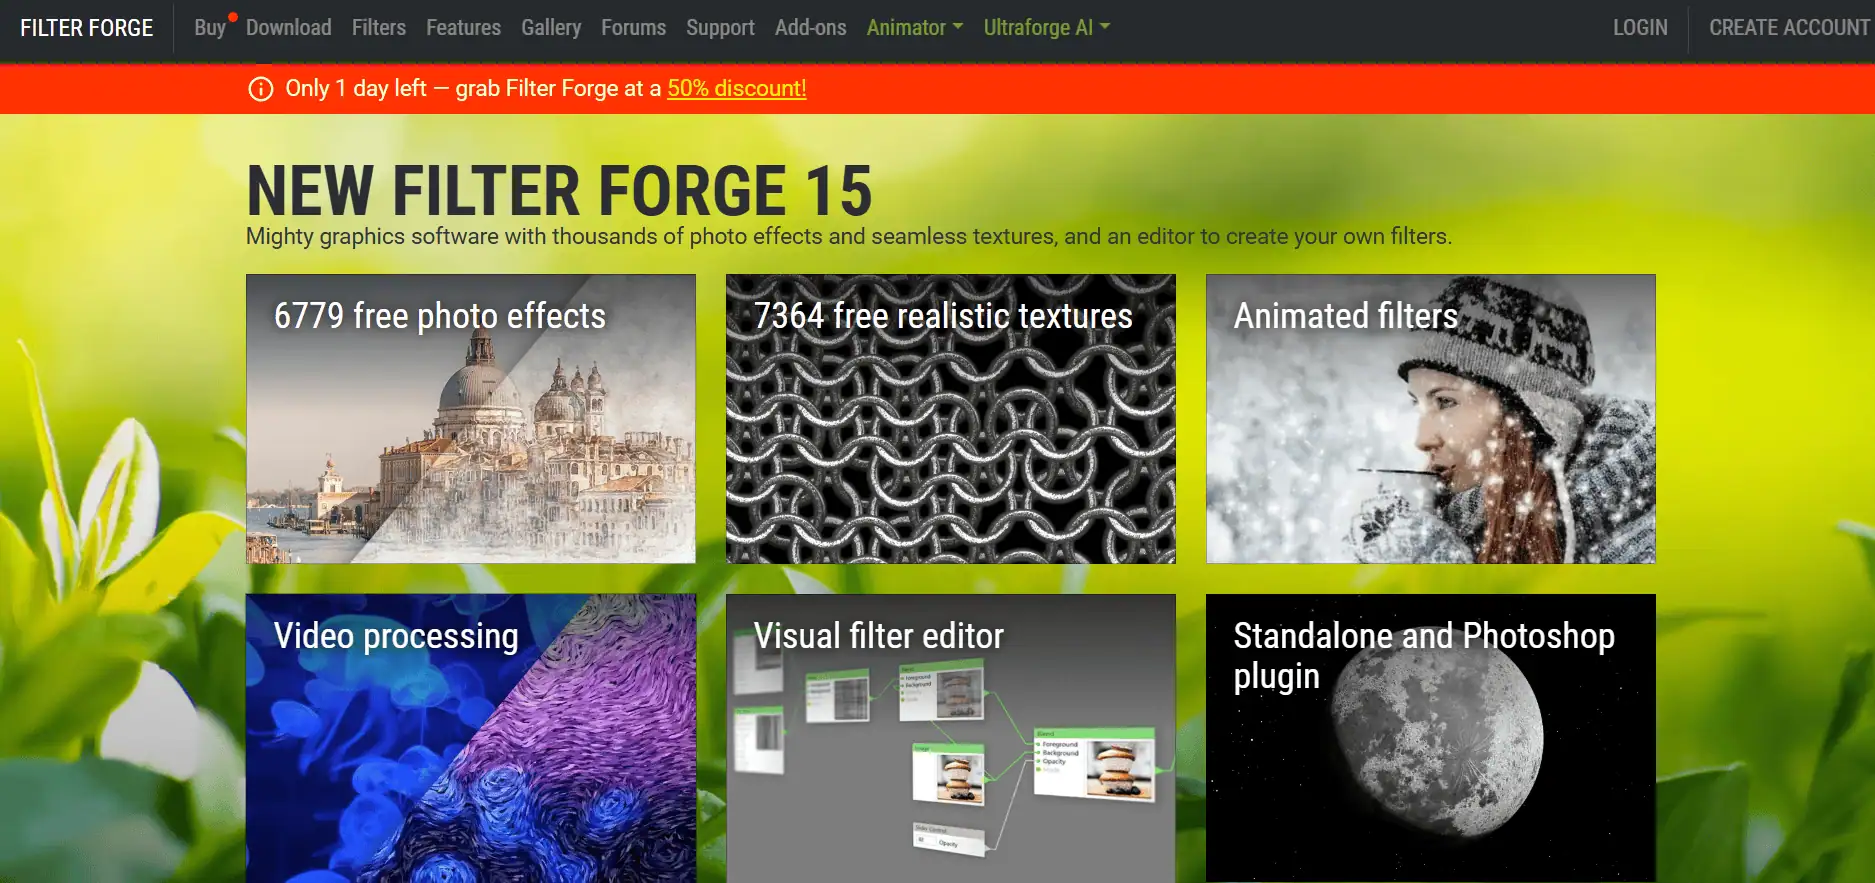
Filter Forge – Best for custom textures and realistic surfaces
Filter Forge is a Photoshop plugin for making textures and effects from scratch. It’s great when your design looks too clean. You can add paper grain, fabric weave, scratches, dust, halftone noise, and subtle wear. The stuff that makes mockups look real.
You’re not stuck with fixed presets. You can tweak sliders and parameters to get exactly the look you want. You can also generate seamless, tileable textures for backgrounds and product shots. It’s useful for packaging, posters, apparel, and anything that needs “surface realism” fast.
Exposure X7 – Best For Film Presets & Advanced Editing
Exposure X7 is both a standalone photo editor and a plugin, renowned for its gorgeous film presets and creative editing tools. Photographers praise Exposure X7’s presets as “among the best and highest fidelity” when it comes to film emulation.
Each preset is fully customizable, and the selection is massive. I often use Exposure when I want a starting point for an edit: for example, I’ll apply a Kodachrome preset to a cityscape to get that punchy retro vibe, then fine-tune using Exposure’s built-in controls for tone, grain, and color.
The interface is user-friendly, and it supports layers, masking, and even advanced things like luminosity masks. One standout feature is Exposure’s tunable presets: not only do you get a great look, but you can adjust each component (curves, HSL, grain intensity) because the presets are essentially recipes using Exposure’s editing engine. In terms of film authenticity, Exposure’s film presets are remarkably accurate and don’t destroy image fidelity.
In fact, PetaPixel named Exposure X7 the best plugin for “one-click presets,” emphasizing that its film looks are top-tier and “organized by film type and camera, each remarkably accurate”.
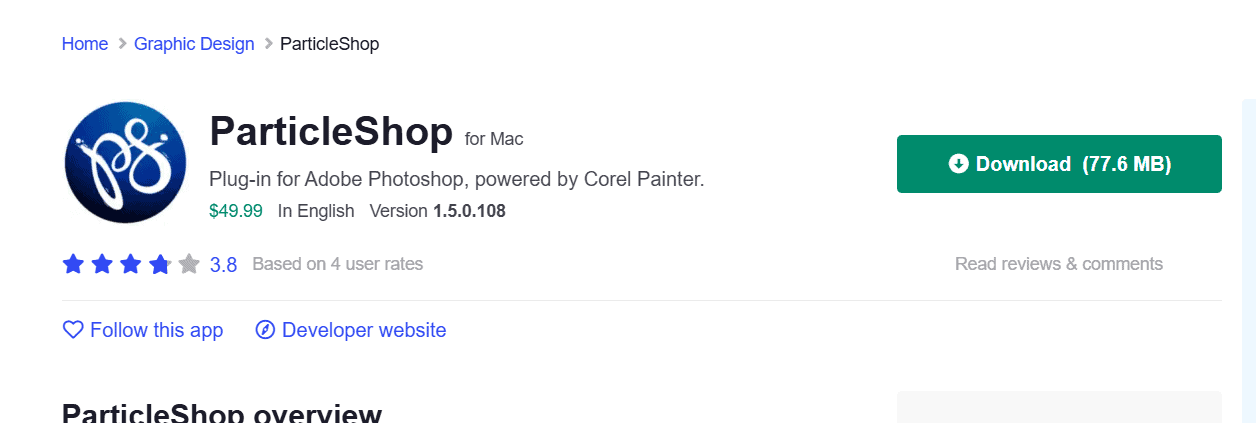
ParticleShop is a plugin by Corel that brings the incredible particle brush technology of Painter into Photoshop. It’s perfect for adding one-of-a-kind effects like sparks, smoke, fire, hair streaks, light trails, and other dynamic elements that would be tedious to paint by hand.
The plugin works via brush packs. Once installed, it opens a Painter-like interface where you brush on the effect in its own layer, then return to Photoshop with the result. The brushes are “live” particle-based, meaning they respond to your stroke speed and direction to create very organic results.
One stroke with a fire brush can lay down a flickering flame that actually looks alive. It’s pretty mesmerizing. ParticleShop isn’t free, but even the core set has a bunch of useful brushes.
The particle brushes create texture and motion that standard brushes can’t replicate. If you do a lot of artistic photo manipulations or want to spice up portraits and graphics with special effects, ParticleShop is a superb plugin to have in your arsenal. It’s like having a little bit of Corel Painter’s magic inside Photoshop.
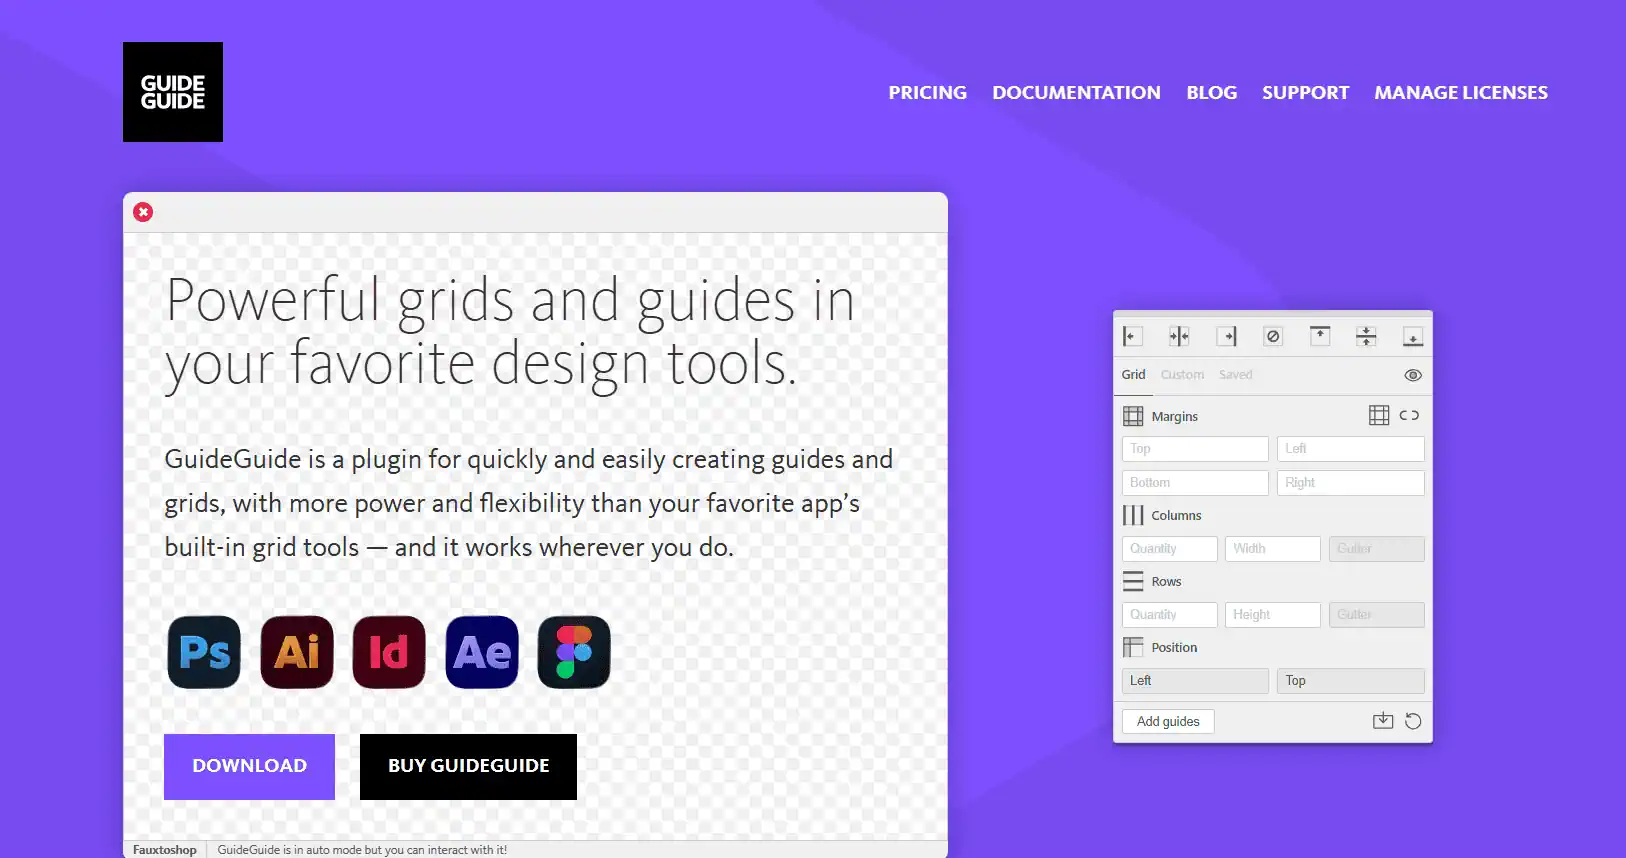
GuideGuide is a plugin cherished by UI designers, web designers, and anyone who needs precise layout guides in Photoshop. If you’ve ever wrestled with Photoshop’s default guide creation, this plugin is for you.
With GuideGuide, you can input values, and it will instantly drop guides exactly where you need them. It supports percentages, pixels, mm, whatever units, and can even do things like split a selection or artboard into equal parts with one click.
Originally, GuideGuide was free. It’s since become a paid product, but it’s very affordable, and honestly, for professionals, it pays for itself the first time you use it. One of my favorite features is that you can save your own grid presets. For example, I have a “Instagram Post 3×3” preset that lays out guides for a 3×3 grid, which I use to design carousel posts.
GuideGuide supports Photoshop, Illustrator, InDesign, and even After Effects now, making it a versatile tool across design apps.
It’s a comprehensive panel that makes creating and using luminosity masks much faster and more intuitive than doing it manually. With TK8, you can generate a whole range of masks. For example, 5 different degrees of “lights” masks, “darks” masks, midtones, and specific color masks, all with a click.
The panel then lets you easily apply those masks to adjustment layers, dodge/burn layers, or use them to blend exposures. You can modify masks and even paint on masks with precision using the panel’s tools.
Despite sounding advanced, TK8’s interface guides you – there are buttons for common tasks, so you don’t need to be a masking guru to use it effectively. Many users note that it “streamlines complex tasks so you can actually use them to affect the image”.
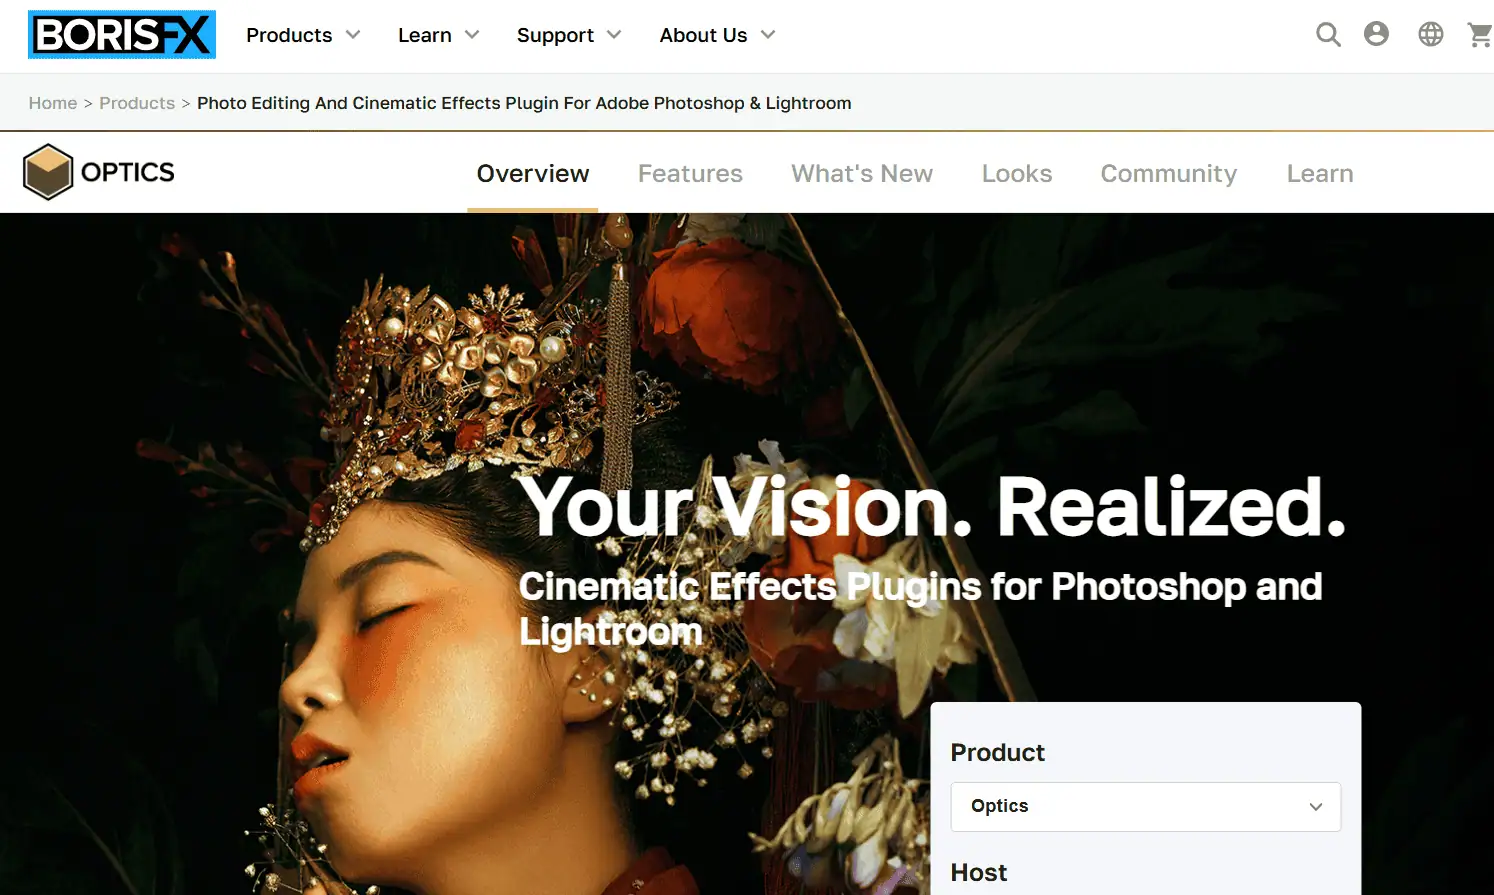
Optics comes from a company known for film/TV VFX tools (Boris FX), and it packs 160+ filters and thousands of presets derived from real movie effects. I use Optics when I want to add cinematic flair: lens flares, gobos, film stock simulations, glow, lightning, you name it.
The effects are procedural and high-quality, meaning they’re customizable and render sharply at any resolution. One of Optics’ most impressive features is its AI-powered masking tools. There’s a tool similar to Photoshop’s Select Subject, but also a very slick EZ Mask where you just draw rough inclusion/exclusion strokes and it perfectly masks even fine details like hair.
The plugin UI is a standalone interface but integrates well. It’s a paid plugin (around $149, or subscription) but they have trials and frequent sales.
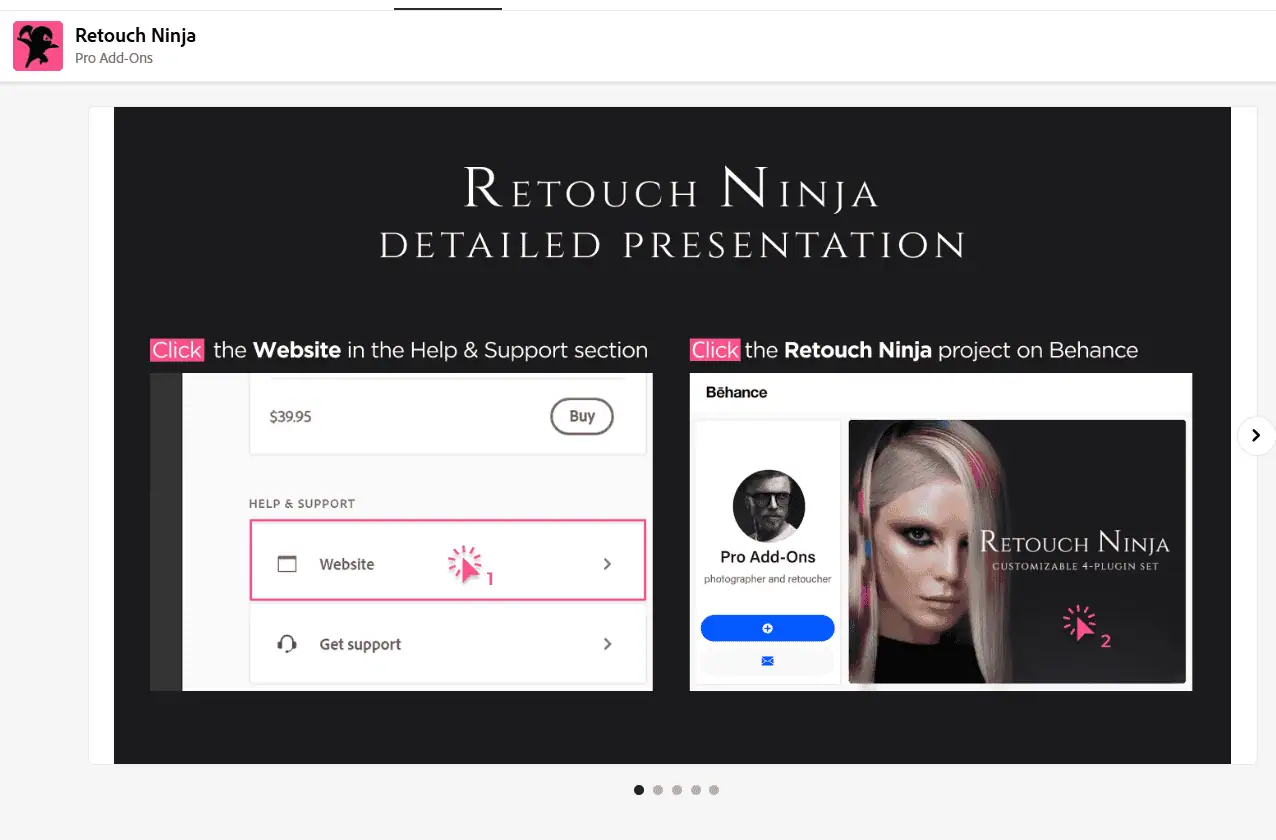
Retouch Ninja – Best For Frequency Separation & Quick Retouching
If you prefer a more manual retouching approach (compared to fully automated AI) but still want to save time, Retouch Ninja hits a sweet spot. It’s a set of four mini-plugins in one: Frequency Separation, Fast Retouch, Dodge & Burn, and local adjustments.
It also has a “Fast Retouch” block that can zap common issues like redness or blemishes in one go. I found the Dodge & Burn module handy too: it set up the curve layers for me with neutral gray fill, and I could just paint where needed, without having to prep anything. Essentially, Retouch Ninja “codes” a lot of retouching actions into logical buttons and panels, so you don’t have to.
One of the best parts is that it doesn’t remove control. You can still fine-tune the result at every stage. It’s particularly useful for high-end beauty or product retouch, where you want to retain complete oversight.
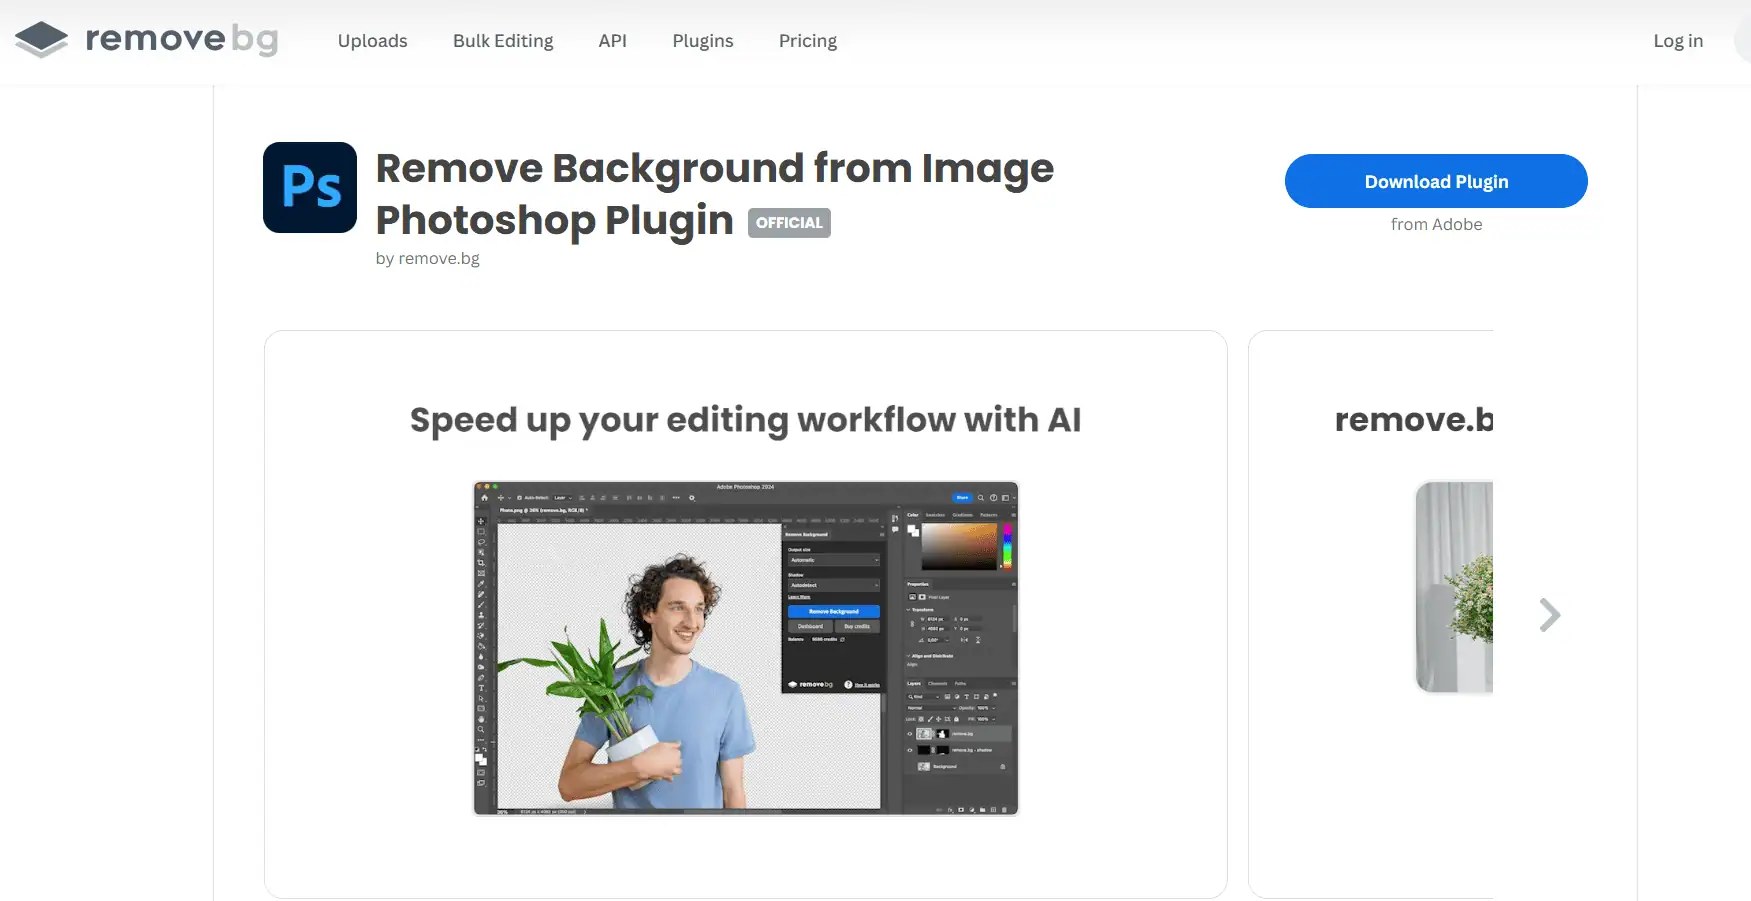
The Remove.bg plugin uses AI to remove backgrounds from images in a single click.
I use it for product photos and portraits where I need a quick subject cut-out. It’s impressively accurate with hair and tricky edges, far faster than manually tracing with the pen tool or refining masks. In seconds, you get a transparent background version of your image, which you can then drop onto new backgrounds or composite easily.
The plugin itself is free to install. You get a handful of high-res removals for free each month; after that, it works on a credit system (pay-as-you-go or subscriptions for heavy use). For occasional quick extractions, the free credits often suffice. If you frequently need to knock out backgrounds, this plugin is a huge time-saver that pays for itself in convenience.
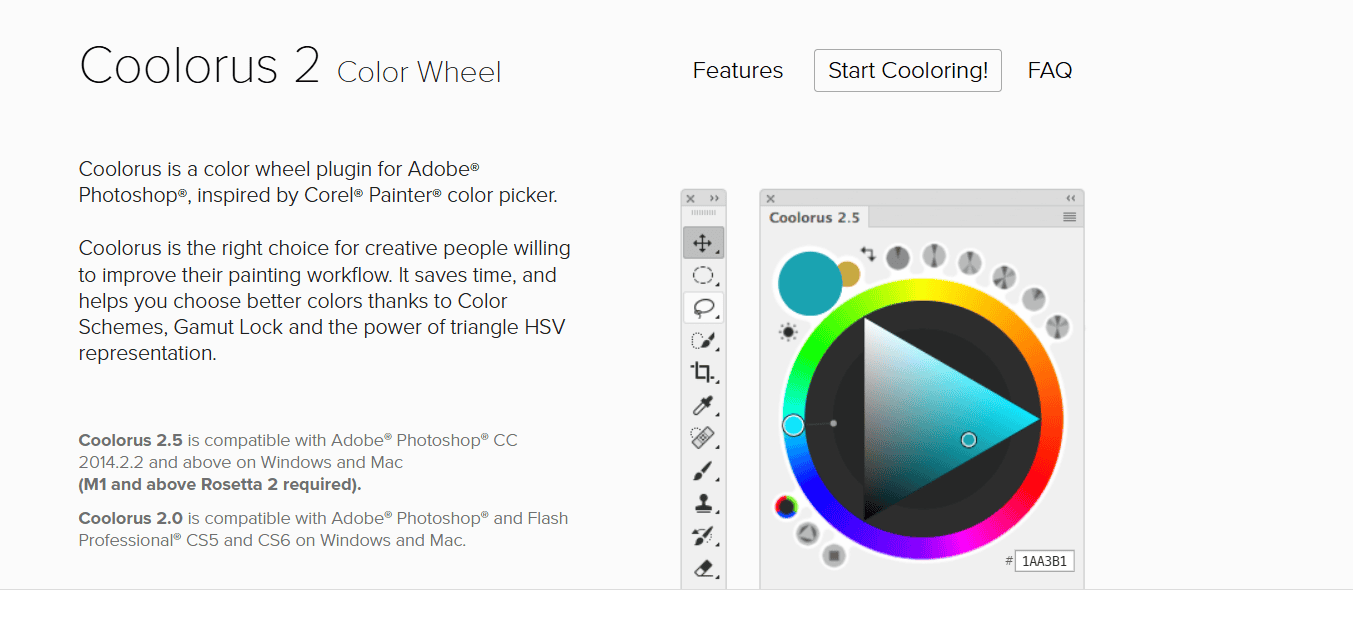
Inspired by the color picker from Corel Painter, Coolorus provides a harmonic color wheel that makes choosing and managing colors a delight. After installing Coolorus, I immediately noticed how much faster and more naturally I could build color palettes. It presents the color spectrum in a triangular or circular wheel, which feels way more intuitive than Photoshop’s square HSV picker.
You can lock the hue and just adjust value/saturation, use Color Harmonies and it even has a Gamut Lock to restrict your selection to certain hues for color consistency. I also love the swatches and history that Coolorus offers. it keeps track of recent colors and lets you save swatch sets, which is a boon when working on a project with a defined palette.
Coolorus is a paid plugin (around $10-20) and it’s worth every penny if you do any color work in Photoshop. It’s lightweight and doesn’t slow anything down.
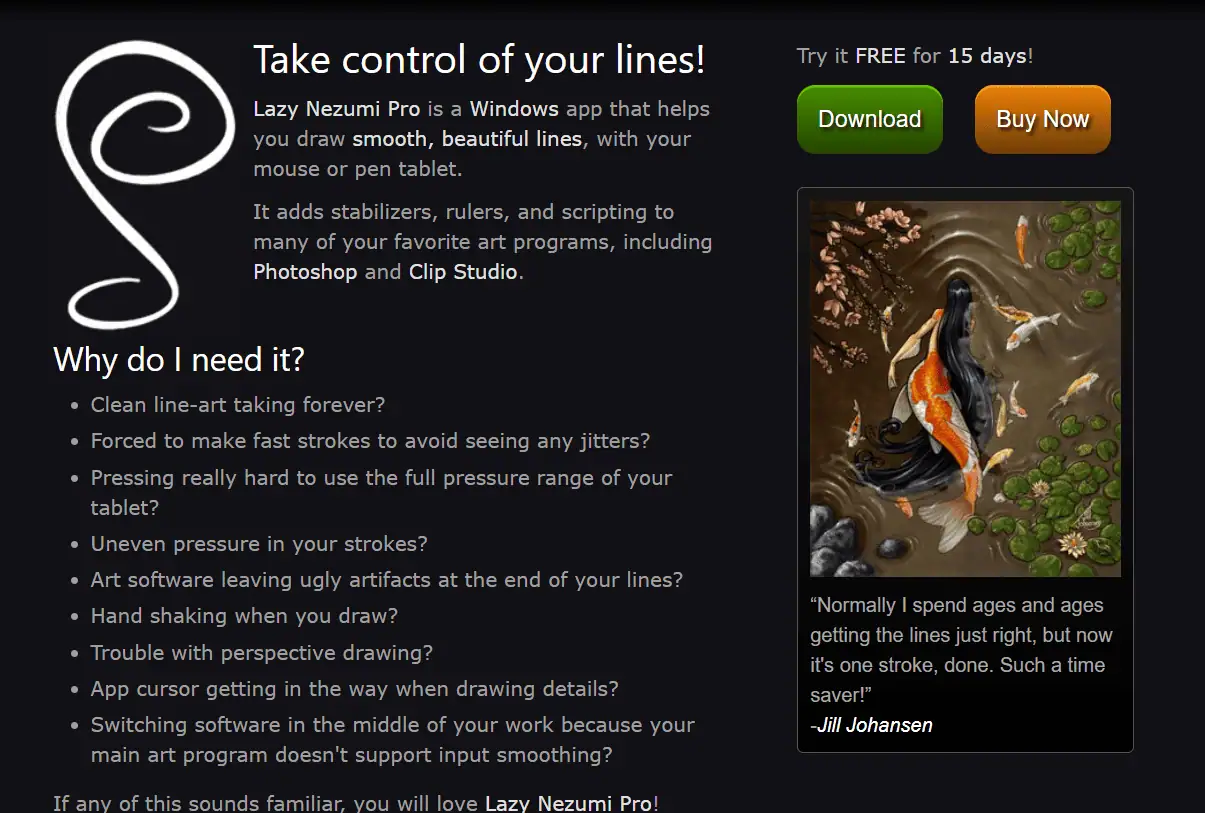
I use Lazy Nezumi whenever I’m doing line art or intricate masks. It offers different modes like Pulled String and Moving Average and more. You can tweak the amount of smoothing, and even create custom response curves.
Many illustrators swear by it, preferring it over Photoshop’s own “Smoothing” setting. And comic artists use its pressure processing features to get consistent tapering. Lazy Nezumi also has cool perspective tools. You can set vanishing points, and it will constrain your strokes to perspective lines.
The plugin runs separately (Windows only, unfortunately) and hooks into PS, Illustrator, etc. It’s a paid product (~$35) but has a trial.
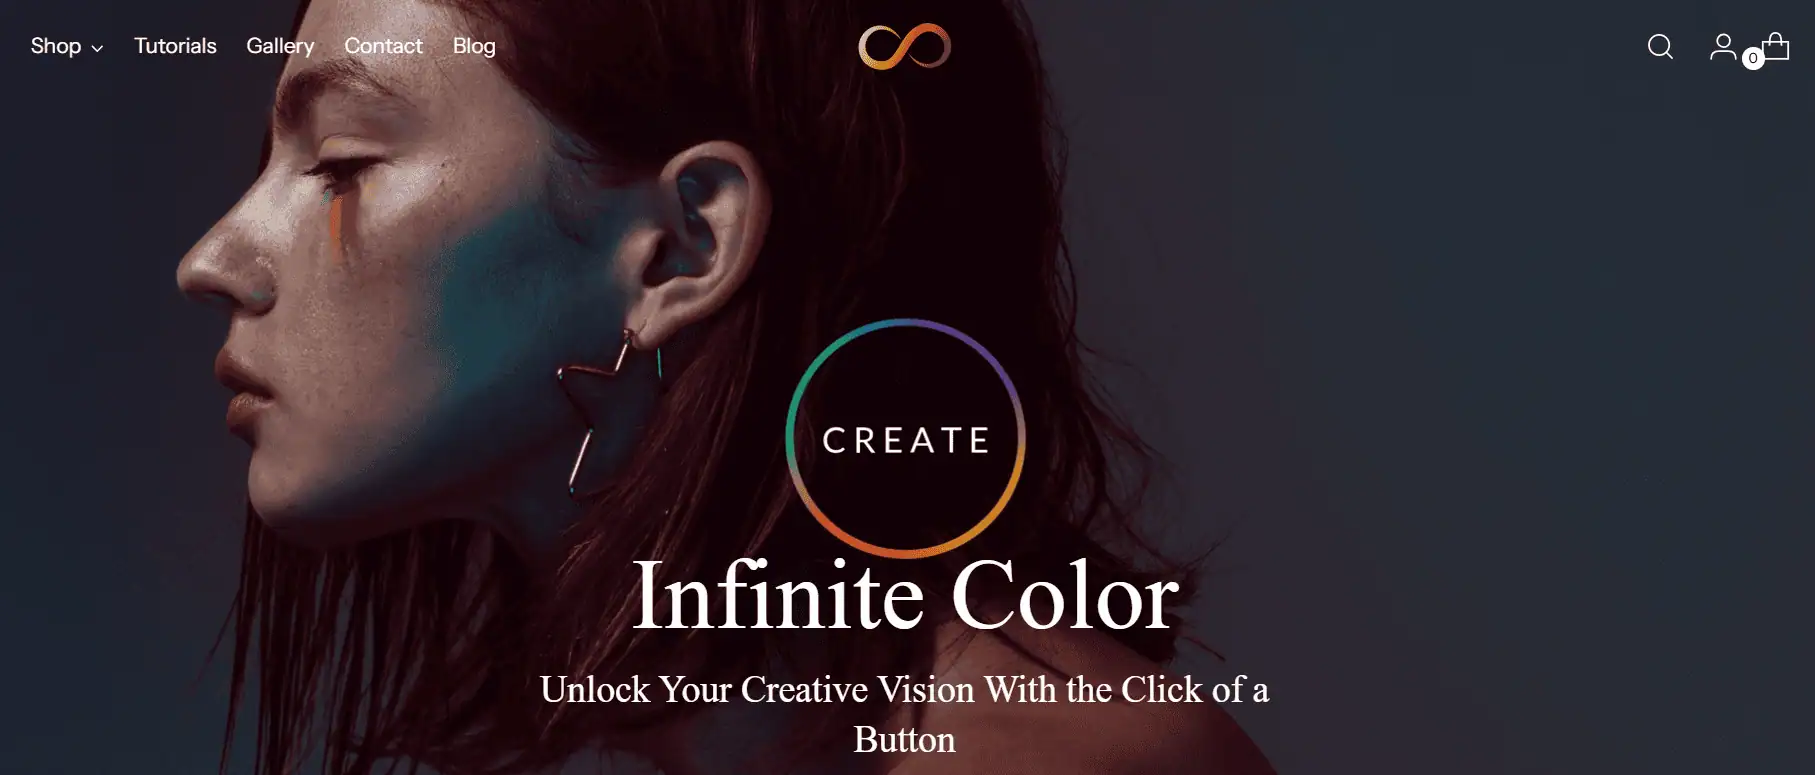
This popular extension (created by retoucher Pratik Naik) essentially generates random but pleasing color adjustment layers that you can then refine, giving you “infinite” possibilities at the click of a button.
The beautiful thing is, these adjustments are all standard Photoshop layers, so you can tweak any part of the recipe after generating it. The panel also has options for Light, Medium, and Intense grading strength to control how strong the randomization is.
You can stack multiple grades for literally endless combinations. Many photographers use it to spark creativity, calling it a “godsend” for exploring looks. The Infinite Color Panel is paid (around $129).
If you want to experiment with color grading in a stress-free way or develop a signature color look, this panel is a fantastic tool. It doesn’t replace understanding color, but it augments your workflow.
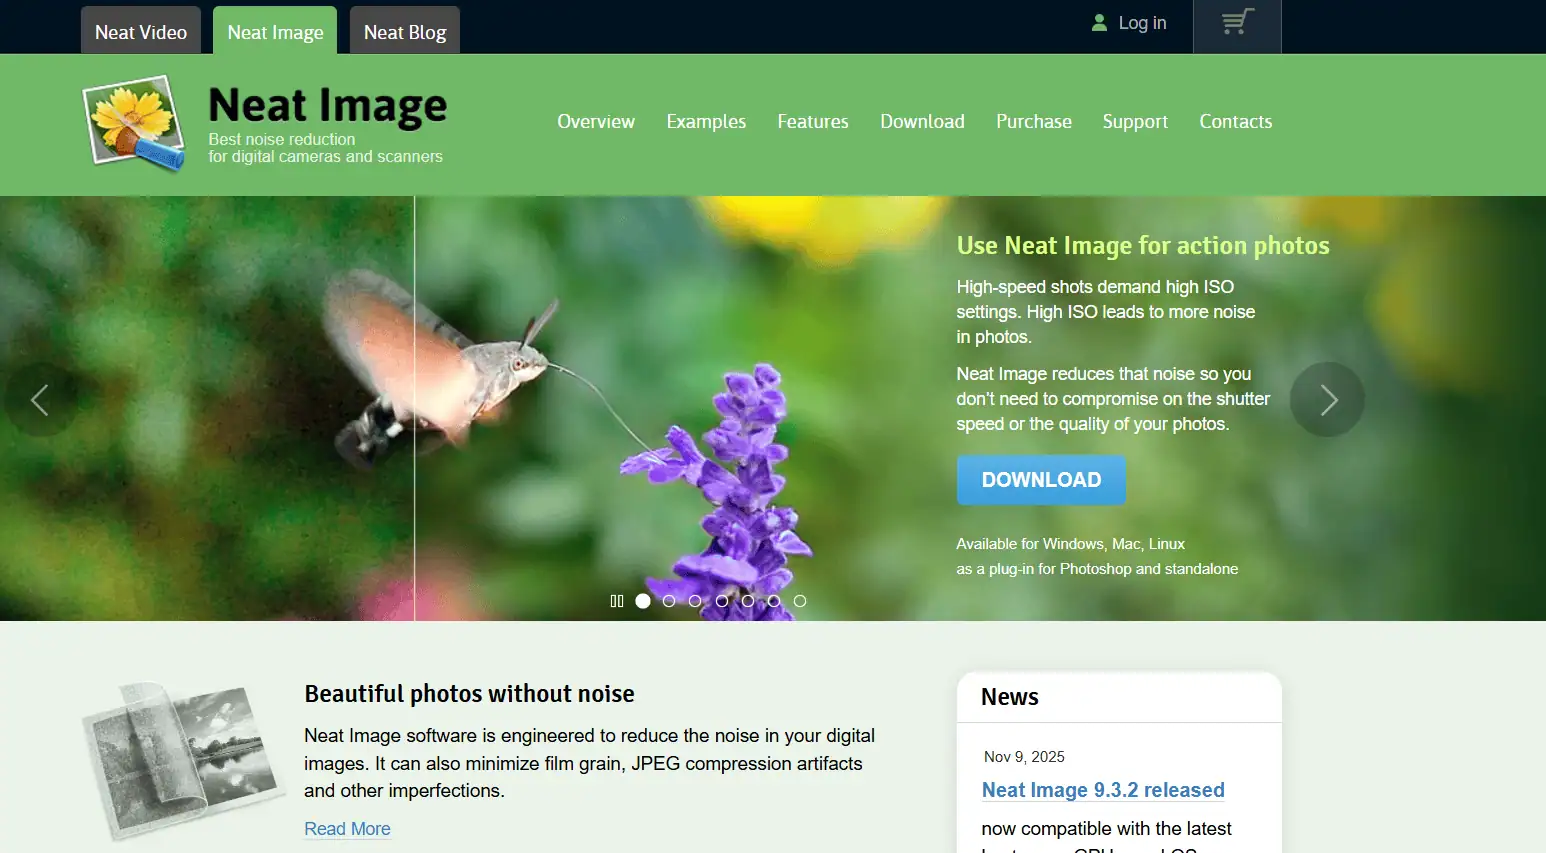
Long before AI denoisers, Neat Image was (and still is) a trusted name in noise reduction for photos. It operates both as a standalone and as a Photoshop plugin, and it’s famed for its ability to suppress noise while preserving detail using sophisticated algorithms and profiling.
Astrophotographers and wedding shooters in the early 2000s swore by Neat Image, and even today, some prefer its results over newer tools in certain cases. It has a profiling step where it reads the noise characteristics of your image (or you can use pre-built profiles for your camera/ISO). It’s quite granular if you want to geek out, but it also has easy presets.
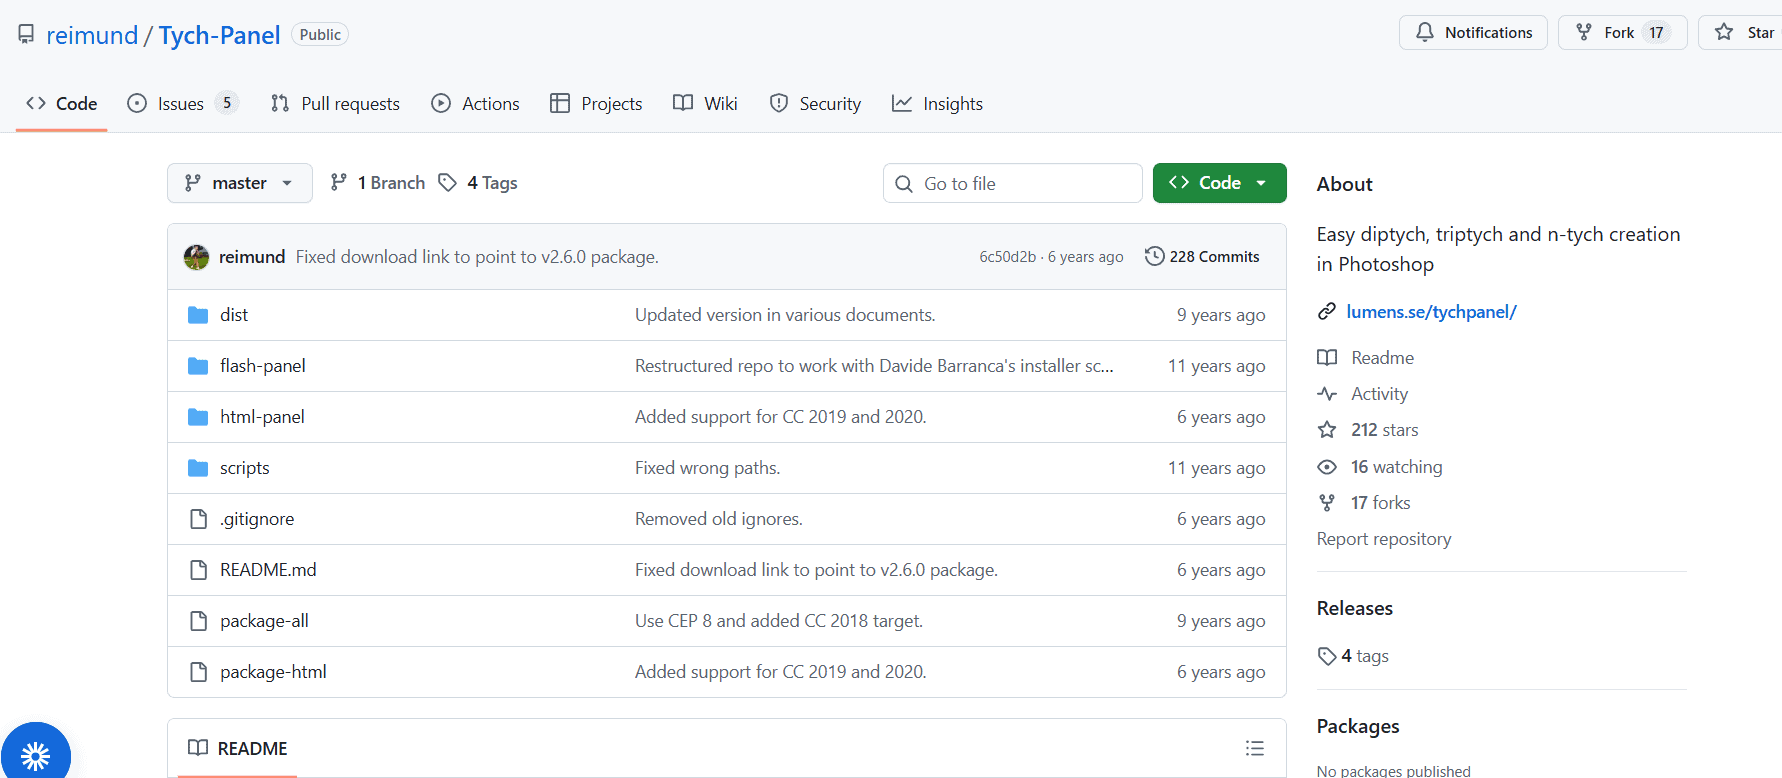
Tych Panel – Best For Creating Diptychs and Collages
Tych Panel automates the process of laying out images into a row, column, or grid format with consistent spacing and symmetry. It’s a huge time-saver for creating presentations, blog images, or client proof layouts.
It even can do a 2×2 or 3×3 mosaic for more complex collages (like a mood board of 9 images) with a couple of clicks. The customization is there too – you can set margin size, background color, and even save presets for specific layouts you use often.
Many wedding and portrait photographers use this to present storyboard layouts or album previews. According to its description, “Tych Panel allows you to place pictures in a collage using a simple panel interface with multiple layouts and templates” – exactly. It’s super straightforward. Another neat trick: it works non-destructively by creating a new document for the collage, so your original edits remain untouched. And yes, it supports Photoshop CC 2015 and newer.
Since it’s free and open-source, it’s a must-have if you ever need collages. I’d say Tych Panel turns what used to be a 10-minute chore into a 10-second procedure.
How Do You Know Which Photoshop Plugin Suits Your Need?
The best Photoshop plugin isn’t just the most powerful — it’s the one that fits your workflow. Whether you’re a professional retoucher, landscape photographer, or graphic artist, these plugins help unlock Photoshop’s full potential.
If you want speed, look into Retouch4Me or Topaz. If it’s creativity, Luminar or Nik. And if you want control, TK8 or ON1 are your jam.
Luminar Neo can enhance your workflow if you’re into general photo editing. Plugins like Fontself also help with font creation, offering creative tools that save you time and effort in your projects.
One standout plugin to consider is Bulk Mockup. It simplifies the process of generating mockups, allowing you to create stunning presentations without all the hassle. This way, you can spend more time focusing on your sales rather than getting bogged down with mockup creation.
How Can I Scale Photos Without Compromising Raw File Quality?
You can use Topaz Gigapixel AI to upscale photos without affecting the raw files. DXO PureRaw is another option to go with.
Where Can I Get Mockup Templates To Automate Bulk Mockup Creation?
You can get templates for t-shirts, tumblers, mugs, wall art, etc, from Envato Elements and Creative Market. They offer PSD files to work on with the Bulk Mockup plugin for generating mockups in bulk.
Is There A Photoshop Plugin To Create Custom Fonts?
Fontself lets you create custom fonts from scratch. You can create fonts even from hand-drawn letters and vector graphics.
What is the best Photoshop plugin for image masking?
Boris FX Optics is one of the most recommended Photoshop plugins to use for image masking.
Which is the best Photoshop plugin for skin retouching?
Portraiture 4.5 is the best Photoshop plugin for skin retouching on portrait images.
What are the best Photoshop plugins/actions for portrait design?
What’s the best way to automate bulk mockup creation for my POD business?
The Bulk Mockup plugin is tailor-made for that. It lets you batch-replace smart objects in multiple PSD templates with a folder of design images and export all the resulting mockups in one go.
What’s the best Photoshop plugin for image masking
One highly recommended option is Boris FX Optics, which includes powerful EZ Mask tools for advanced masking
What are the best Photoshop plugins (or actions) for portrait effects and styling?
Nik Collection 7 (especially Color Efex Pro) and Nik Analog Efex are fantastic for portrait toning and styling
Vikash is the founder of Bulk Mockup, a specialized plugin that integrates with Photoshop to streamline mockup creation for print-on-demand sellers. Drawing from his experience running Putoos Graphics LLP, an image editing agency serving hundreds of e-commerce entrepreneurs, he recognized the time-consuming challenges of manual mockup production. Bulk Mockup was developed to automate this process, helping sellers save valuable time and resources while professionally presenting their products