Elevate your mockup game with realistic smart object templates. Learn to automate mockup creation for scalability and high-quality results.


Compared to basic mockup templates, realistic smart object based mockup templates can do wonders for your business.
In this tutorial today, I’ll show you how to level up your mockup game and add realism to it. As a bonus, you’ll also learn how to do it in scale and make thousands of realistic mockups in an automated fashion.
If you’re a visual learner, checkout our new video on the channel.
First we need to know why we are making smart object based PSD mockups and not something like JPEG.
Just look at the difference and you’ll know for yourself. The quality difference is astounding.
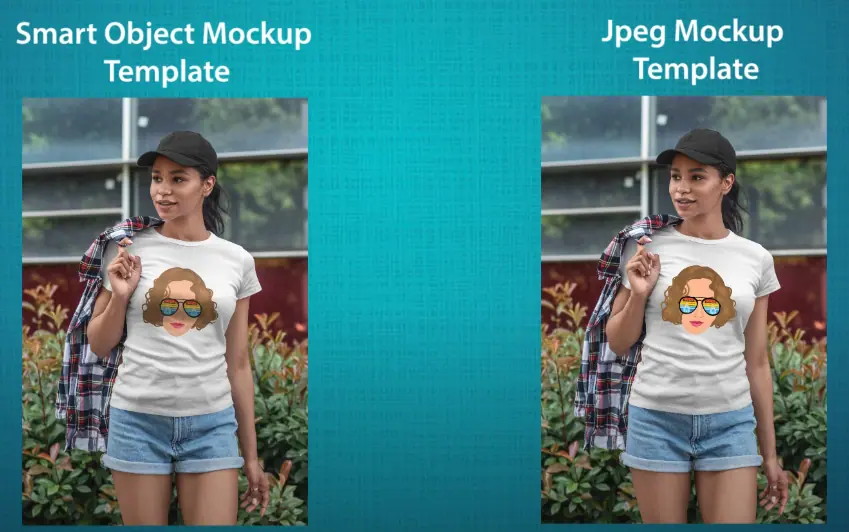
What you can’t do with JPEG or Canva mockup templates, you can do with Smart Object Based Mockups.
You can pair Bulkmockup with smart object based PSD mockup templates to generate thousands of mockups in an automated process.
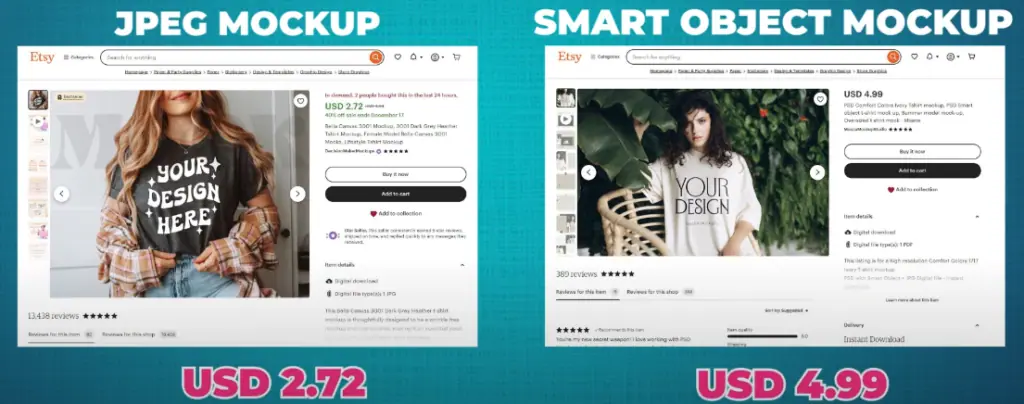
For mockup template sellers, smart object based templates sell at a higher price. Just look at the price difference in ETSY.
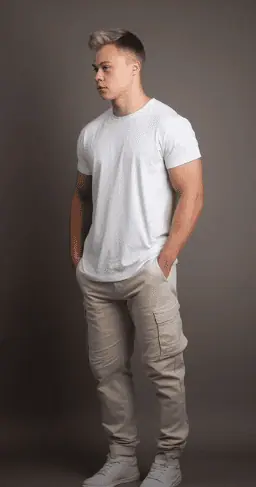
I’ll be showing you some very easy but useful ways to make smart object based mockups. I’ll be not just showing you the easy samples where the model is looking directly in the camera.
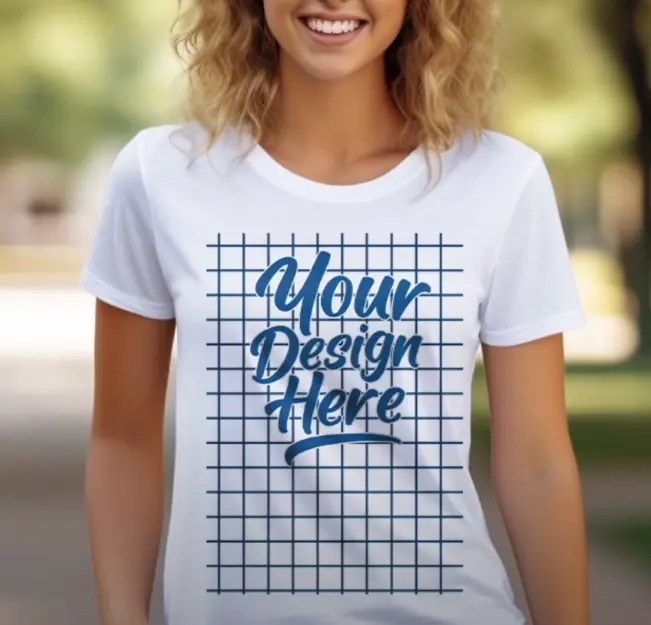
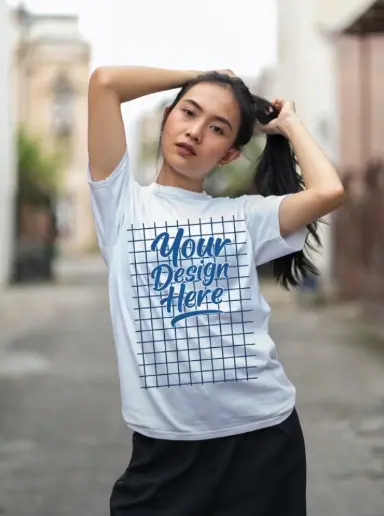
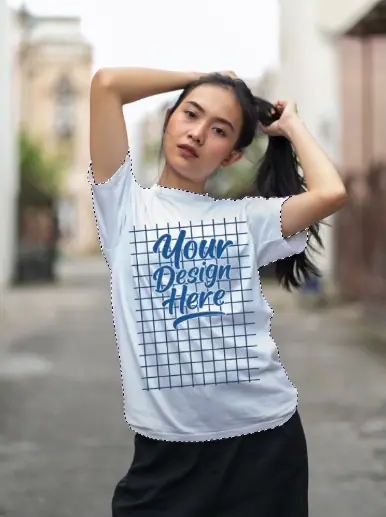
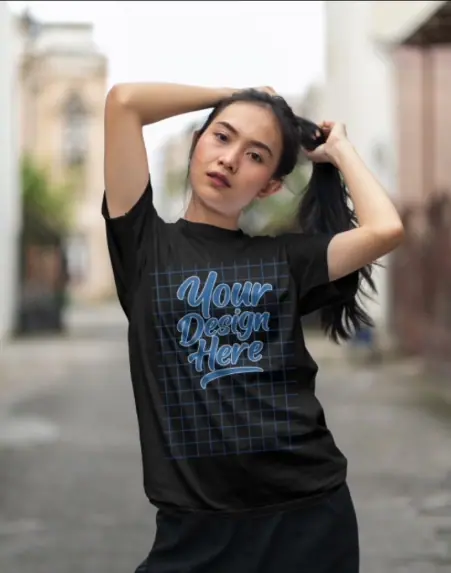
We are going to work on models like this too, where the process is not that simple.
You can collect it from various resources like Freepik, shutterstock etc. But if you want something different, you can follow our cool guide on how to make t-shirt template assets from popular AI tools like Midjourney.
This process needs some work depending on your assets.
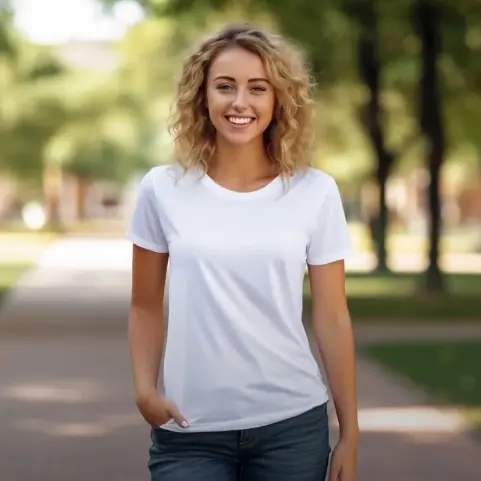
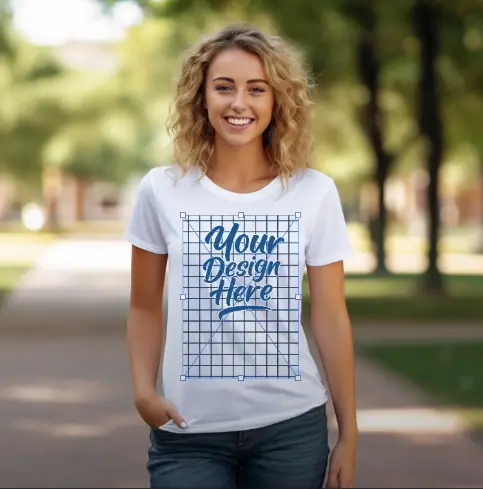
If the asset is this basic, you can just put the design on your models tshirt and you’re done but if the asset image is not taken from a front angle, we need to do some extra work with the “Perspective” and “Distort” option.
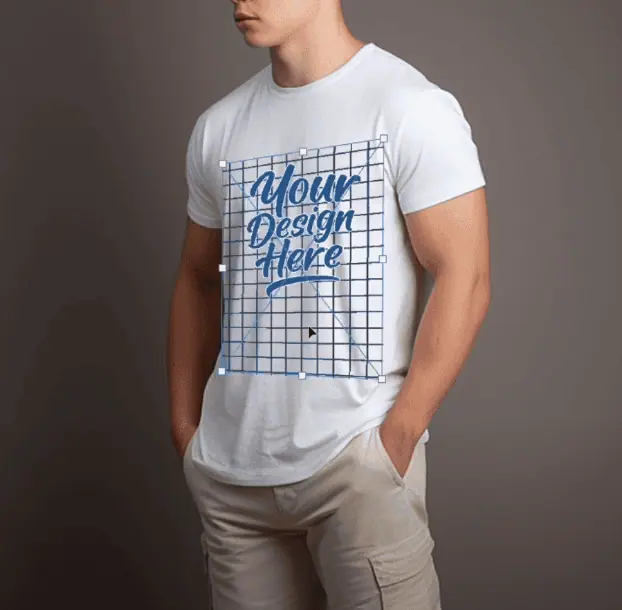
With a model like this, first put your design on the asset and resize it to the smart object with “ctrl+T” or “cmd+T” like any other asset.
Now we have to match the plain of the design with the plain of the t-shirt.
Let’s try the “Perspective” option first.
When the control options are on, right click on the smart object and choose the option Perspective.
You can move the anchor points to sideways or front/back.
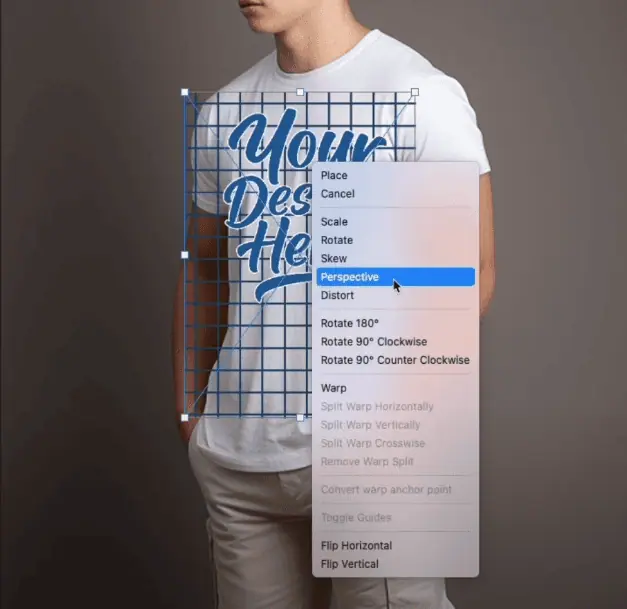
Match the plain of the design with the tshirt and you’ll have a result like this.
And you’re done.
To add realism, just placing the design isn’t enough. We need to add shadows and highlights to the design.
There are two ways to achieve that –
Let’s talk about them in detail.
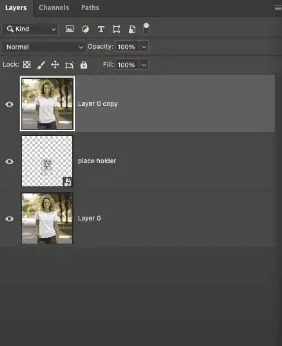
To do this, first we have to copy the tshirt layer in the layers panel. We can do it by choosing the tshirt layer and pressing “ctrl + J” or “cmd + J ” and placing the copied layer on the top of the smart object layer like this.
Now go to Image → Adjustment → Desaturate.
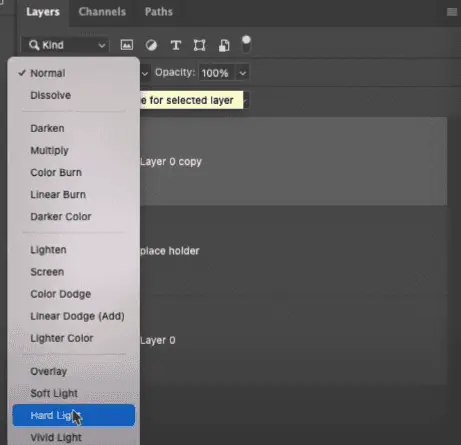
Now on the Blending mode, where it’s Normal by default, choose the”Hard Light”
After this, right click on that layer and choose “Create Clipping Mask”
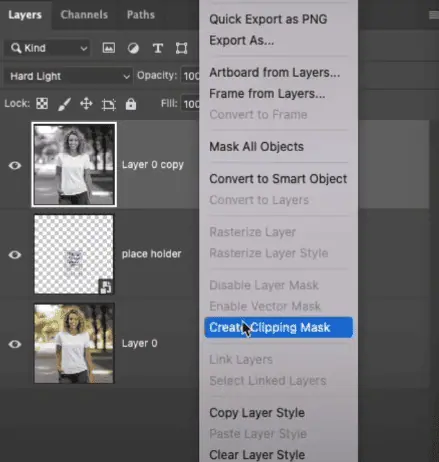
By creating the clipping mask, the effect of the hard light blending mode effect only applies to the layer beneath it.
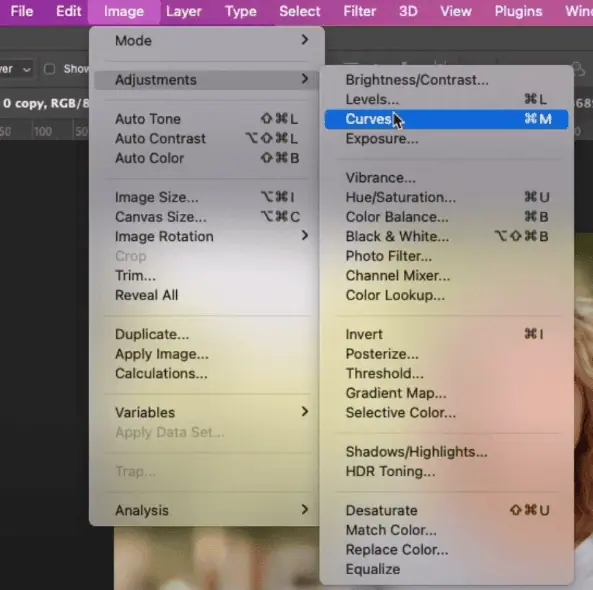
Now, go to Image → Adjustment → Curves
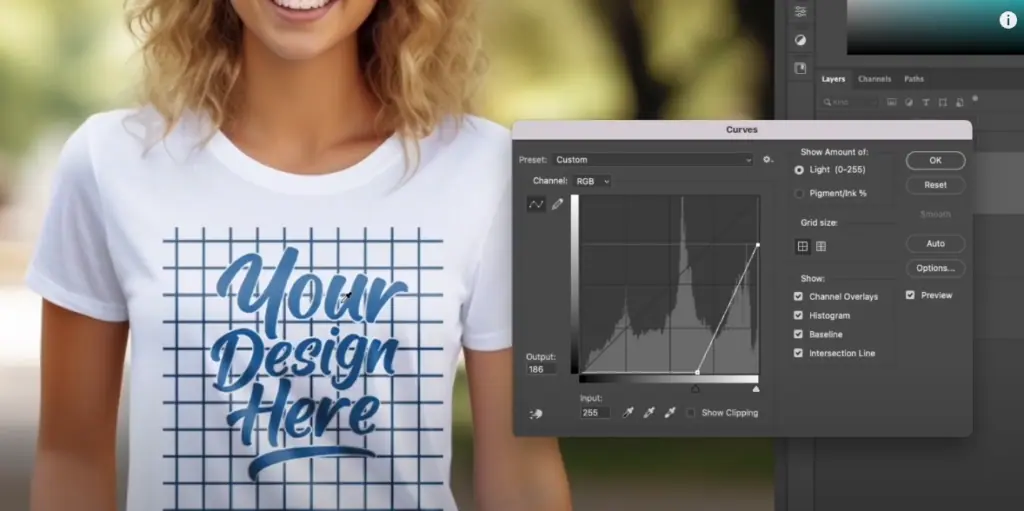
You can see, we can’t see the design properly right now but in the Curves panel, we will adjust the shadow and highlight part till the design looks perfect like this.
Look at them side by side with and without the hard light blending and you’ll see the difference.
With the hard light blending, the design fits perfectly and looks 100% natural.
Now, if you put your design on the placeholder design, your design will have all the shadows and curves like a real image.
If your tshirt is with darker shades, move the cursor of shadows and highlights in the opposite direction like this.

This is an advanced method. This method has the added benefit of having the option to change the tshirt colors as needed.
For this part, we’ll be taking this models image.
To do this, first we have to make a selection of the tshirt. So, get your Quick Selection Tool and select the tshirt like this.
Now click “ctrl + J” or “cmd + J” and that will make a copy of the selected part as a layer. Now turn off the visibility for the placeholder and the model.
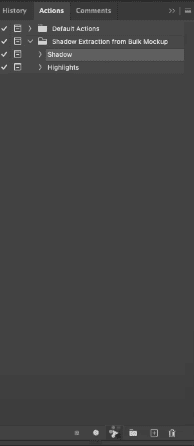
Then go to Windows → Action.
In the action panel, choose the “Shadow extraction from Bulk Mockup”. Under it has two actions named “Shadow” and “Highlight”.
You can grab this action from this link.
Now click the Shadow action and hit Play.
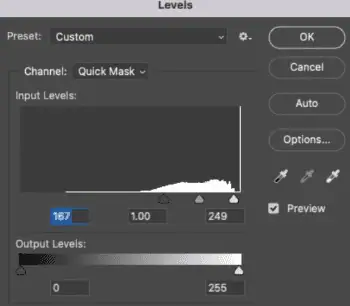
That will extract the Shadow and now we have to adjust it to our liking and to make the contrast between highlights and shadows more apparent.

Play with it a little to find your perfect match.
Do the same for Highlights option and adjust as you need like this.
Now, turn off the visibility of all the panels above.
Then hold ctrl and choose Layer 1 and then select the model layer and hit Delete.
After this, press “ctrl + D” or “cmd + D” so it will deselect and look like this.
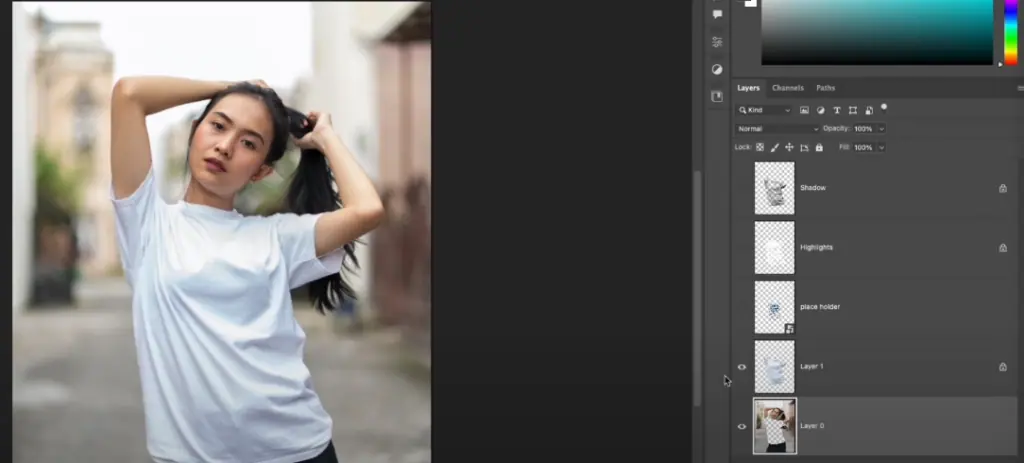
Now choose Layer 0 and choose the Solid Color.
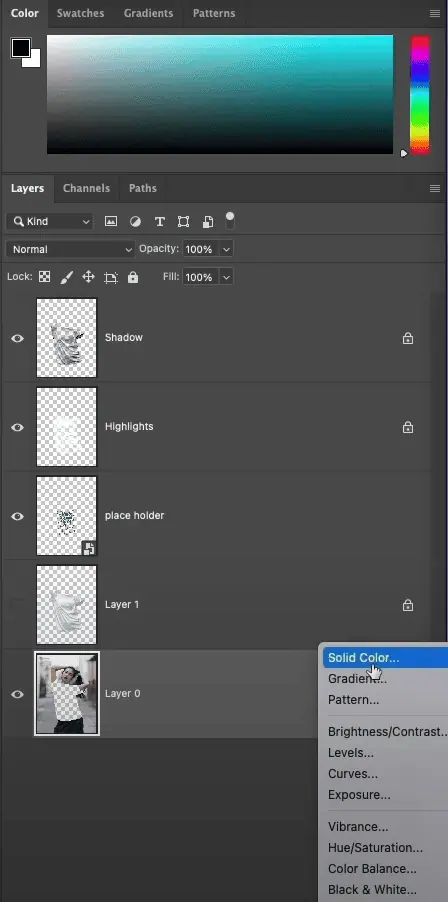
After this, put the color layer beneath the model layer like this.
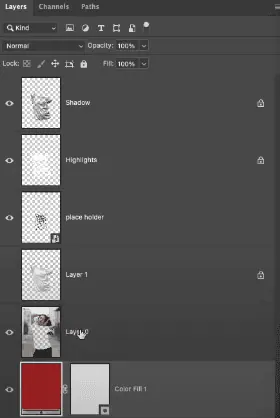
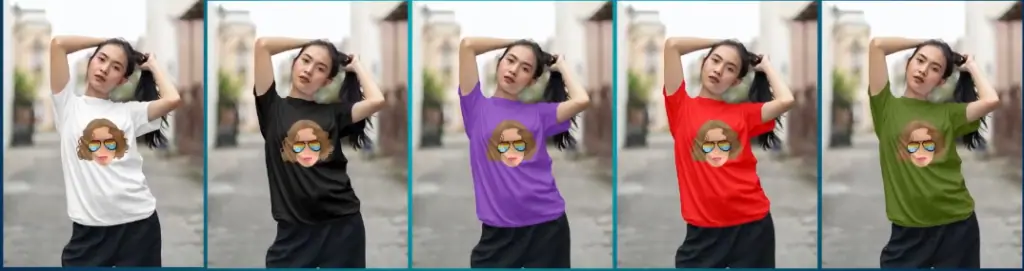
This fill color will define the color of the tshirt by choosing any color.
Now for the finishing touch, turn on the visibility of the shadow and highlight layer and play with the opacity till you get the perfect color. In our case, we made the tshirt blue like this, you can change it to any color you like.
Pro Tip: Separating the shadow and highlight layer will give me more control. You can change the opacity of them to make any color code you need like this.
The process we’ve shown in this article is enough for you to start making realistic high quality mockup templates.
If you want to take things one step further, you can use “Displacement Map” and “Liquify Filter”. If you don’t know what they are or how to use them, check out this video.
After all this is done, you can use these templates with BulkMockup to create thousands of mockups with different designs in a automated process.