
Create professional wall art mockup templates with Midjourney and transform them in Photoshop. Turn your designs into realistic interior visualizations!


Creating wall art mockups helps you present your artwork in realistic environments. This guide explains how to generate wall art mockups using Midjourney and refine them in Photoshop. Follow the steps to effectively showcase your designs.
Join 5,000+ designers automating their Photoshop workflow today! Get Started
With Midjourney, you can generate engaging mockups featuring framed artwork on walls. These mockups can be used to:
For this, you first need to learn how to make wall art mockup with Midjourney. Let’s start.
To make the best wall art mockups with Midjourney, follow this template structure:
[Frame Style] + [Room Type] + [Room Color] + [Furniture] + [Interior Theme]
In this aspect, the perfect wall art mockup prompt can be customized like this:
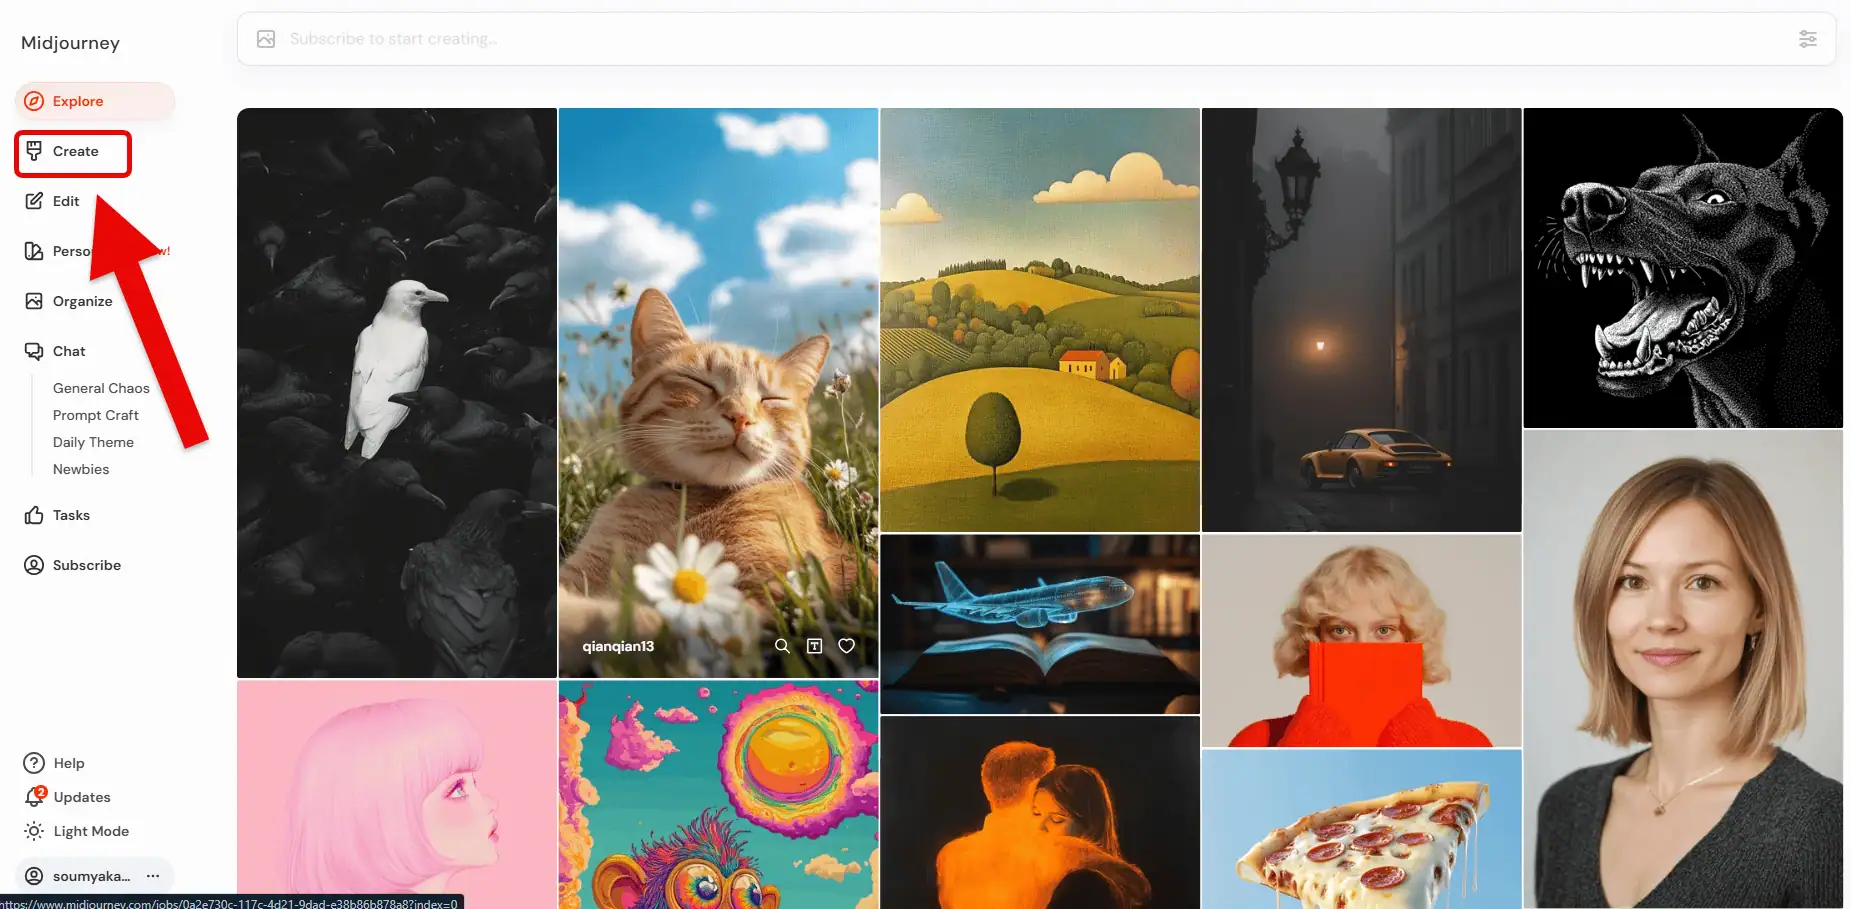
Now, log in to Midjourney and go to the create section to type:
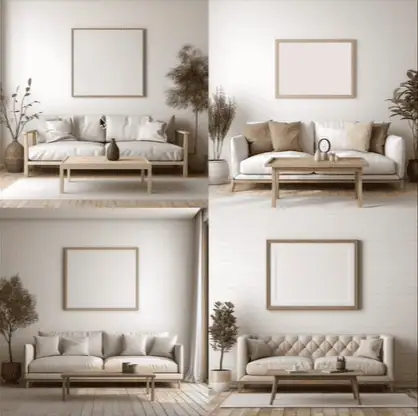
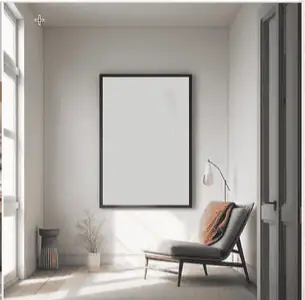
Create an empty rectangle frame mockup in oak placed in a neutral color living room. The living room has a couch and a coffee table. The room also has a minimal design interior theme.
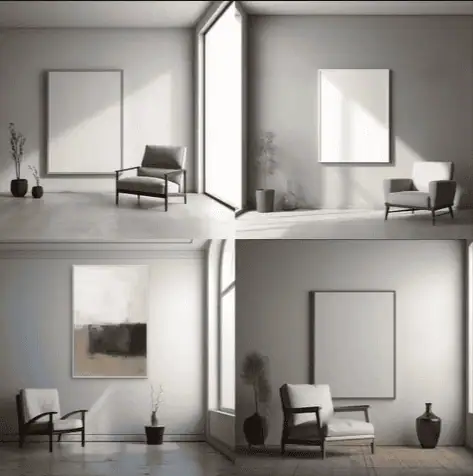
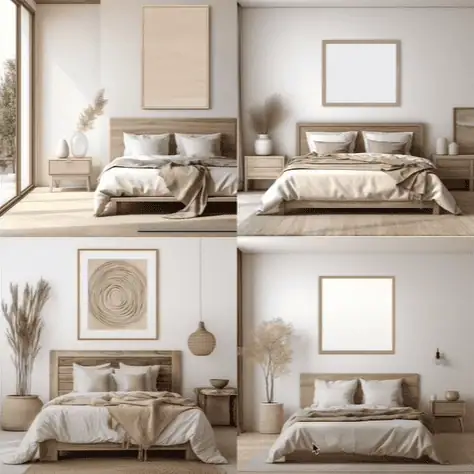
This is a basic prompt example. You don’t have to be grammatically correct, but your input elements in the mockup prompt must be clear. Here is the output given by Midjourney after entering this prompt.
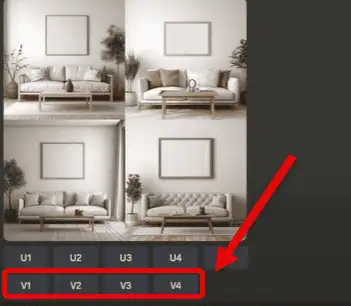
You will find four variations of your mockup. You can then:
You will find mockup templates marked as versions (V1, V2, etc). Choose one you want to proceed with.
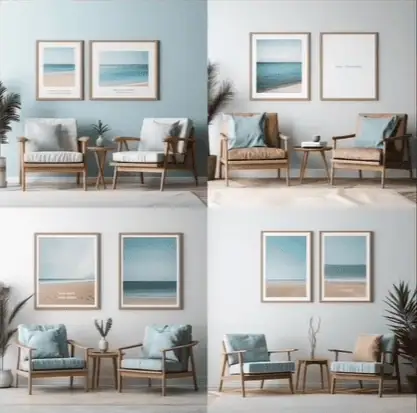
For instance, here is an altered prompt.
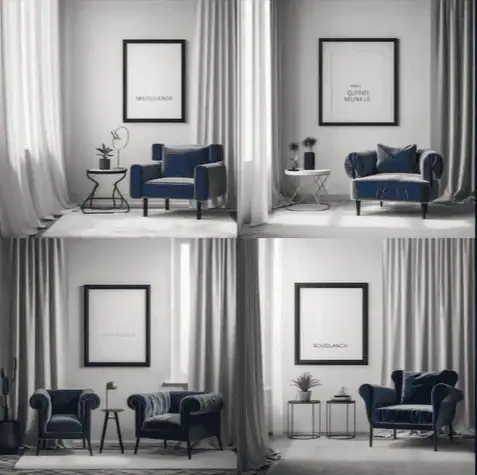
Create an empty rectangle frame mockup in oak placed in a blue color living room. The living room has an armchair and a coffee table. The room also has a coastal design interior theme.
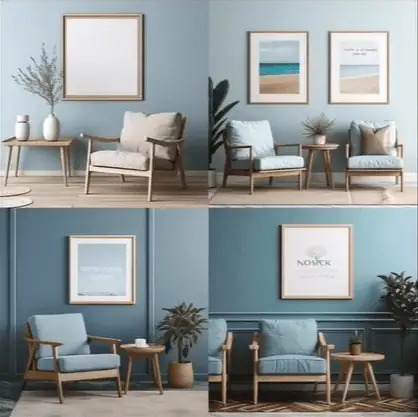
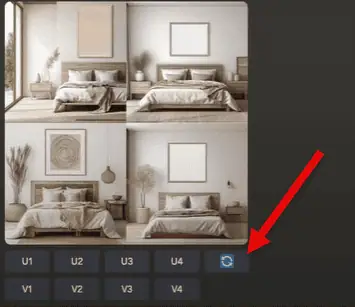
Choose your favorite design for better resolution. I chose the second variation and generated four more wall art mockup templates.
Once you are satisfied, you can upscale and download these template images.
The best place to get inspiration for your wall art mockups is Midjourney. You can find creations of experienced users in its gallery section. Here’s what you have to do.

2. Search for “wall art mockup”.
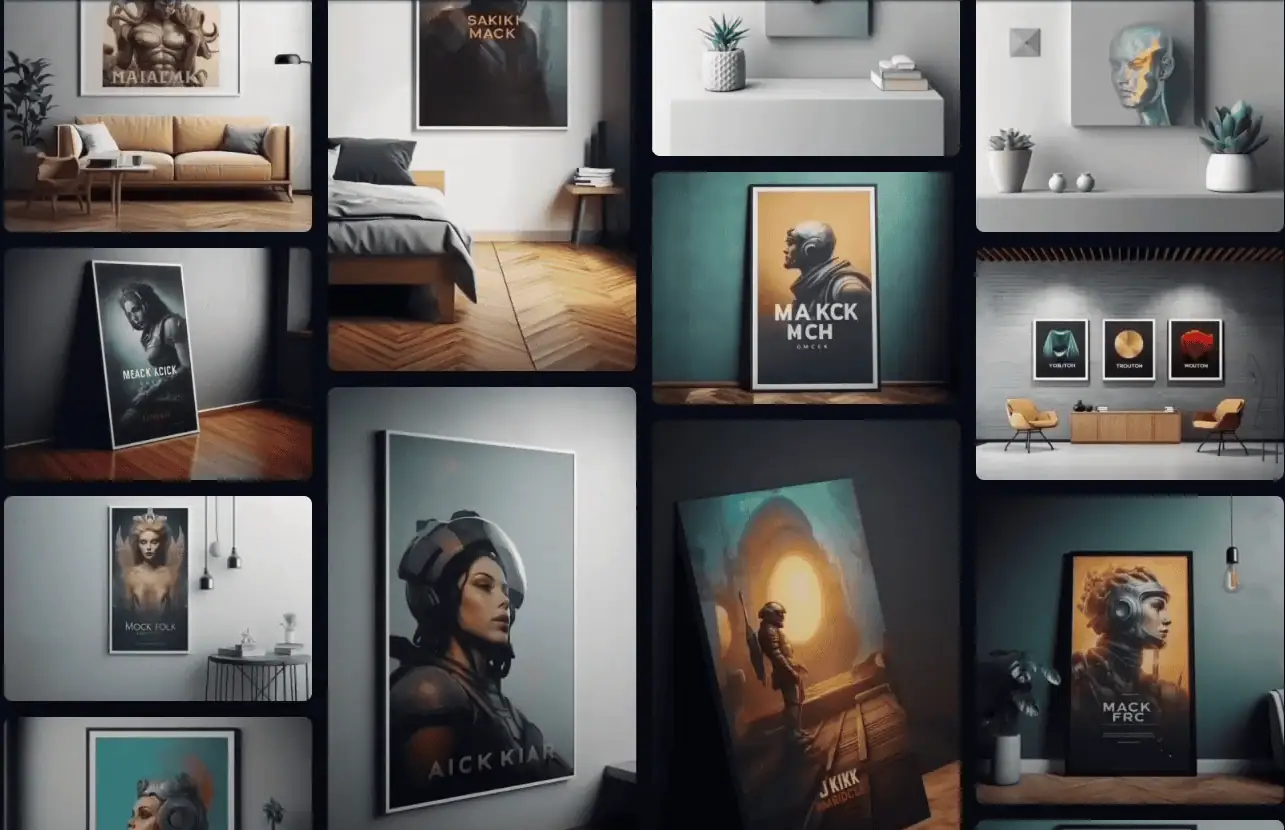
3. Select a wall art mockup and copy its prompt.

You can also click on specific users to see all their mockup creations. This tip will help you understand how exclusive mockup templates can be generated.
Let’s proceed to the next part and learn about two special Midjourney prompts.
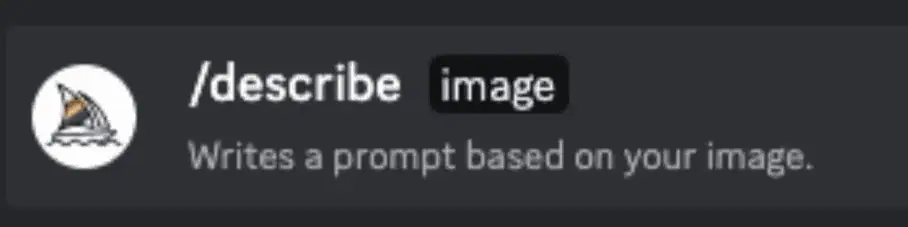
The /describe command allows you to upload an existing wall art mockup image and get prompt suggestions.
Find a wall art mockup you like from any source.
2. Take a screenshot of the mockup.
3. Go to Midjourney, type ‘/describe’ in the Create bar and hit Enter.
4. Upload your screenshot. You can drag and drop your screenshot.

5. Midjourney will analyze the image and suggest four possible prompts.
This way, you can reverse engineer prompts from wall art mockup images you like.
6. Copy one of the suggested prompts to create a similar mockup.
Prompt 2: Using Reference Images

2. Right-click on the uploaded image and select “Copy Link”.
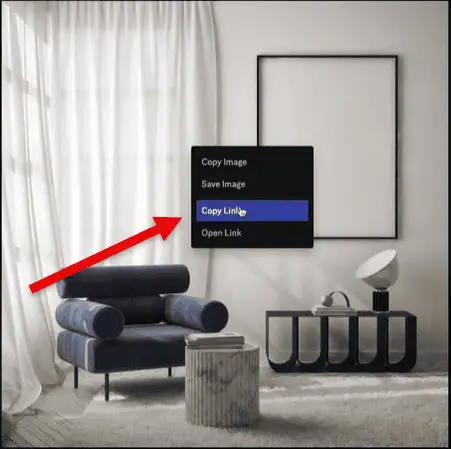
3. Type ‘/imagine’ followed by pasting the link.

4. Add a comma after the link and include any additional prompt instructions for adjustments.
5. Midjourney will use the image as a reference while creating your mockups.
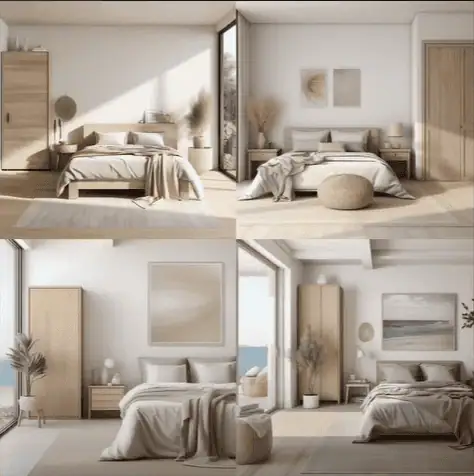
You can further adjust the variations by rewriting the prompts. For instance, if you want a cozy bedroom interior for wall art mockups, adjust the prompts accordingly. Here is what I got as the prompt adjustment result.
At times, Midjourney will fail to follow your prompts word by word. Here is a simple trick to follow to avoid such results.
Sometimes, Midjourney ignores specific instructions in your prompt. Here’s a trick:
2. In the revised prompt, repeat the missing element multiple times.
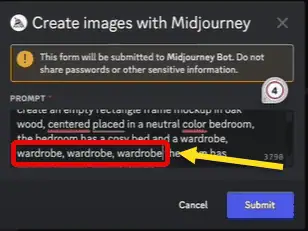
For example: “wardrobe, wardrobe, wardrobe, wardrobe”. This emphasis forces Midjourney to include your requested element.
3. Submit the updated prompt.
You can see how emphasizing certain elements does not let Midjourney miss them.
If you need help creating Midjourney prompts, I have prepared a Google Sheet. This Midjourney Mockup Prompt Generator allows you to select parameters and automatically generate a prompt.

At a negligible price, you can get a good idea of how to begin generating wall art mockup prompts.
Despite its exceptional capabilities, Midjourney misses some aspects of wall art mockups.
While you can control frame color by specifying materials like Oak or Black, the orientation and aspect ratio require post-processing in Photoshop.
To address Midjourney’s limitations and create professional mockups, follow these steps in Photoshop:
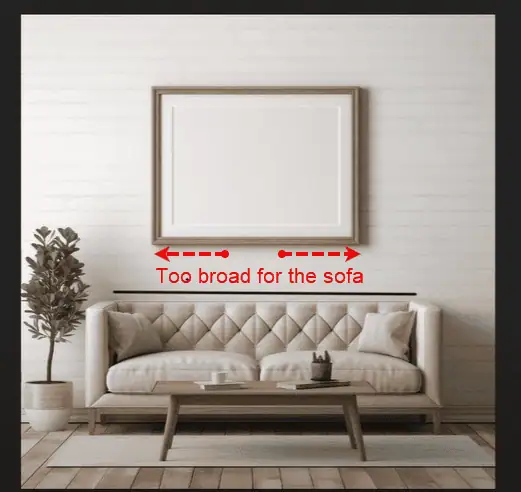
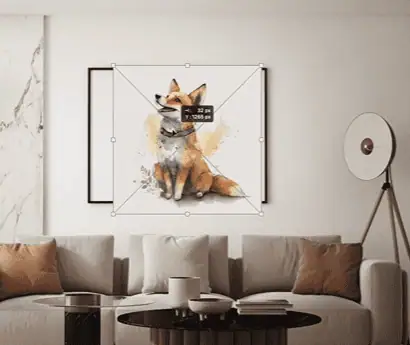
Midjourney often creates frames with unrealistic proportions. Here is what you need to do.
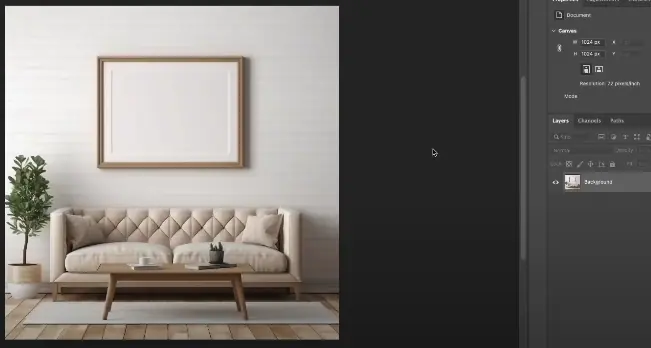
2. Check the frame size and compare it with other elements.
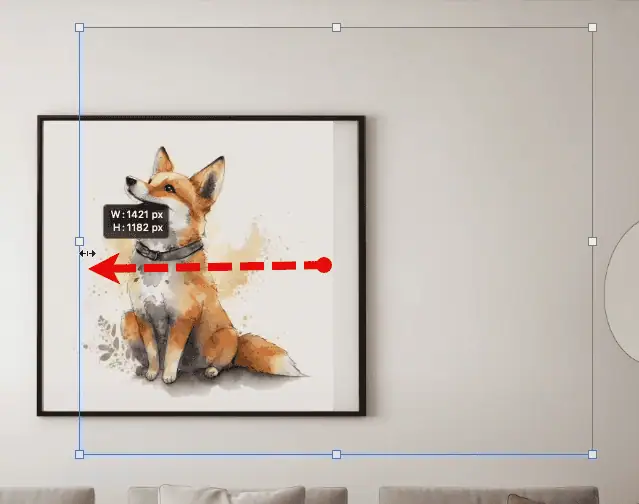
3. Select the frame area.
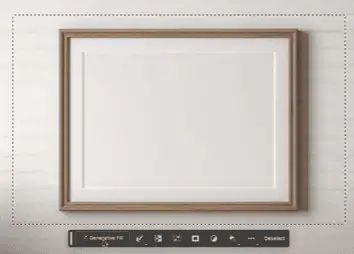
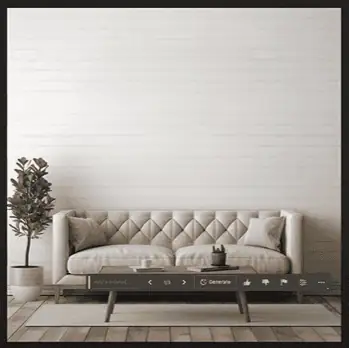
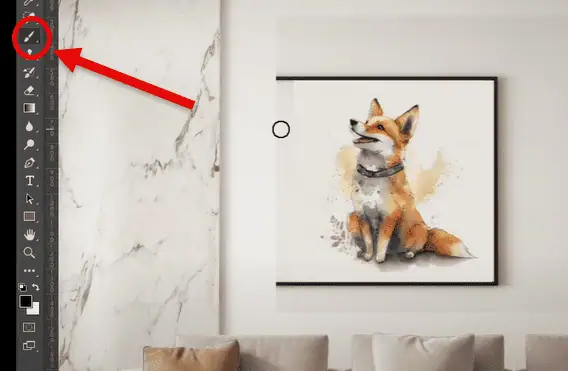
4. Use Content-Aware Fill or Generative Fill to remove the existing frame.

5. This preserves the background and lighting while removing the unrealistic frame.
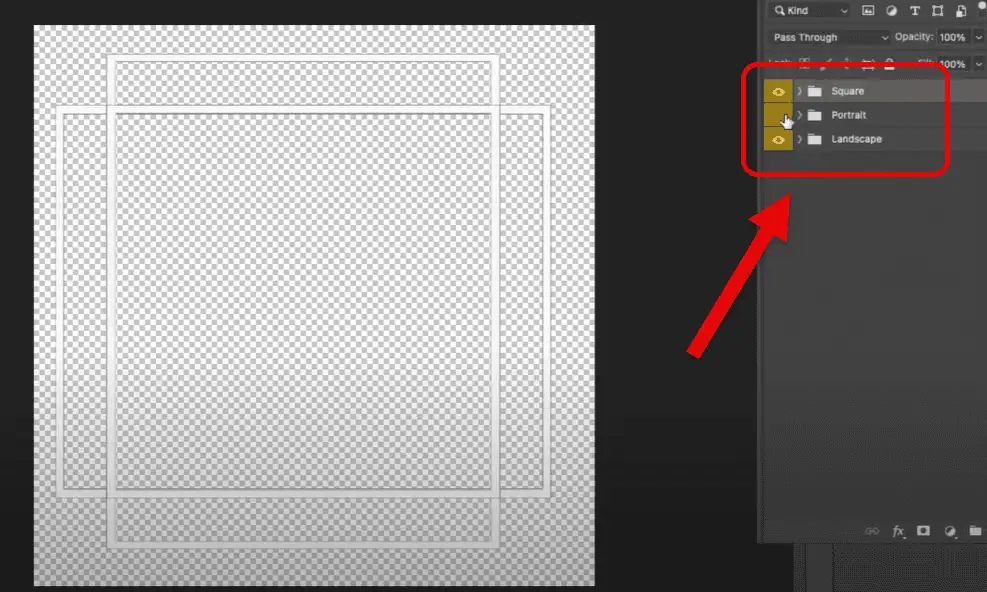
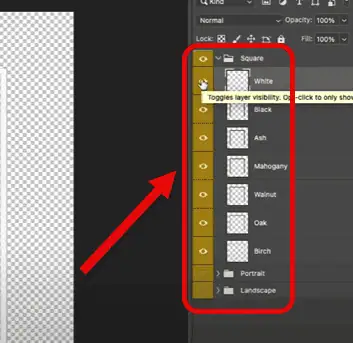
3. Choose the frame color layer (White, Black, Ash, Mahogany, Walnut, Oak, or Birch).
4. Right-click and duplicate the frame onto your mockup image.
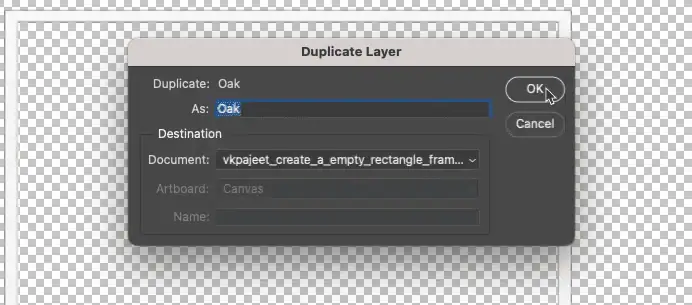
5. Position the frame where you want it to appear.
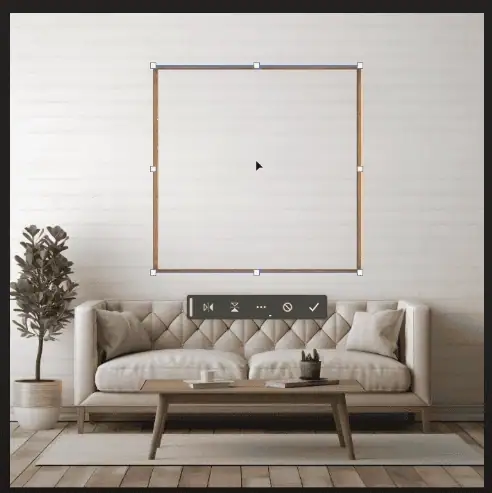
6. Press Ctrl+T to transform and adjust the size appropriately.
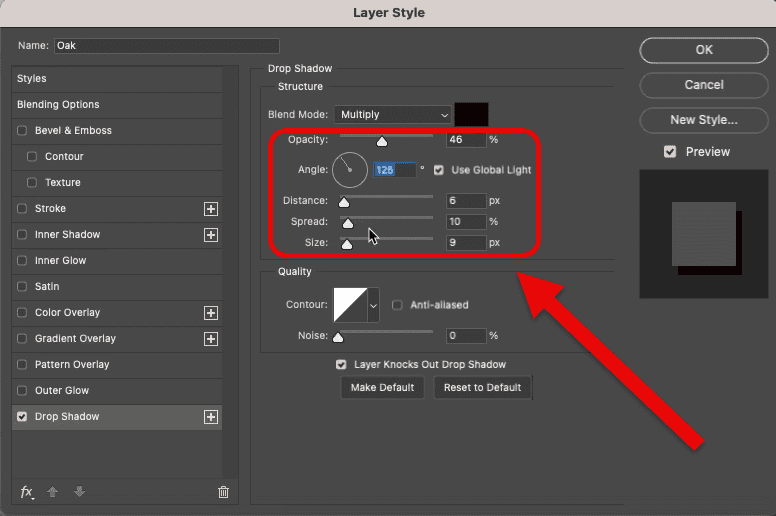
7. Add realistic shadows using the Effects > Drop Shadow option.
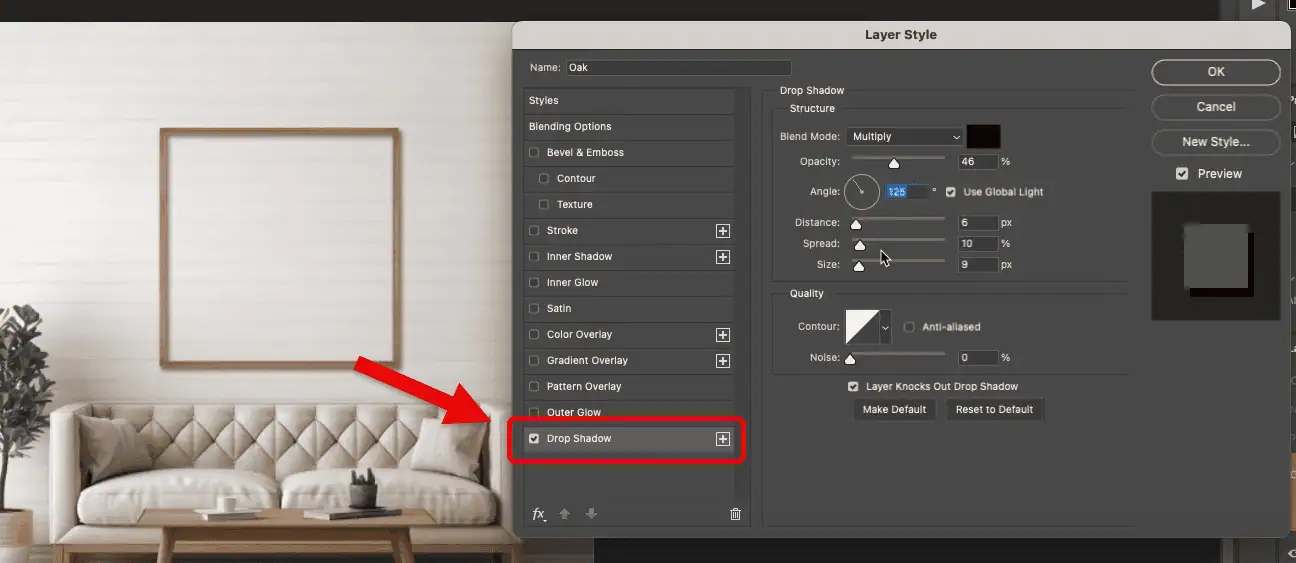
8. Observe the image to determine light direction (shadows are on the opposite side).
9. Adjust the angle, distance, and opacity settings based on your image lighting.
Now, our Midjourney image is ready for placing wall art.
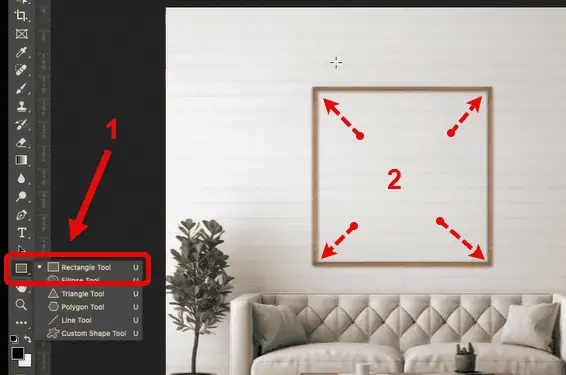
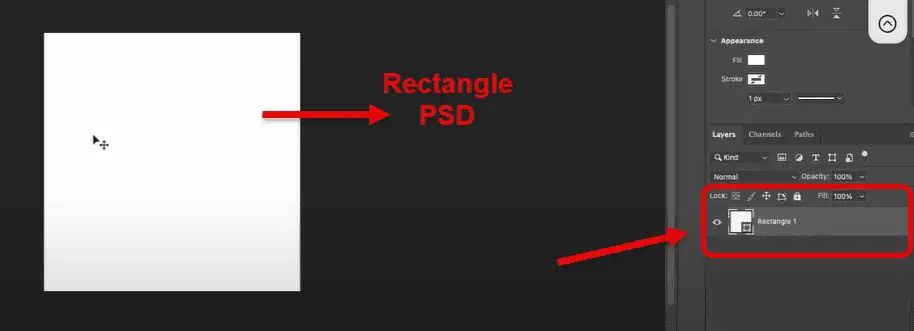
2. Set the ‘fill color’ to white and remove the stroke.
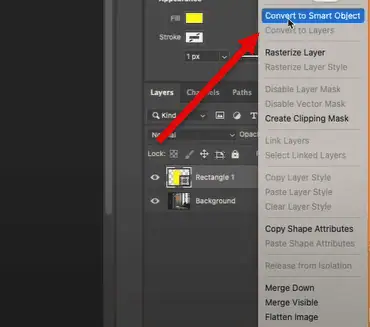
3. Right-click the rectangle layer and select “Convert to Smart Object”.
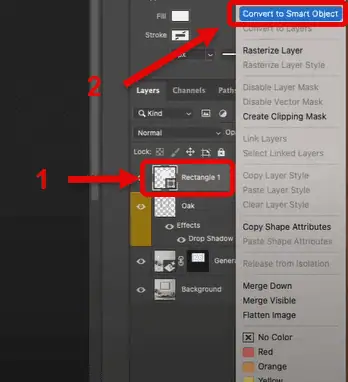
4. Rename the layer to “@design” for easy identification.
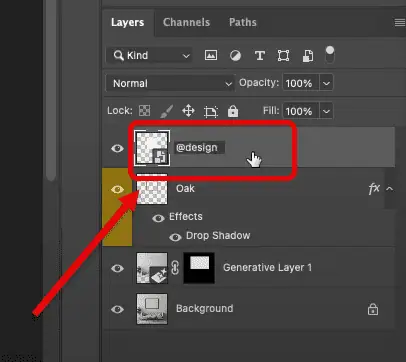
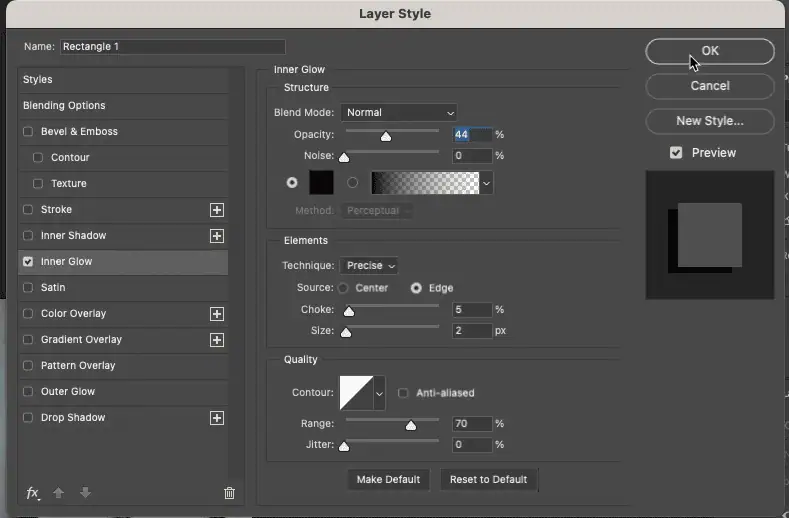
5. Add the ‘Inner Glow’ effect to create realistic shadows.
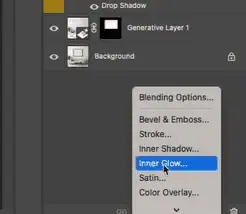
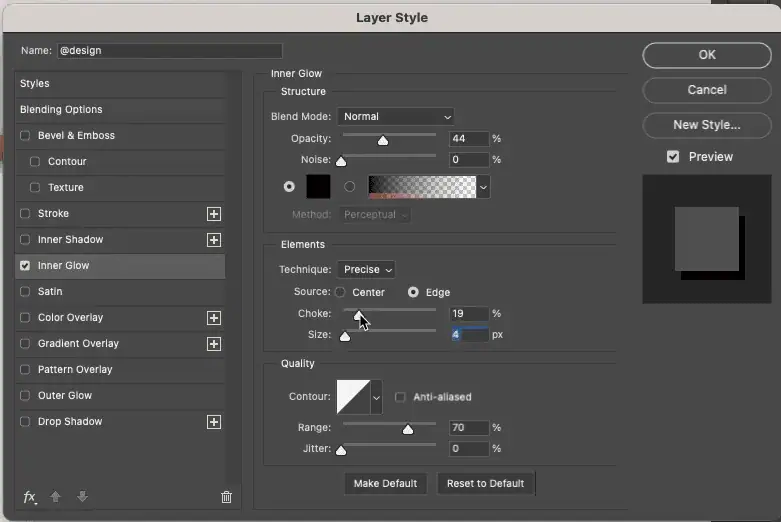
This step will create subtle, realistic shadows inside the frame.
2. Place your artwork inside the rectangle.
3. Resize and position the wall art as needed.
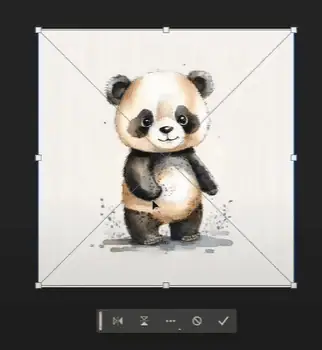
4. Save (Ctrl+S) and close.
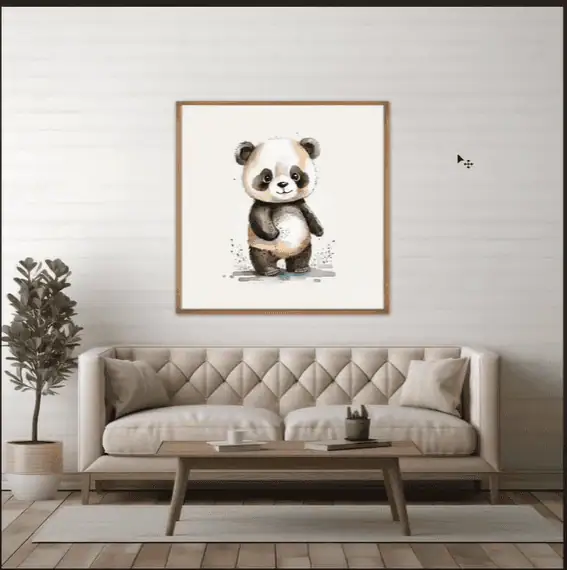
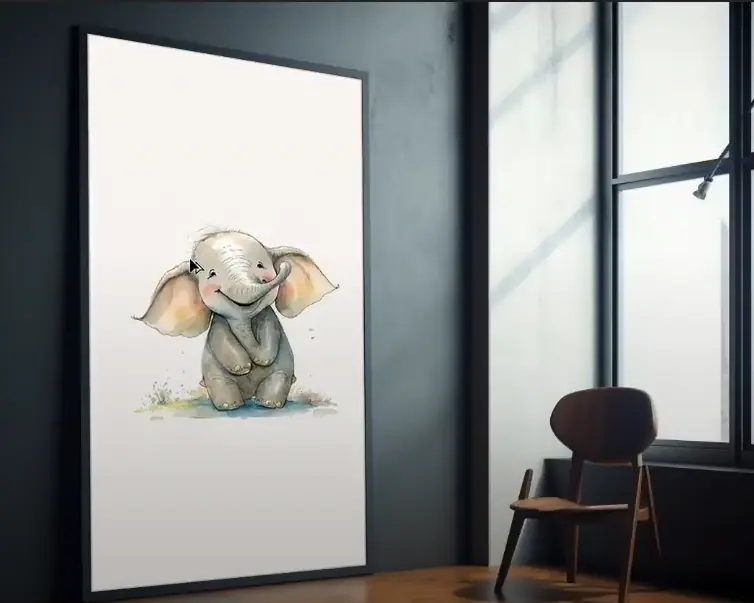
The artwork will automatically update in your mockup with all shadows and effects intact. This tutorial was about straight frames on the wall. How can you make such changes in an oblique frame? Let’s find out.
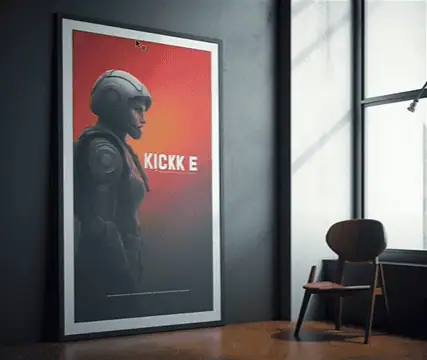
Let’s consider this wall art frame as an example of an oblique-angled frame.
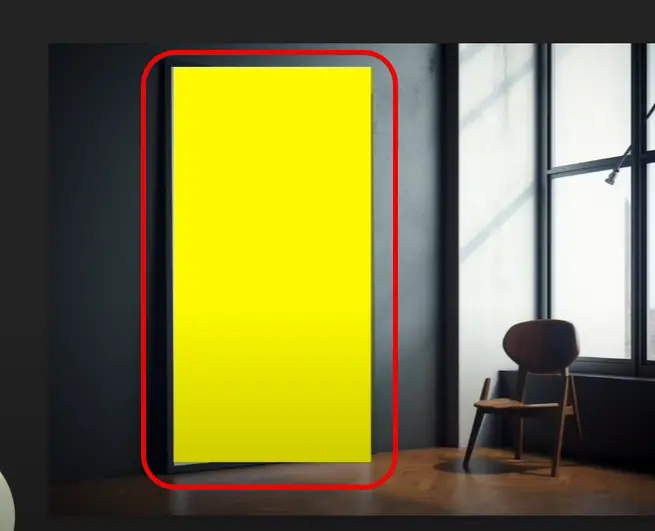
2. Right-click on the rectangle and convert it to a Smart Object.
3. Press Ctrl+T to enter transform mode.
4. Right-click and select “Distort”.
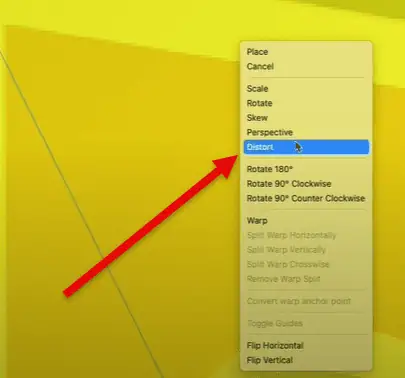
5. Drag the corner points to match the frame edges in the image.

6. Press Enter to apply the transformation.
7. Restore opacity to 100%.
8. Add the ‘Inner Glow’ effect for realistic shadows.
9. Double-click the Smart Object to add your artwork.
Add your wall art to the smart object layer and save the file. If you want to change the aspect ratio of your frame, here’s what you need to do.
If your artwork doesn’t match the frame’s aspect ratio:
2. Select the background layer.
3. Use the Marquee tool to select the frame edge area.

4. Press Ctrl+J (Windows) or Cmd + J (Mac) to duplicate the selection to a new layer.
5. Hold Shift and move the artwork to the desired position.
6. Add a layer mask and use a brush to paint over any visible distortions.
Once done, save the file. Here is the final result.
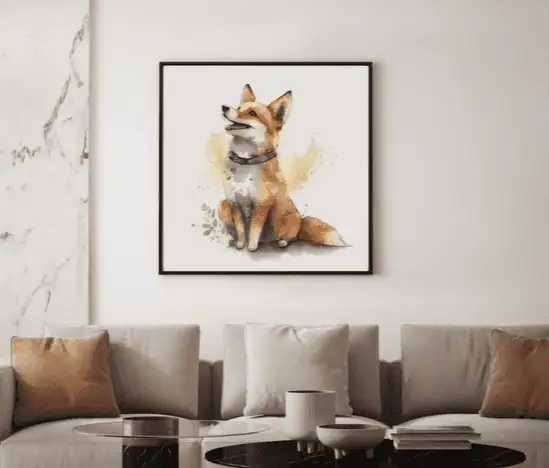
This technique allows you to change a rectangular frame to a square one (or vice versa).
Creating wall art mockups in Photoshop is easier than it seems. To simplify the process, I have prepared a PDF containing 100 Midjourney prompts that will help you generate mockup images for your wall art.
Also, you can check out my Ultimate Etsy Mockup Course for a detailed guide on creating wall art mockups.
If you need any further assistance, please feel free to contact us.