Explore the versatility of editing smart objects in Photoshop. Unlock endless possibilities to manipulate images within images effortlessly.


We’re used to swapping out smart objects to create reusable templates for our mockups, but being able to edit a smart object is also a really helpful option.
This option is particularly helpful when we’re trying to keep the same image inside the smart object and just change its appearance.
Think of a smart object as a Photoshop document within your Photoshop document. We can independently modify the smart object with all the options available in Photoshop for the main document.
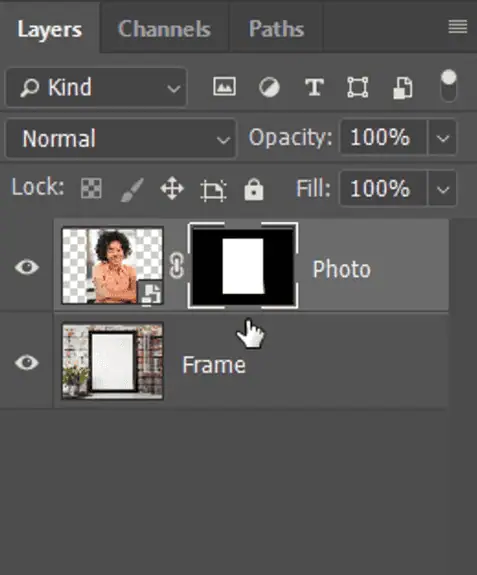
Before editing, just make sure the smart object is selected in the layers panel.
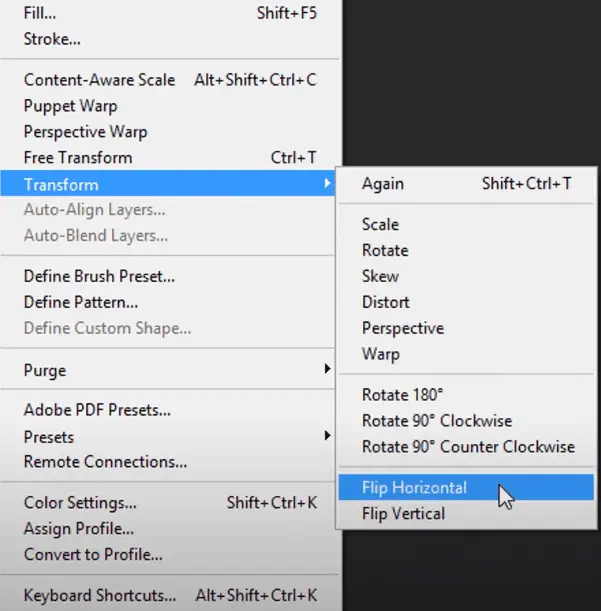
Then go to the Layer Menu → Smart Objects → Edit Contents.
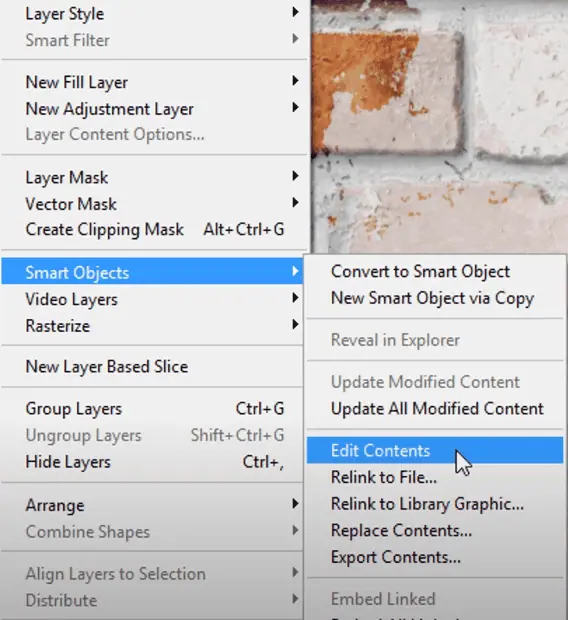
Or just double click the Smart Object layer in the layers panel and it will open a separate document tab for the smart object.
Smart Object uses a special type of document called a PSB file, full name Photoshop Big.
As the smart object is a Photoshop document, we can use any Photoshop tools, features, filters and even add more layers in it.

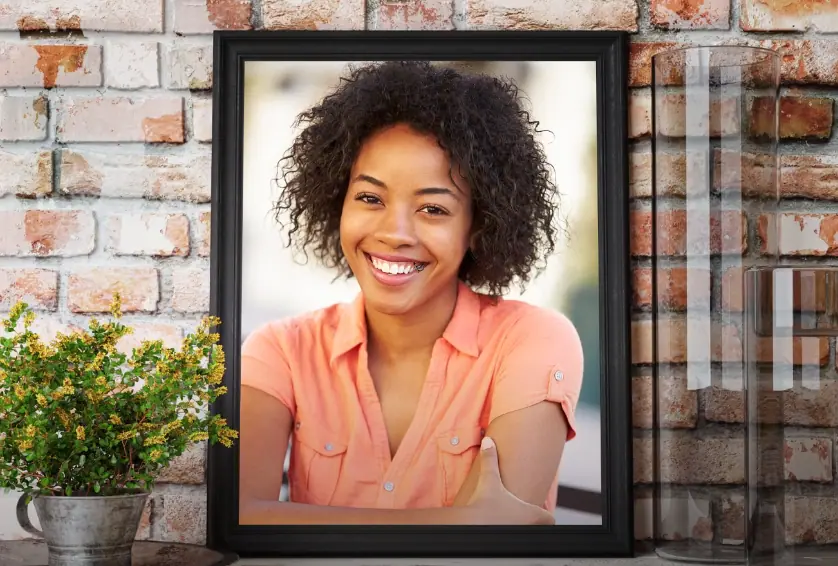
Let’s take this image inside a smart object as an example. This image is inside a frame as a smart object like this.

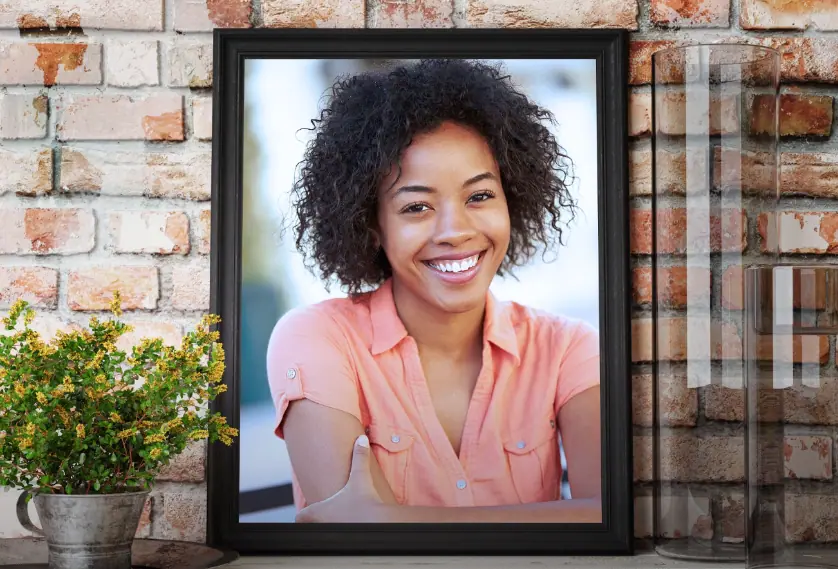
If we open the smart object .psb document and then go to Edit → Transform → Flip Horizontal the image will be flipped.
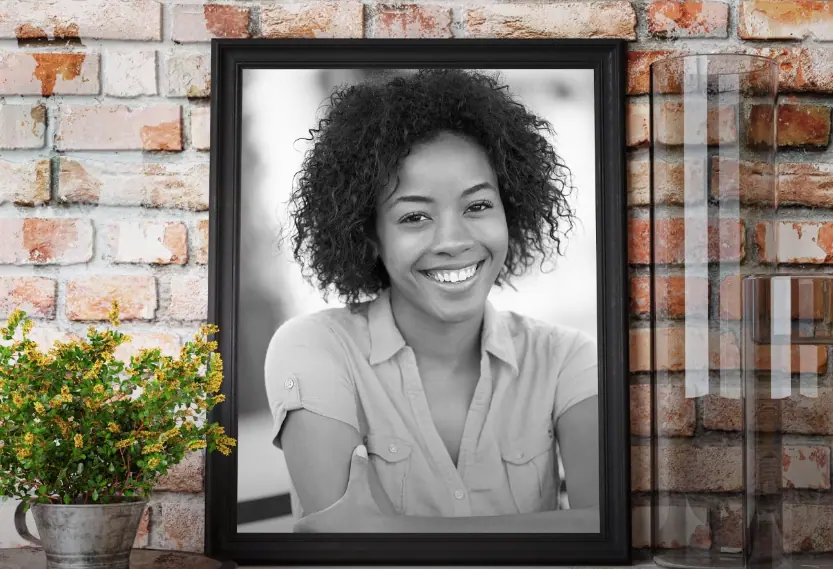
And after saving the changes, the finished result will look like this.
On the PSB file, click the adjustment layer and choose black and white.

This will transform the image in black and white and after we hit save, the result will look like this.
Go to adjust Layer and choose photo Filter.
Now from the properties menu, choose a cooling filter like this. It cools down the image by adding more blue in it.

After saving the changes made in the smart object PSB file, you’ll see the image in the frame change as well like this.
I’ve only shown a fraction of the things you can do with a smart object. You can basically do any type of editing following the same formula.