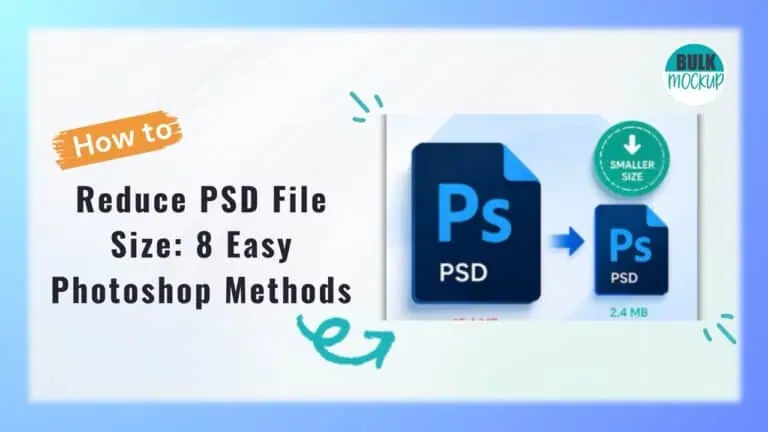


A Photoshop file can look perfectly manageable on screen and still become frustratingly large behind the scenes. Saving takes longer, uploads slow down, and running bulk mockup automation can become more cumbersome when each PSD is carrying unnecessary file data.
The good news is that you can often reduce PSD file size without rebuilding the entire project. The right method depends on what your file contains and how much editing flexibility you still need.
In this guide, you will learn how to reduce PSD file size using 8 practical methods that we personally recommend, while also understanding the tradeoffs involved with each change.
The methods below begin with basic cleanup and move toward more permanent changes. Some keep most of the document editable, while others remove stored data or simplify the layer structure.
Raster layers often contain pixels that extend beyond the visible canvas. Even though you cannot see this content in the final composition, Photoshop still stores it inside the PSD.
Follow these steps to remove it:
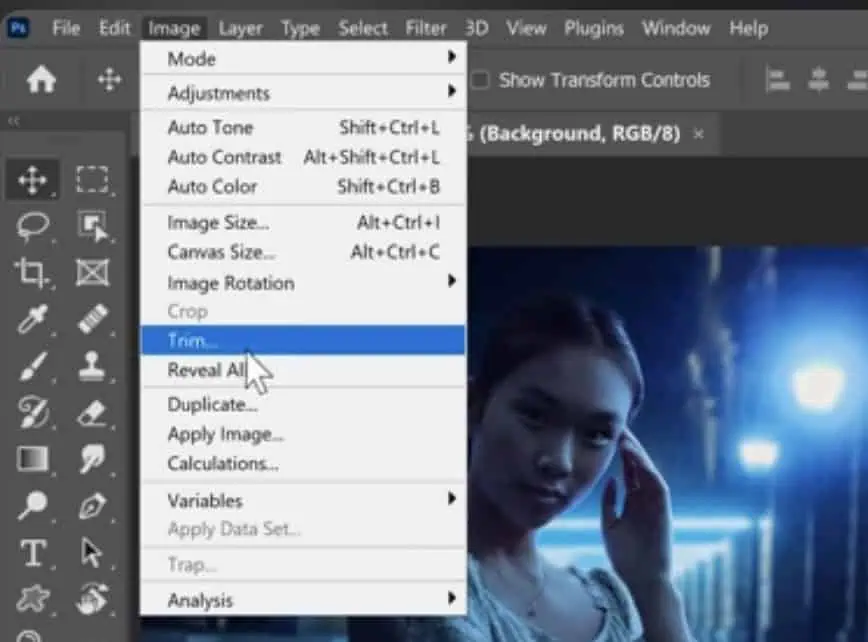
5. Select Transparent Pixels.
6. Make sure the top, bottom, left, and right options are enabled.
7. Click OK to remove the hidden pixels outside the canvas.
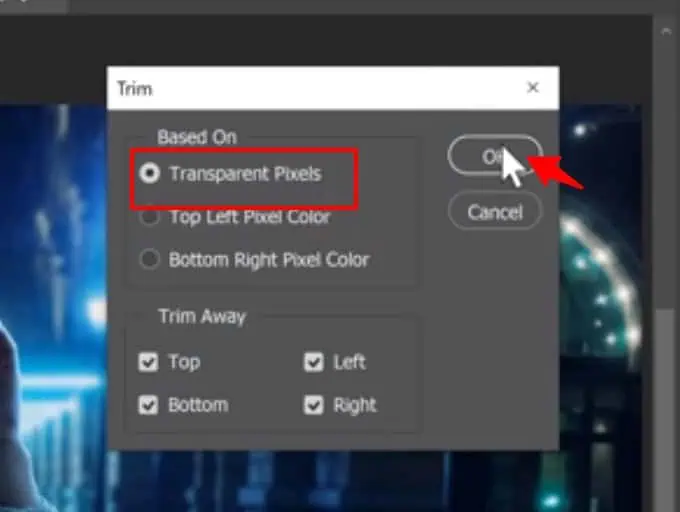
You can view the estimated document size from the status bar at the bottom of Photoshop. Open the status bar menu and select Document Sizes. Keep in mind that this figure is only an estimate and may differ from the final size shown in Finder or File Explorer.
This method works on raster layers. A Smart Object must be rasterized before Photoshop can permanently trim its pixel data.
Smart Objects preserve original image data and allow you to adjust Smart Filters without permanently changing the layer. This flexibility is useful during editing, but it can also make the PSD considerably larger.
Use this method only when you are confident that the Smart Object contents and filter settings will not need further changes.
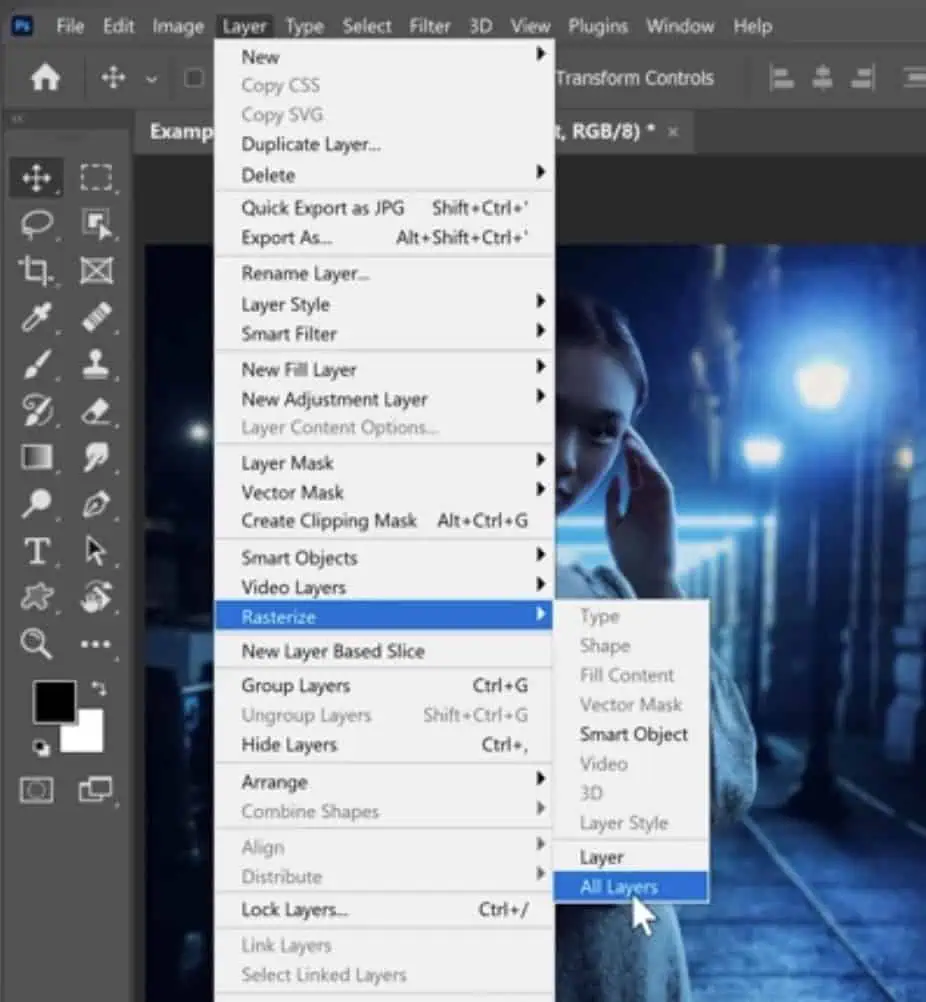
Photoshop will turn the editable Smart Objects and their applied effects into regular pixel layers. The estimated document size shown in the status bar may not change immediately, so save the file and check its actual size in Finder or File Explorer.
Large Photoshop projects often collect unused layers while you test edits, retouch images, or build a composite. Some may appear empty but still contain a small mark, flare, or adjustment that is easy to overlook.
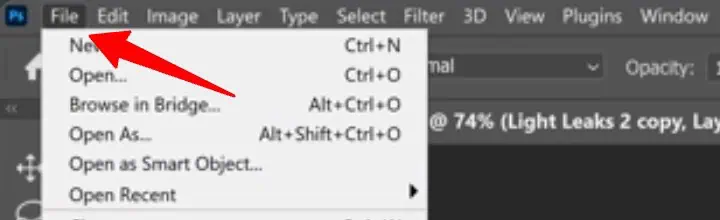
Photoshop can identify and remove genuinely empty layers for you.
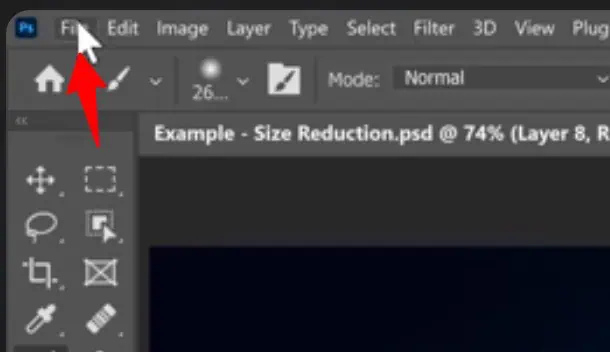
2. Select Scripts.
3. Choose Delete All Empty Layers.
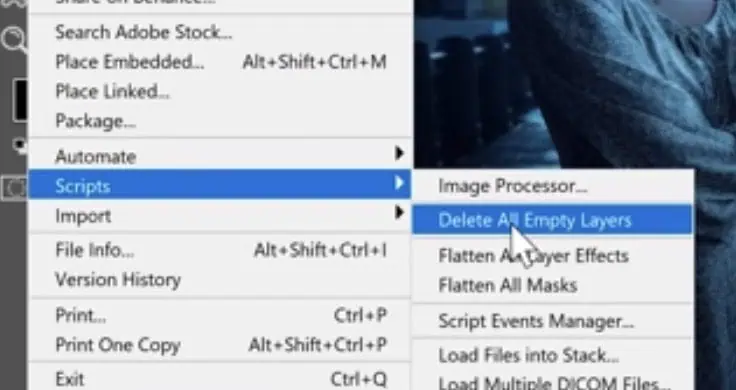
Photoshop will remove layers that contain no pixel information while keeping any layer that still holds visible or hidden content.
Trade off: The size reduction may be minimal, so use this method primarily for document cleanup rather than expecting a major decrease.
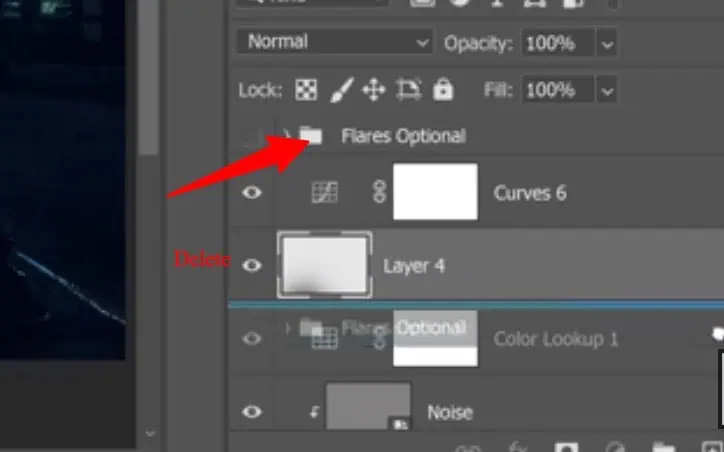
Hidden layers can quietly increase the size of a Photoshop document, especially when they contain large images, effects, or alternate design elements. They often remain in the file after you test an idea, hide it, and continue working without removing it.
To clean up unused content:
Layer masks preserve hidden parts of an image so you can restore them later. Although this makes editing flexible, a PSD with many masks may store more image data than you actually need.
Once you are satisfied with the masked edges and no longer expect further refinements, you can apply every mask at once.
4. Select Flatten All Masks.
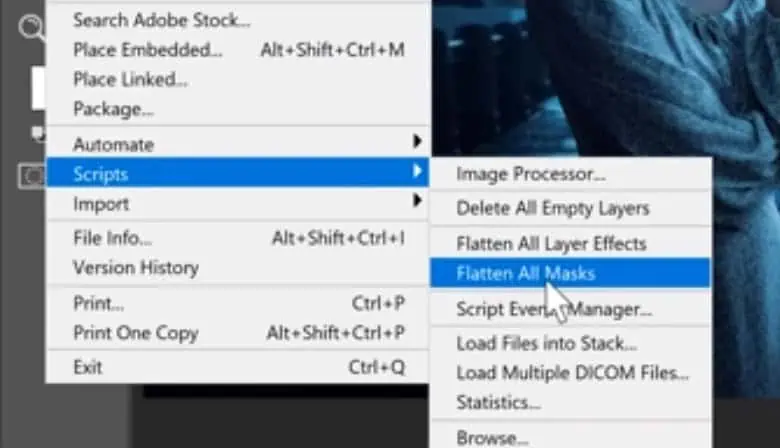
5. Allow Photoshop to process the document, then save it and compare the new file size.
Applying a mask permanently removes the pixels it currently conceals. This can help reduce Photoshop file size when the document contains several detailed masks.
Merging completed parts of a Photoshop document can reduce the file size significantly. Instead of keeping every background, subject, effect, and adjustment on a separate layer, you can combine related elements while preserving only the flexibility you still need.
For example, you may keep the subject separate from the background so it can still be moved for a magazine layout, advertisement, or text placement.
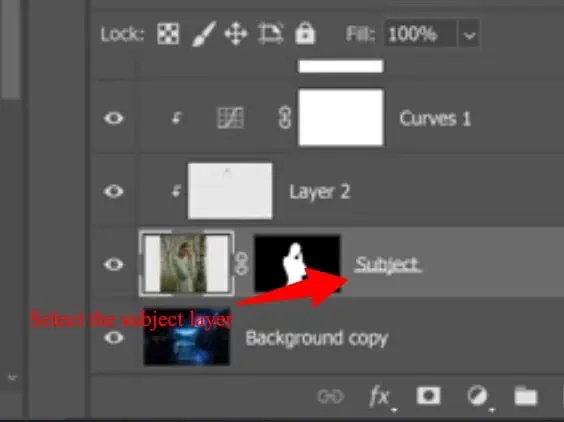
5. Press Ctrl + E or Command + E again to combine the subject elements.
6. If the document includes global effects or adjustments, duplicate them using Ctrl + J on Windows or Command + J on Mac.
7. Move one copy above the background and apply it there.
8. Apply the second copy to the subject.
9. Merge the background with its effects, then merge the subject with its effects.
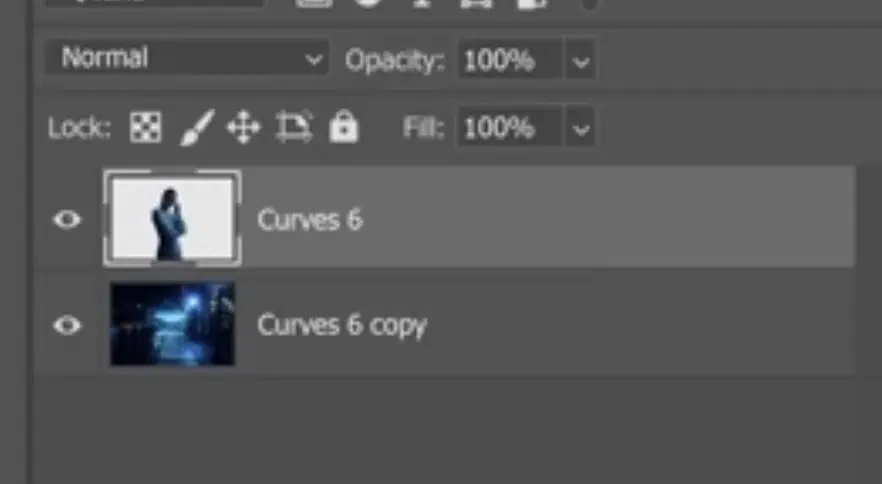
Lowering the pixel dimensions can create a substantial reduction when your PSD contains raster layers, masks, or other pixel based content. Fewer pixels mean Photoshop has less image information to store across the document.
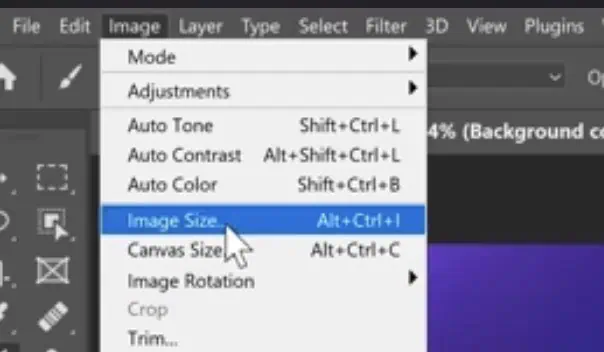
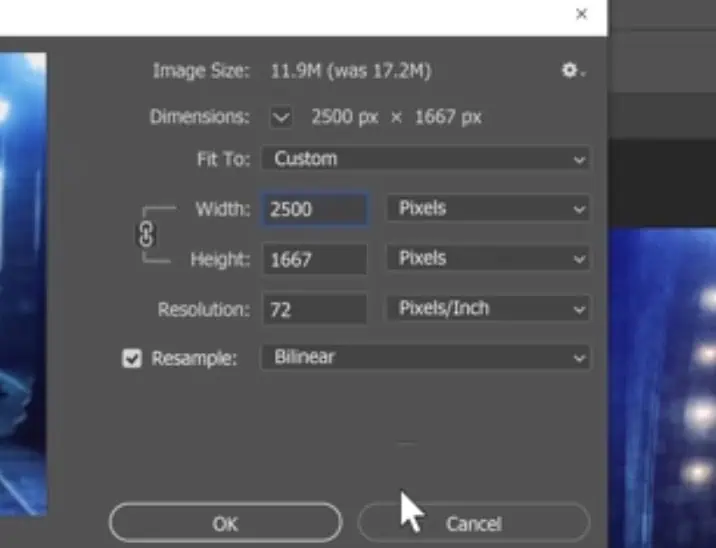
This method mainly affects raster information. Smart Objects may retain their embedded source data, so resizing the canvas does not always reduce their contribution by the same amount. You will usually see a greater difference when the file contains several rasterized layers and masks.
Clipping masks let you restrict adjustments, textures, or effects to the visible area of a base layer. For example, a Curves adjustment or noise layer can affect only the subject instead of spreading across the entire canvas.
Once those clipped edits are final, you can merge them into the base layer to simplify the document and reduce Photoshop file size.
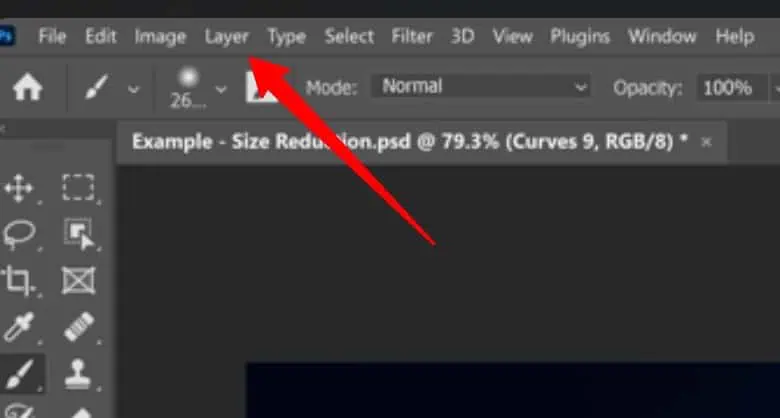
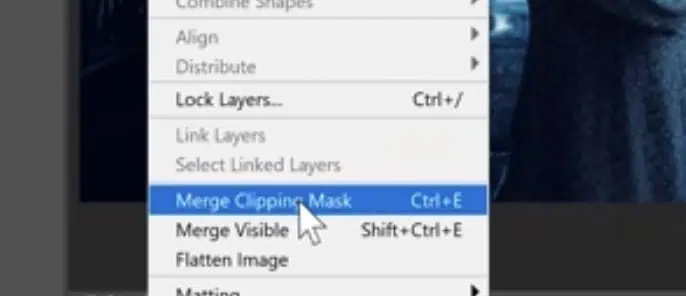
Photoshop will permanently apply the clipped adjustments and layers to the pixels beneath them. The separate clipping layers will disappear from the Layers panel because their appearance has been combined with the base content.
Most ways to make a PSD file smaller remove information that Photoshop was previously storing for future edits. The artwork may look unchanged after the step, but the file can lose hidden pixels, editable controls, or independent layers.
Use the table below to compare what each method keeps and what it permanently removes.
| Method | Effect on current appearance | Layers retained | Fully reversible after closing? | Main loss |
| Trim excess pixels outside the canvas | Usually unchanged | Yes | No | Pixel data beyond the canvas |
| Rasterize Smart Objects | Usually unchanged at the current dimensions | Yes, as raster layers | No | Embedded source data, Smart Filters, and flexible scaling |
| Delete empty layers | Unchanged | Remaining layers stay intact | No | Blank layers created for later use |
| Delete hidden or unused layers | Unchanged when the removed content was not visible | Remaining layers stay intact | No | Drafts, backup elements, and alternate versions |
| Apply all layer masks | Usually unchanged | Yes | No | Pixels concealed by the masks |
| Merge related layers | Usually unchanged | Fewer combined layers | No | Separate control over individual elements |
| Reduce image dimensions | Often similar at the intended display size | Yes | No | Maximum resolution and fine pixel detail |
| Merge clipping masks | Usually unchanged | Fewer combined layers | No | Editable clipping layers and adjustment settings |
A method can be visually safe while still being structurally destructive. Keep an untouched master PSD whenever the file may need revisions, alternate layouts, larger output dimensions, or editable design placeholders later.
A smaller PSD usually comes at the cost of stored data or future editing control. Start with low-risk steps such as deleting empty layers, removing unused hidden content, clearing disabled effects, and checking whether the document uses more pixels than the final output needs.
Apply masks, merge layers, flatten effects, or rasterize Smart Objects only after the artwork is finalized. Changing PPI without Resample will not reduce the actual pixel count.
Always keep an editable master and save a separate optimized copy. Reopen the smaller file before deleting the original to confirm that everything still works as expected.
Once your PSD files are optimized, Bulk Mockup can help you use them more efficiently by generating and exporting multiple product mockups in bulk instead of handling each design one at a time.
Deleting empty layers can make a PSD slightly smaller because Photoshop no longer stores those unnecessary layer records. The reduction is usually modest, especially in files dominated by raster images or Smart Objects. Its biggest advantage is keeping a complex Layers panel cleaner and easier to manage.
Photoshop may allow you to rasterize multiple compatible layers through Layer > Rasterize > All Layers. Even so, avoid applying it automatically to every Smart Object. Select only finalized elements and preserve replaceable artwork, reusable placeholders, logos, and other objects that may require future edits.
Merging layers usually preserves the current visible appearance at the existing document dimensions. The main loss is editability, not immediate visual quality. Blend modes, adjustments, effects, transparency, and separate elements may become part of one raster layer and can no longer be controlled independently.
A PSD becomes smaller only when Photoshop reduces its pixel dimensions through resampling. Changing the PPI value without enabling Resample keeps the same number of pixels, so the amount of stored image data remains nearly unchanged.
Flattening layer effects combines styles such as shadows, strokes, glows, and overlays with the layer they affect. You can no longer edit those settings separately afterward. Photoshop may also rasterize type or shape layers when permanent effects are applied to them.
Yes, you can remove disabled Smart Filters when you are certain they are no longer needed. Check whether they were kept as alternate treatments or may be required during later revisions. Deleting them permanently removes their saved settings from the Smart Object.
Yes. You can delete unused layers, remove unnecessary effects, trim excess raster content, merge completed background elements, and reduce excessive image dimensions. Keep any Smart Objects that customers or team members need for replacing artwork inside the mockup.
No single method works best for every document. Among the 8 methods covered here, reducing excessive dimensions, merging large groups, or rasterizing data heavy Smart Objects may create substantial savings. Deleting empty layers may have little effect. The result depends on what is making your PSD large.