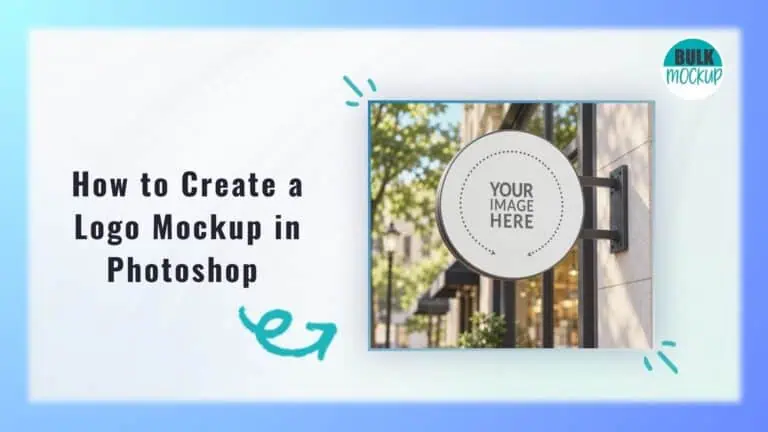


A logo may look great on a plain screen, but the real test is how it appears once it is placed on something people actually see and use. A logo mockup gives you that context by showing the design on different surfaces.
That kind of presentation can make a big difference when you are showing a brand concept to a client or reviewing your own design. In Adobe research, more than 95.2% of content leaders said visual content plays an important role in business communication, which shows how strongly visual presentation influences the way ideas are understood.
The good part is that creating a realistic logo mockup does not require you to build an entire scene yourself.
In this guide, you will learn how to create a logo mockup in Photoshop using a ready-made template and turn a flat logo into a more polished presentation.

A logo mockup is a realistic visual representation of how a logo could look when placed on a real object, surface, or environment. It helps you see the design in context rather than only as a flat graphic.
Common examples include logos shown on business cards, packaging, storefronts, walls, shopping bags, apparel, coffee cups, and stationery. Mockups are often used to present branding ideas more clearly and show how a logo may work across different real-world applications.
Start by choosing a ready-made mockup templates that matches the presentation you want, whether that is a wall logo, embossed effect, 3D scene, business card, storefront, paper, packaging, or fabric mockup.
You can find free and premium options on different sites. More important than the source is choosing a clean, well-structured PSD that makes replacing the sample logo simple.
Before downloading a logo mockup template, check a few details first:
Choose a logo mockup template that matches the presentation you want to create and confirm that the download includes a PSD file. Then save the template.
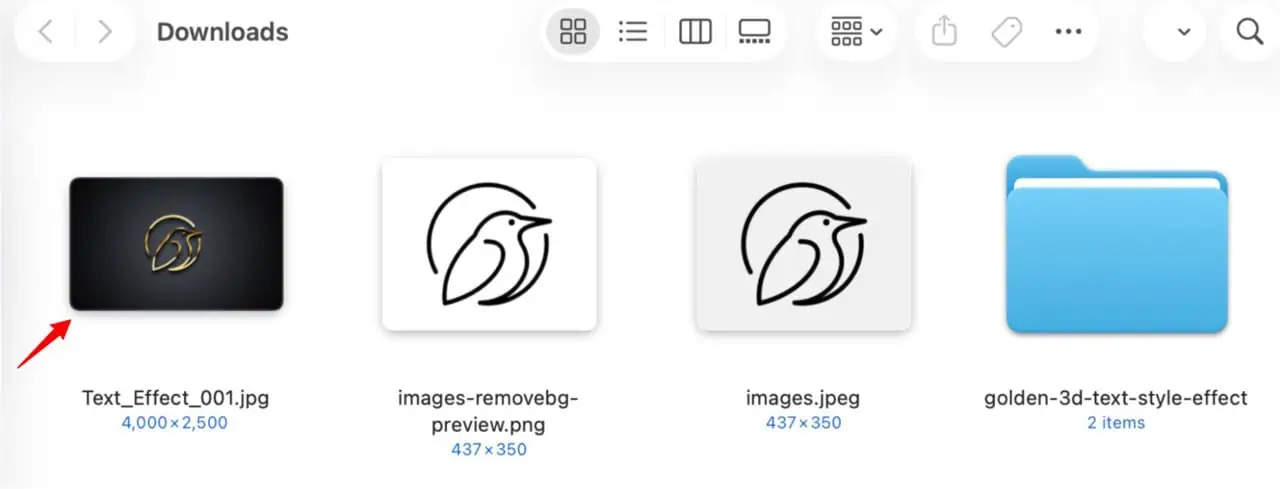
Many free mockup templates come inside a ZIP folder rather than as a standalone PSD, so you may need to extract the downloaded file before opening it in Photoshop.
Find the ZIP file you downloaded and extract it before opening the mockup in Photoshop. The extracted folder may include the PSD file along with a JPG preview, licence information, instructions, font details, or other supporting assets.
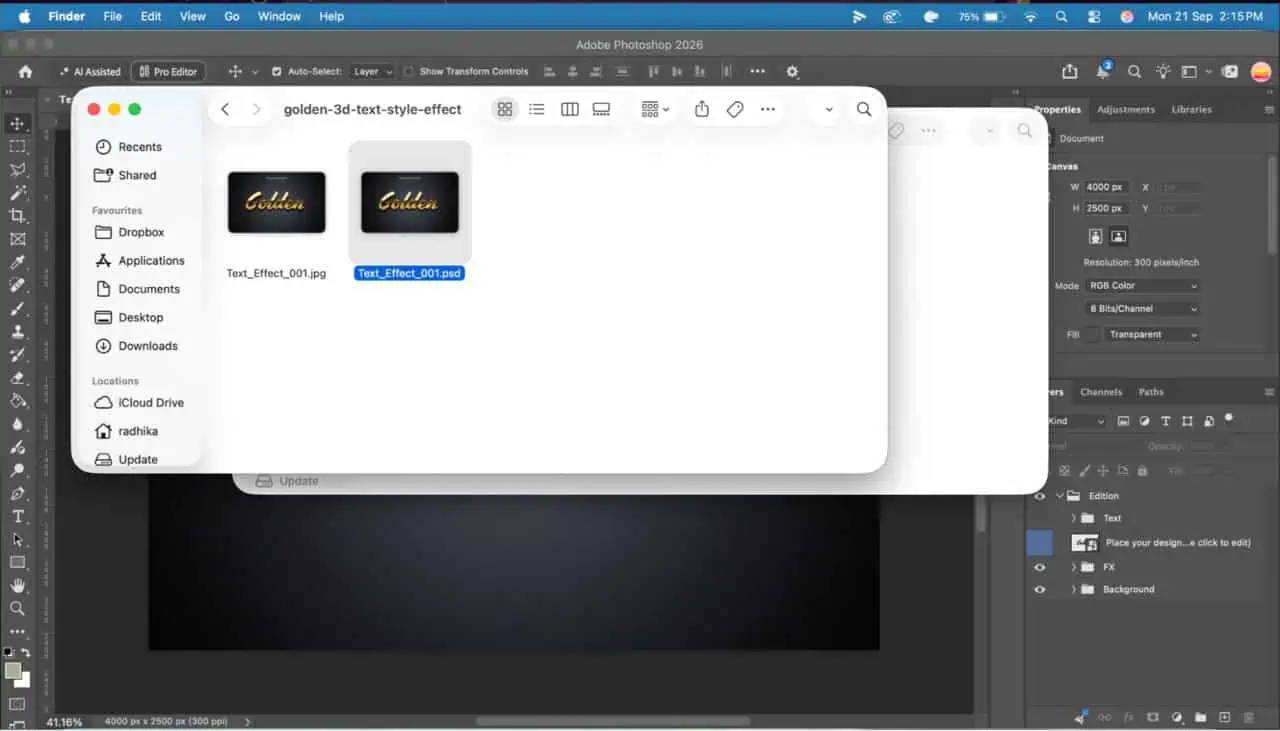
Look for the file ending in .PSD, as this is usually the editable mockup. The JPG or PNG image you see on the download page is typically only a preview and cannot be edited like the PSD template.
Open Adobe Photoshop, then go to File > Open and select the PSD file from the extracted folder. You can also drag the PSD directly into Photoshop.
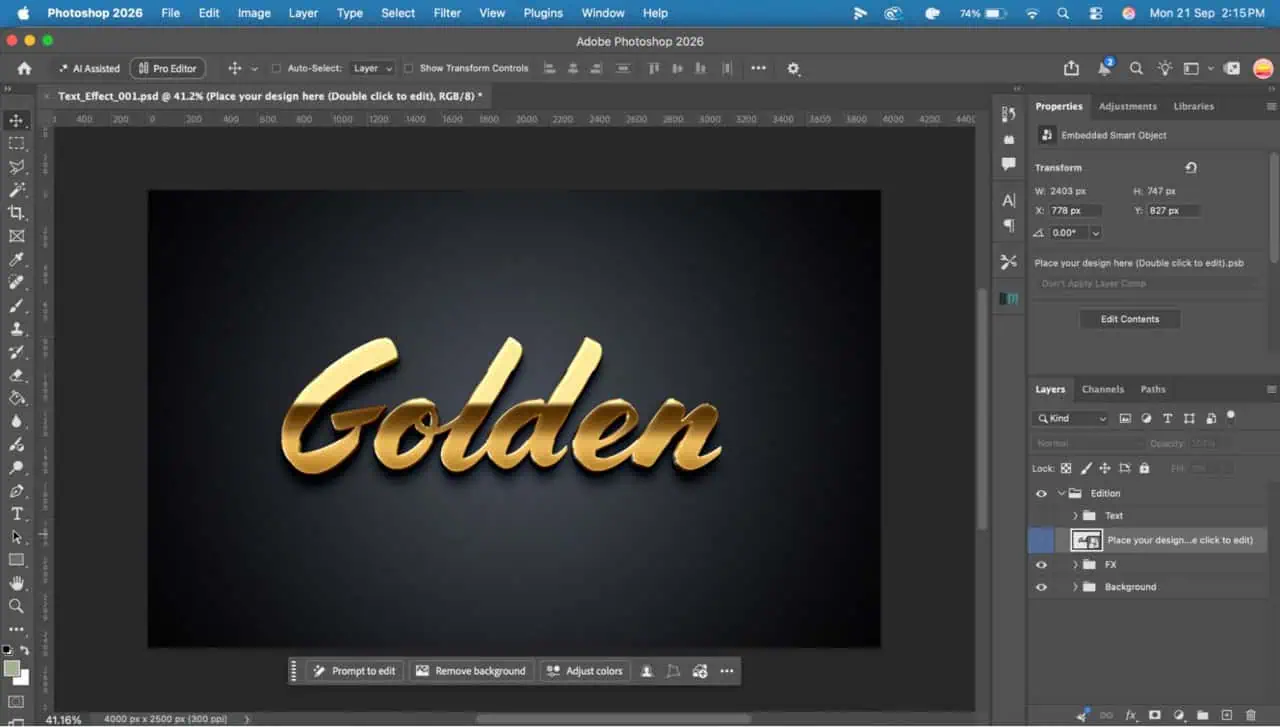
Once the file loads, you will see the mockup scene along with its existing layers. Avoid merging, flattening, or deleting anything at this stage, since different layers control different parts of the design and effects.
Next, look at the Layers panel on the right side of the workspace. If it is not visible, go to Window > Layers to open it.
In the Layers panel, look for the layer that controls the sample logo. It may be labelled Your Logo Here, Place Logo Here, Your Design, Replace Me, Edit Me, or Insert Logo.
The editable layer is usually a Smart Object, which you can recognise by the small Smart Object icon on its thumbnail. If the layer sits inside a group, expand the folder first.
Some mockups contain several Smart Objects, especially when the same design appears on multiple surfaces. Choose the one linked to the logo area you want to update.
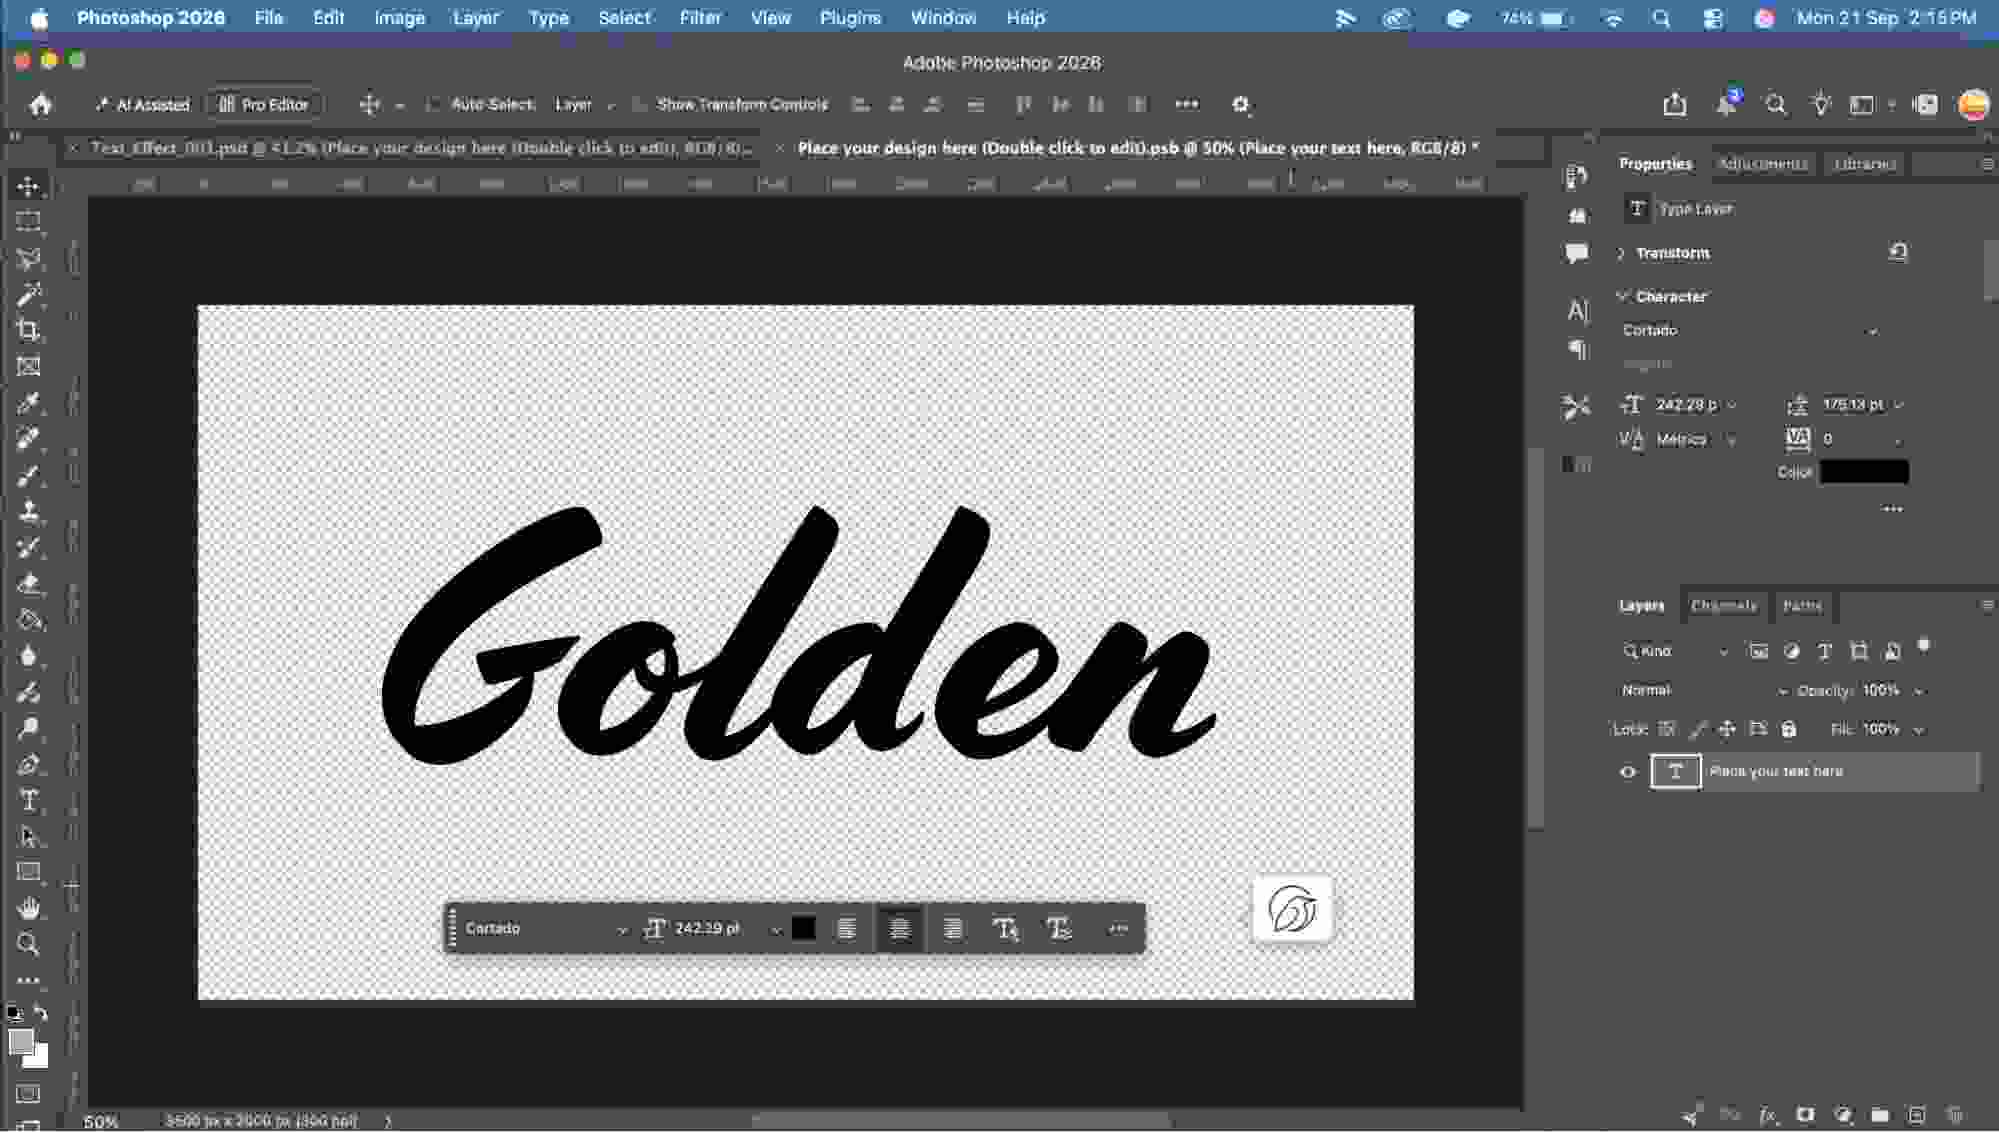
Double-click the thumbnail of the Smart Object layer in the Layers panel, or you can right-click on the layer and select Edit Content. Make sure you click the thumbnail itself rather than only selecting the layer.
Photoshop will open the Smart Object contents for editing. In many logo mockup templates, this appears as another Photoshop tab containing a sample logo, placeholder artwork, or an instruction such as Place Your Logo Here.
Inside the Smart Object tab, go to the Layers panel and click the layer that contains the sample logo, placeholder text, or example artwork.
If that layer is meant to be replaced, you can click the eye icon beside the layer to hide it
If the template contains instruction layers, hide or delete only the ones clearly intended for replacement.
Do not resize the Smart Object canvas itself. Its existing dimensions are part of how the artwork fits into the main mockup, including the perspective, placement, and visual effects already built into the template.
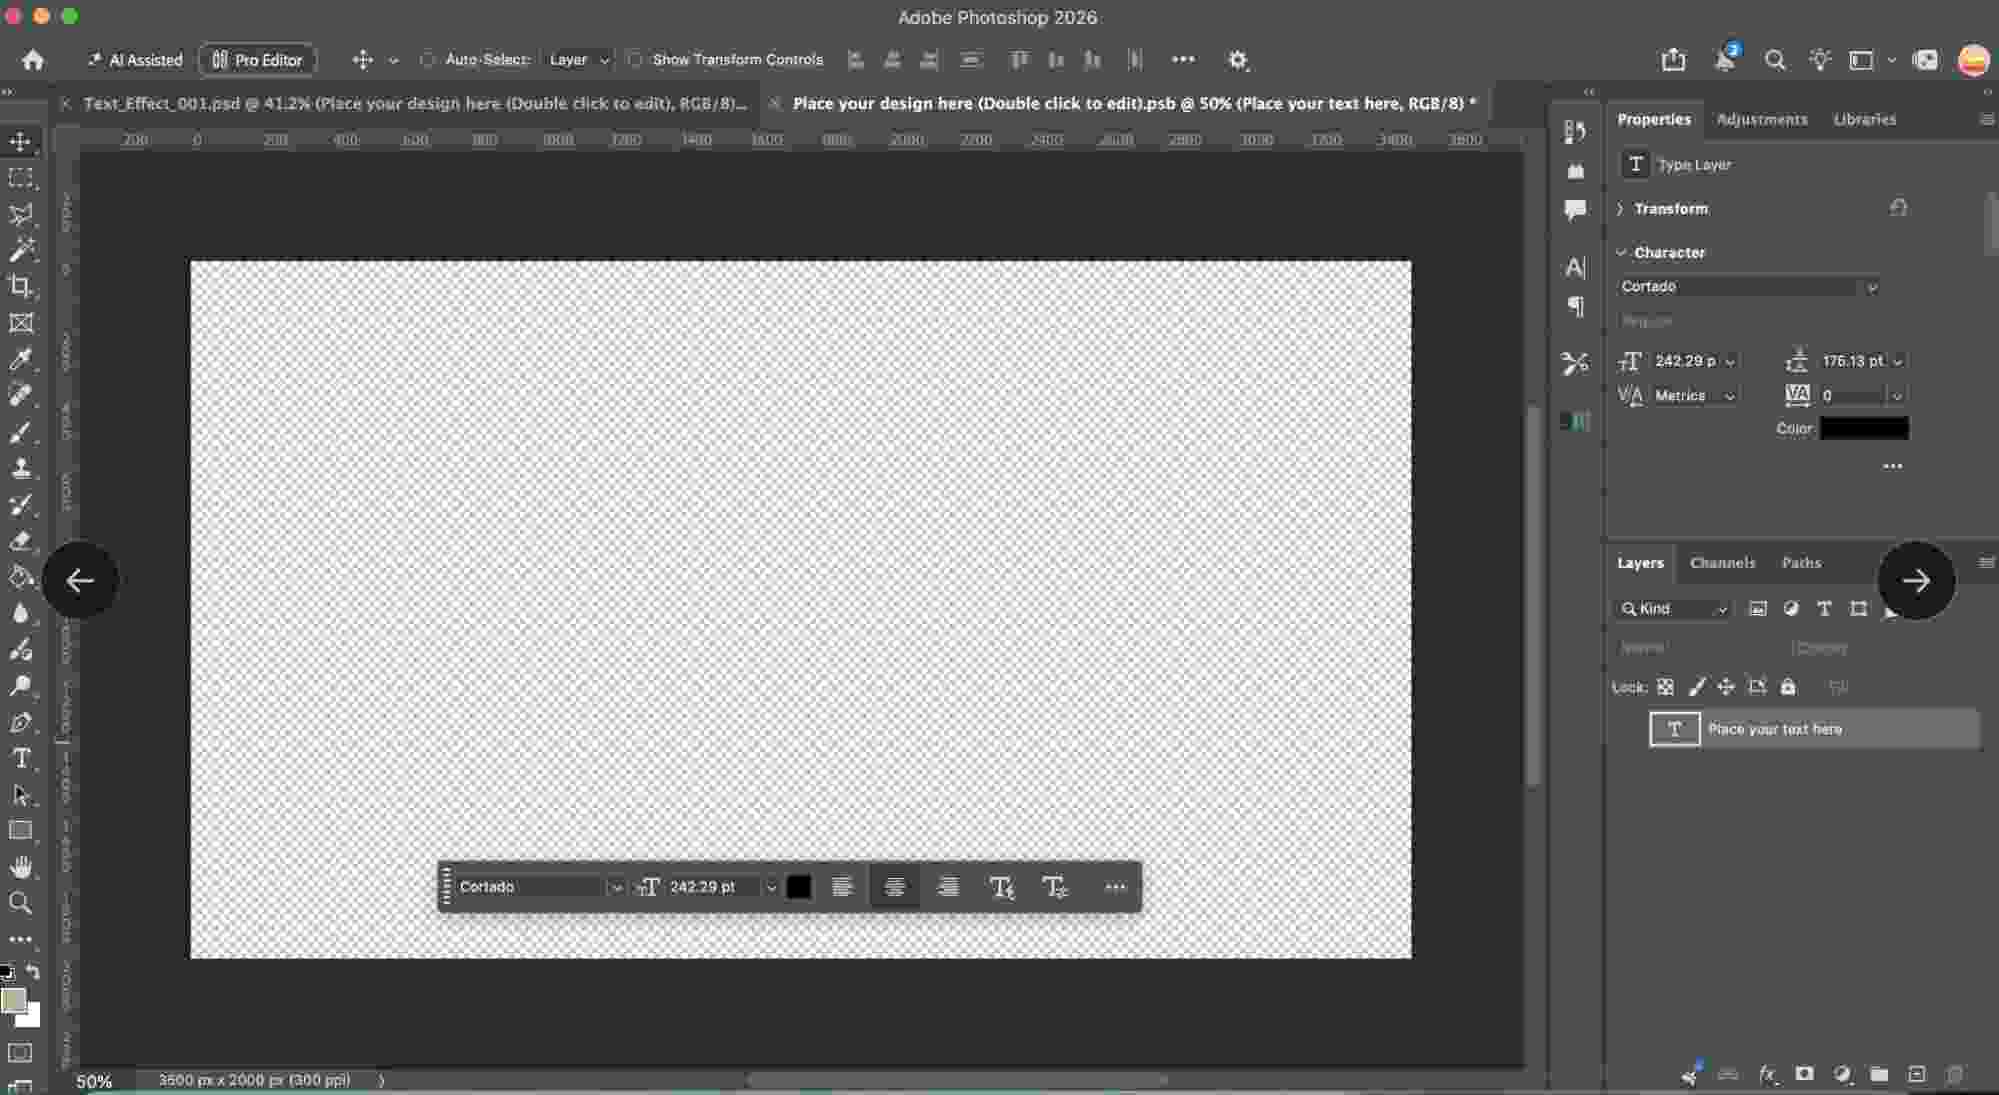
With the Smart Object tab still open, add your logo to the document. You can drag the logo file directly onto the canvas, choose File > Place Embedded, or copy the artwork from another Photoshop document and paste it here.
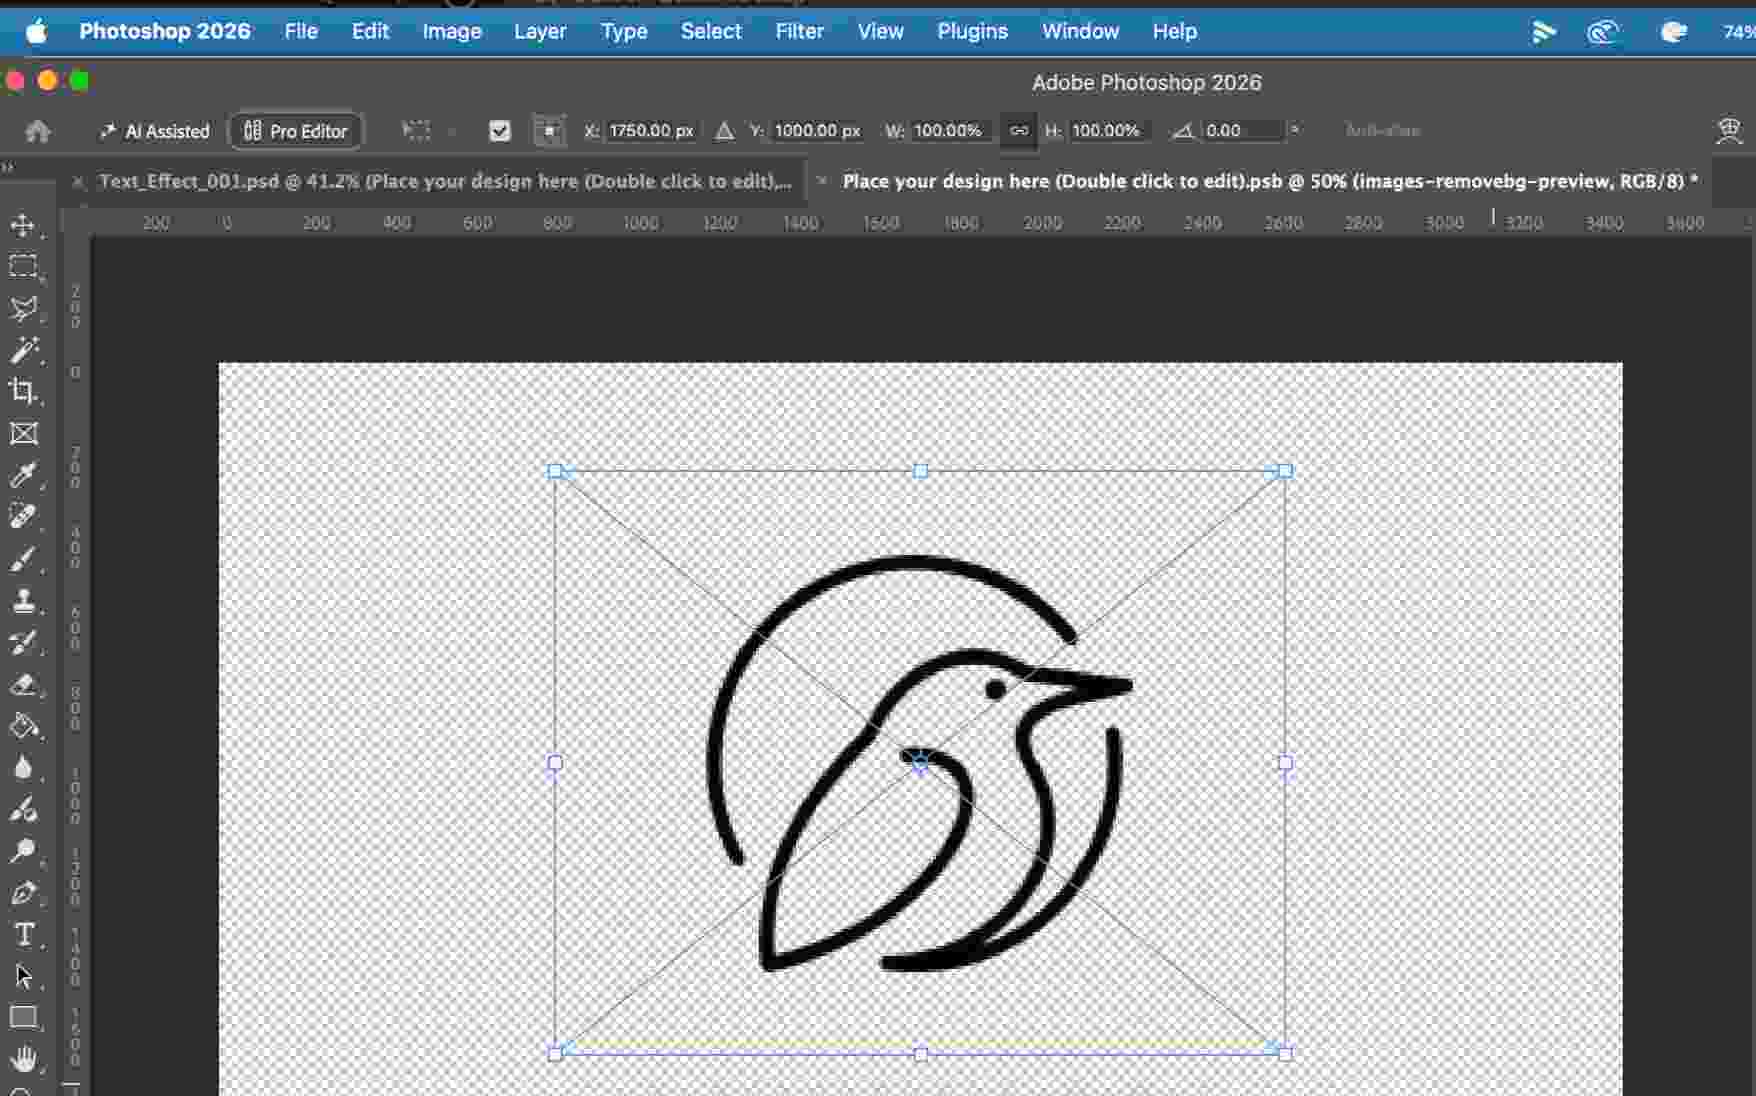
Use a transparent logo file where possible so you do not bring in an unwanted background. Once added, make sure the logo sits on its own layer in the Layers panel.
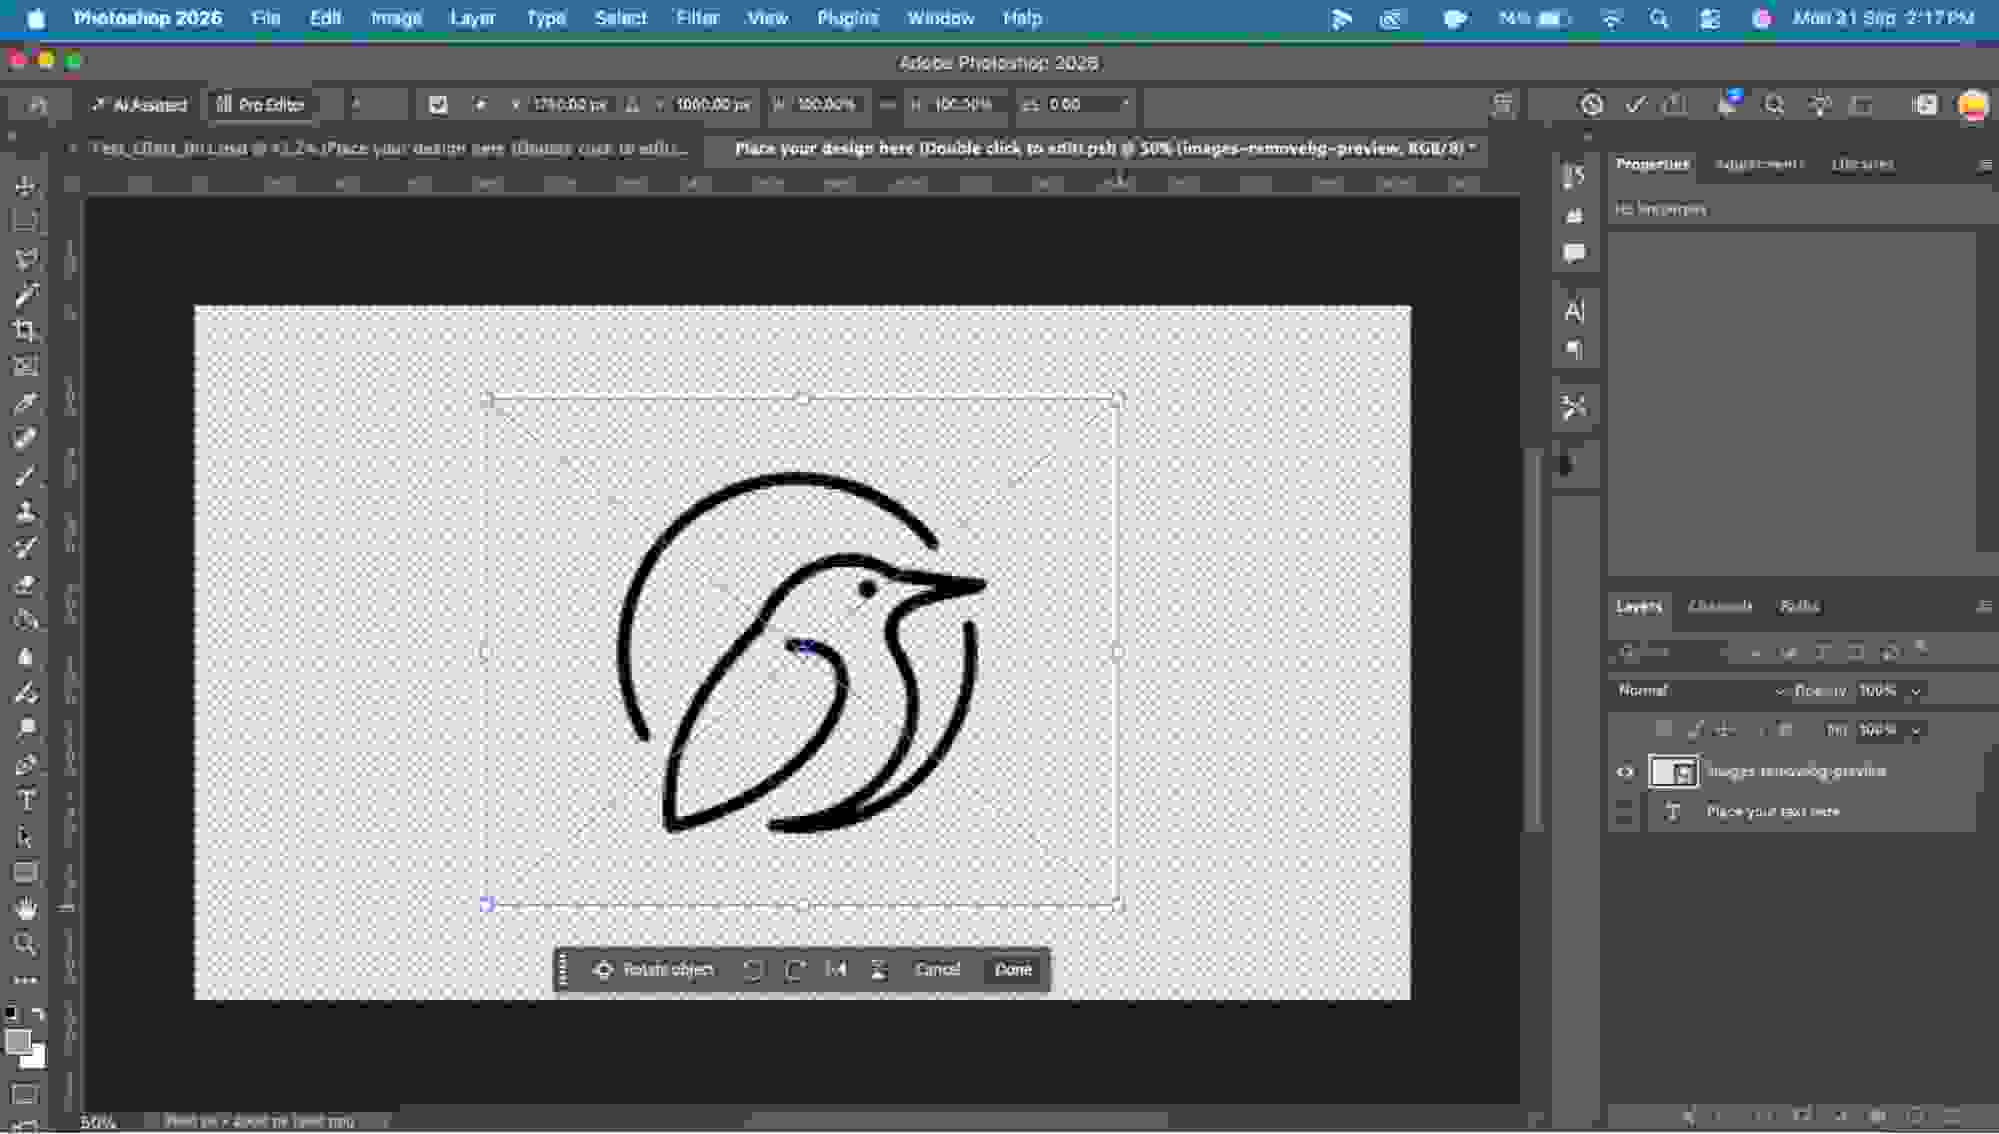
Use Photoshop’s transform controls to resize the logo inside the Smart Object canvas. Scale it proportionally so the design keeps its original shape and does not become stretched.
Fit the logo within the available area and leave suitable spacing around it. Different logo shapes will fill the canvas differently, so avoid forcing every design to reach the edges.
The size you choose here determines how large the logo appears in the main mockup.
Position the logo carefully, keep enough edge space, avoid cropping, and follow any guides included in the template.
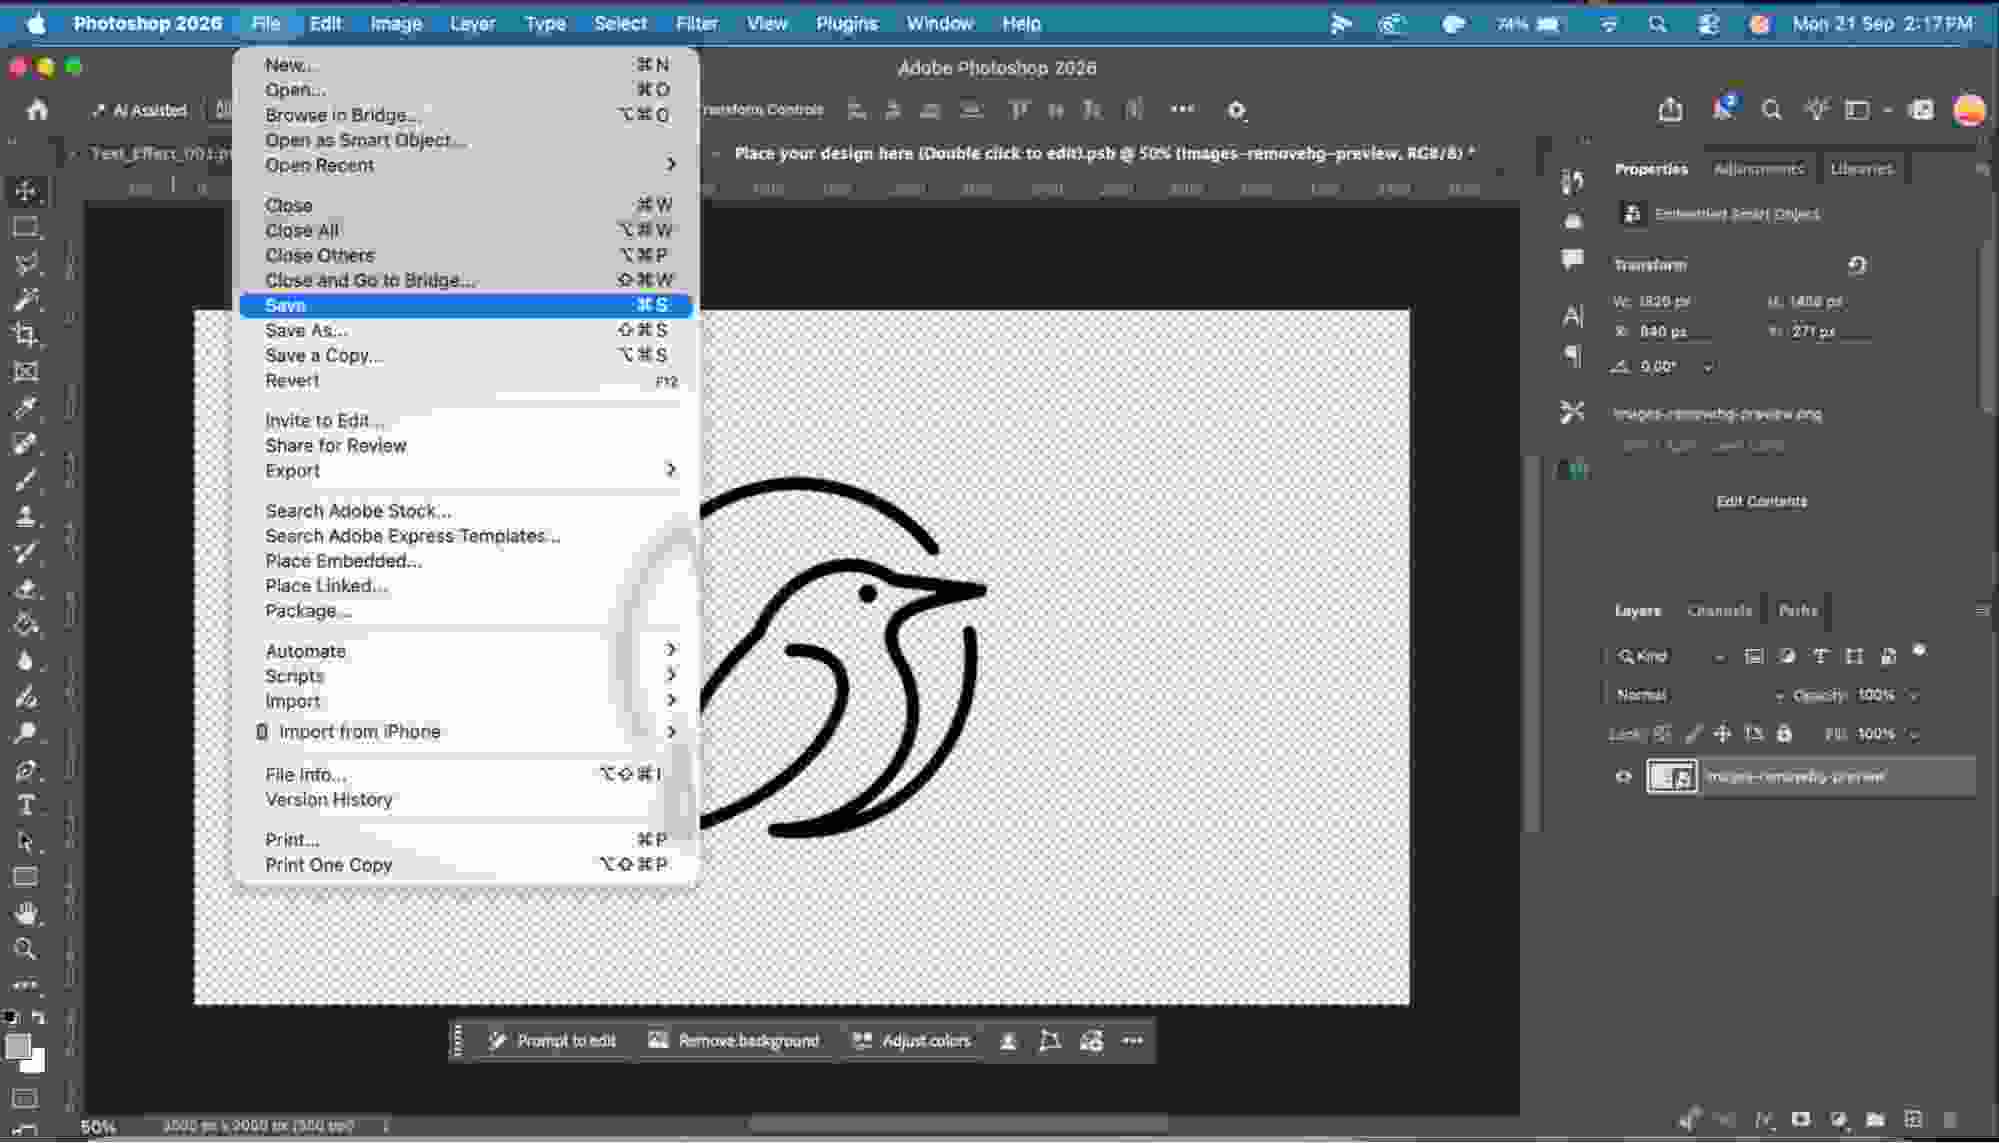
Once the logo looks correct, save the Smart Object using Ctrl + S on Windows or Cmd + S on Mac.
This saves the changes inside the Smart Object. It does not export the finished mockup. After saving, return to the main PSD tab.
Review the full mockup for size, alignment, cropping, stretching, and readability. If needed, reopen the Smart Object, adjust the logo, save, and check again.
Before exporting the final image, save an editable copy using Save As so the original template stays unchanged.
Use a clear file name such as brand name wall logo mockup.psd or client logo signage mockup.psd.
Keeping the PSD lets you replace the logo, adjust colours, change positioning, or create another version later. Do not flatten your only editable copy.
Once the mockup looks right, go to File > Export > Export As and choose the format that suits the final use.
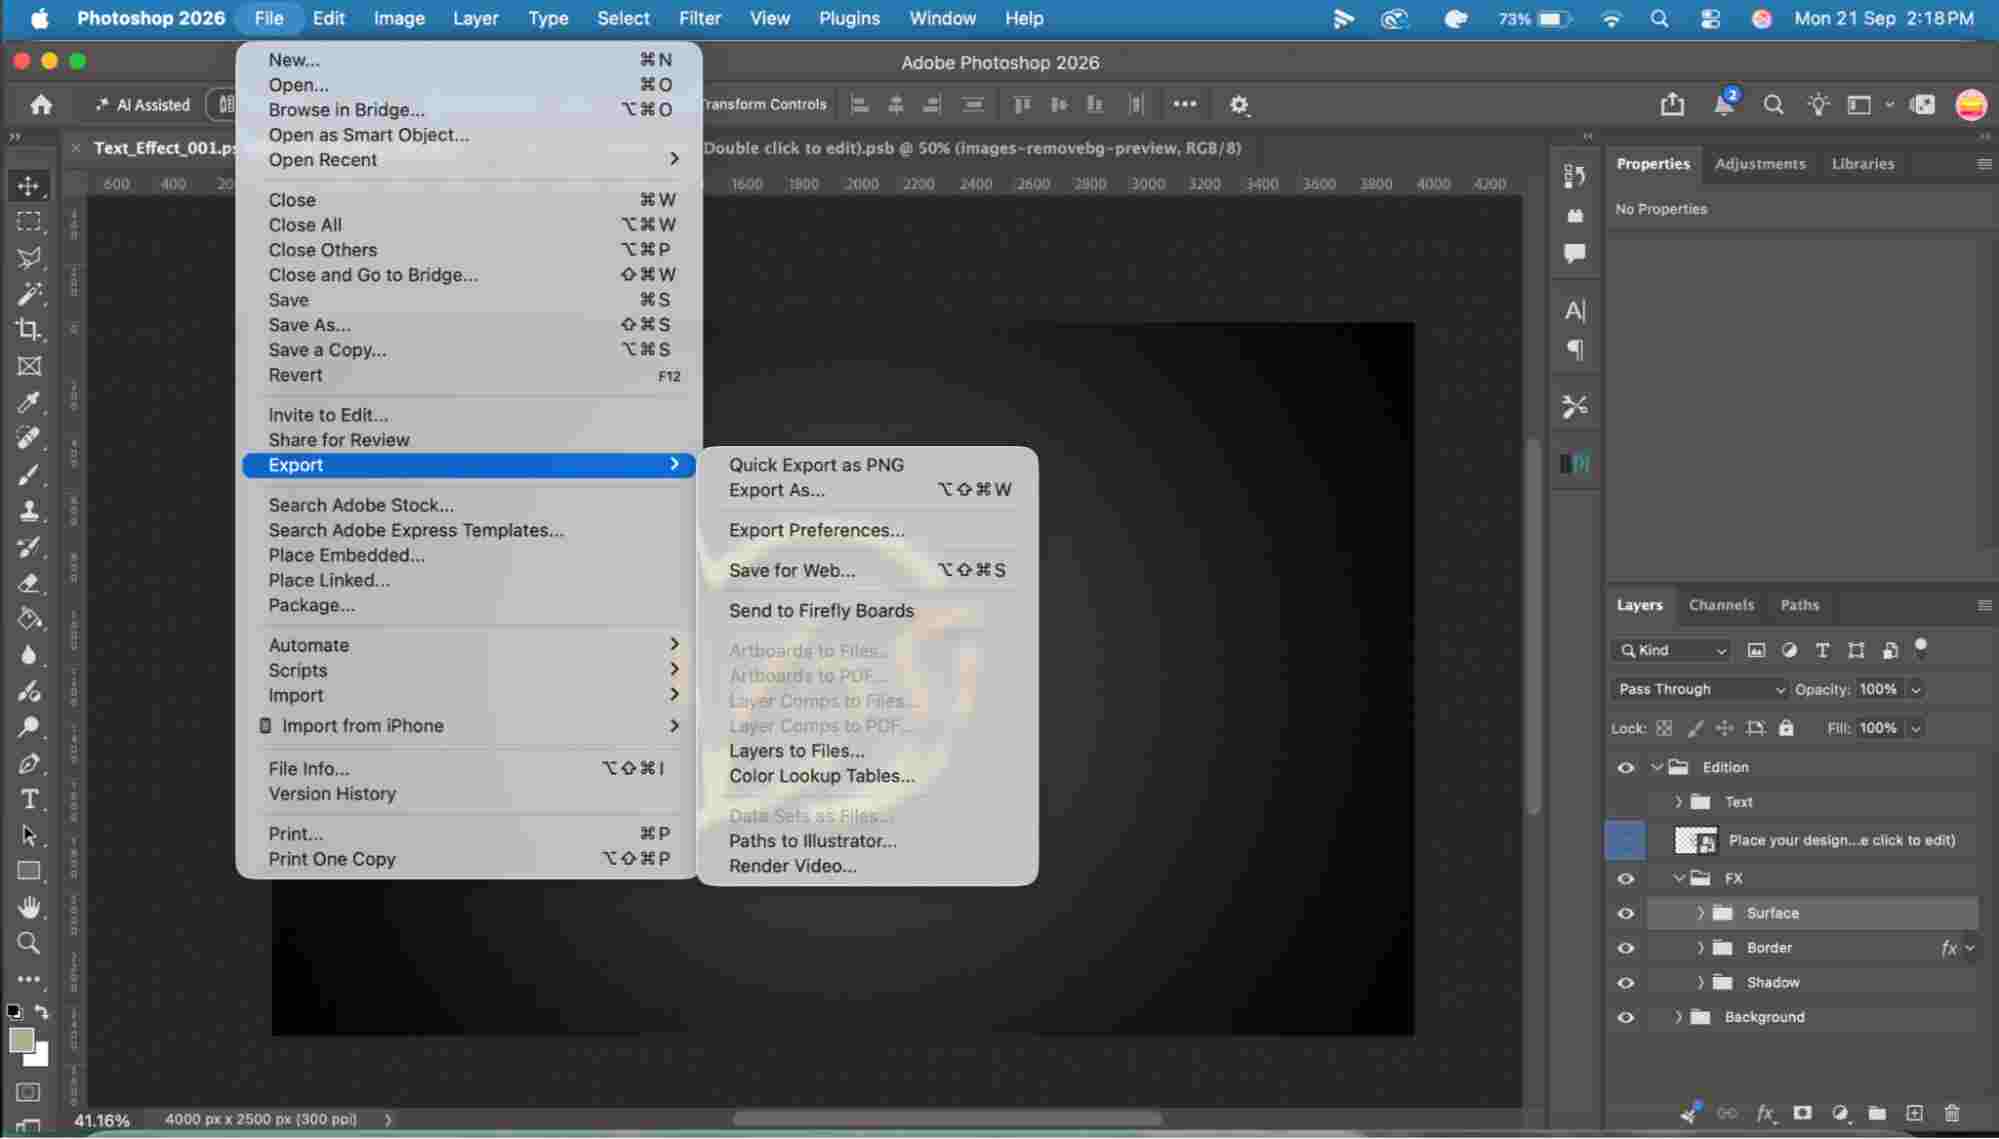
JPG works well for complete photographic scenes used on websites, portfolios, presentations, or social media. PNG is useful when transparency is needed or when you want lossless image output.
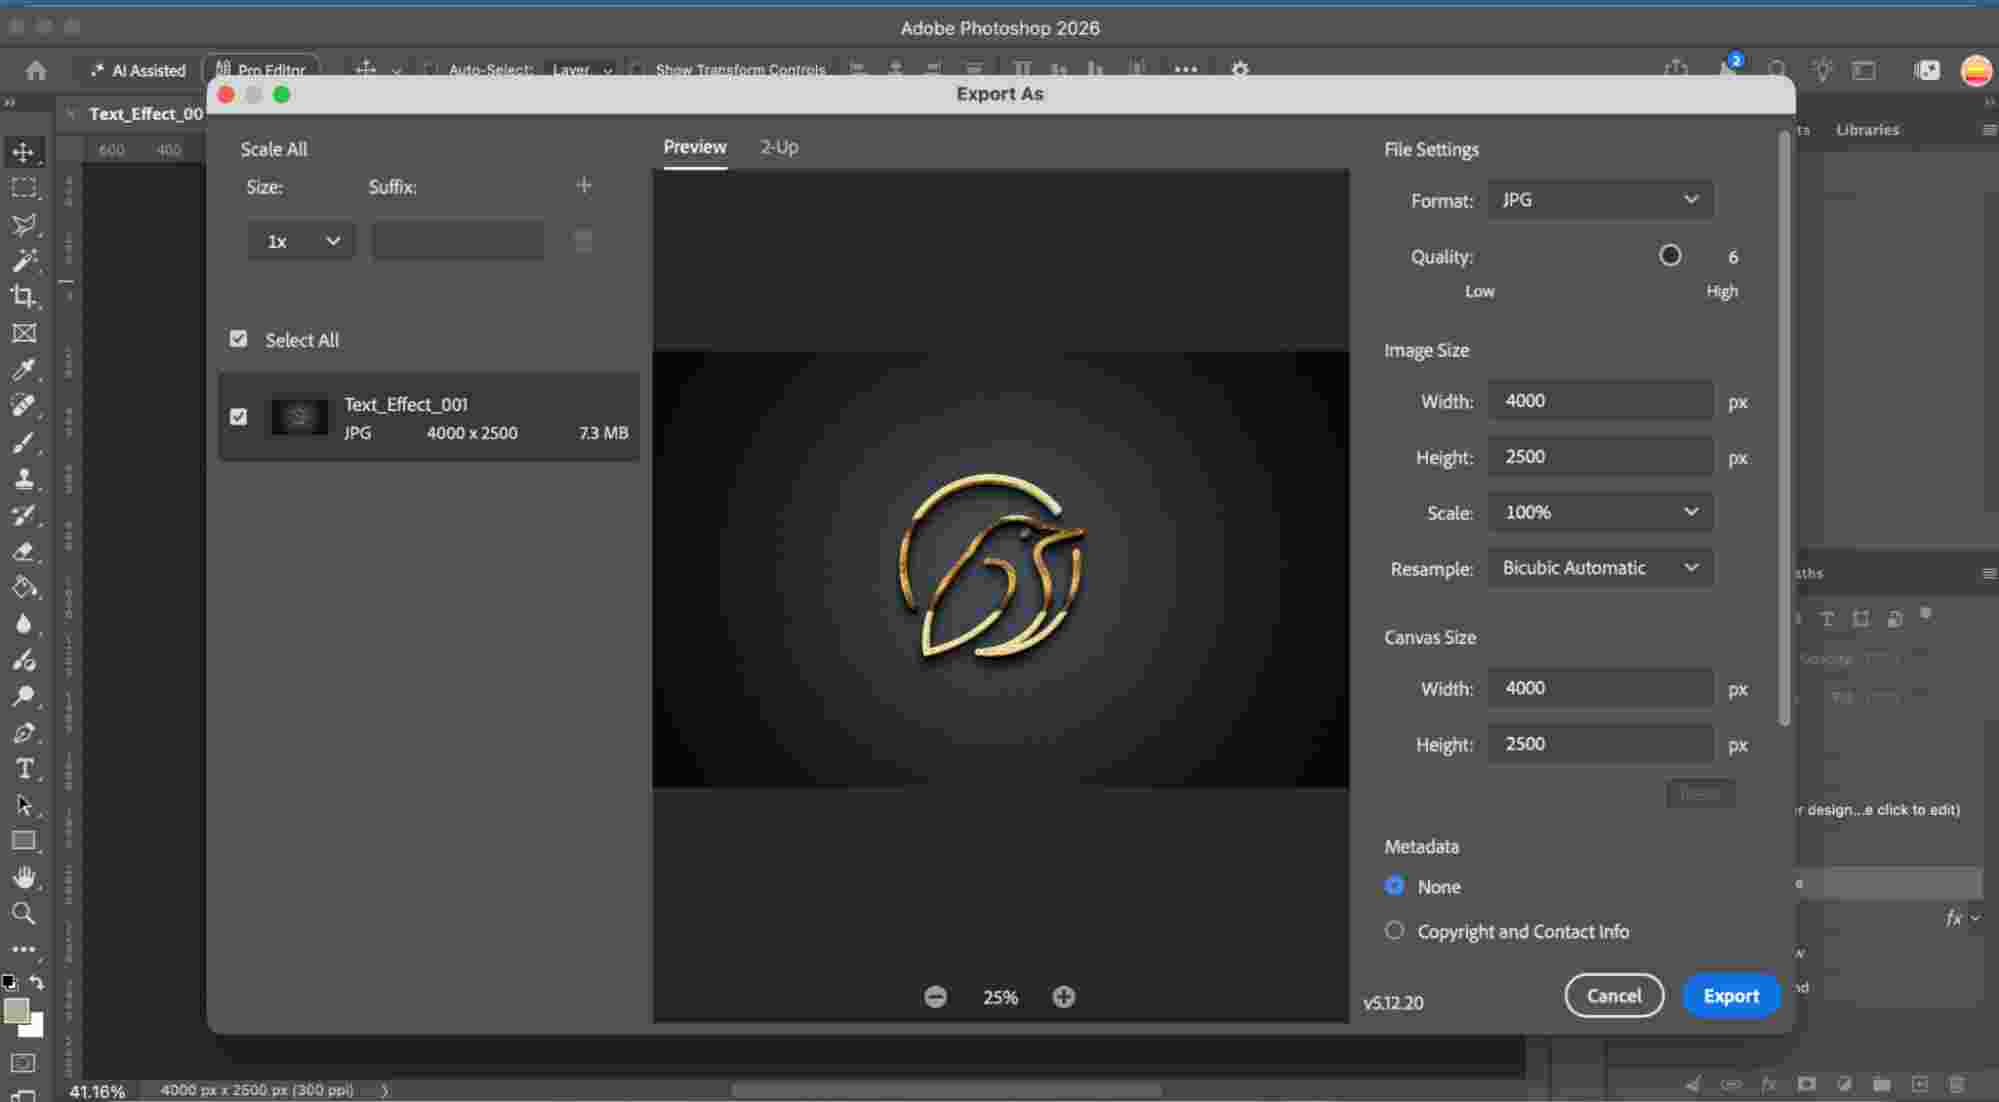
Choose the required image size and quality, then export the image separately. Keep the layered PSD as your editable master file.

The surface you choose should make sense for the business. A logo mockup Photoshop file for a storefront may suit a restaurant, while the same design could feel out of place for a clothing label.
Useful options include:
These formats can show how the logo works alongside the brand’s colour palette and other visual elements.
Consider:
For apparel, check whether the template can reproduce details such as fabric texture and stitched or printed finishes convincingly.
Suitable choices include:
The mockup should reflect surfaces and materials the restaurant is likely to use rather than adding the logo to unrelated objects.
Relevant options may include:
Creating one or two logo mockups manually is manageable. The process becomes repetitive when you need to work through dozens or hundreds of designs.
This is common for:
The repeated work often includes opening files, replacing artwork, saving changes, exporting images, naming outputs, and organising finished files.
Bulk Mockup helps reduce that manual workload by letting you create mockups in bulk and automate repetitive production tasks. This can make it easier to produce larger volumes of product visuals without repeating the same process for every design.
For smoother bulk processing, prepare your source files consistently. Use clear filenames, clean artwork, transparent backgrounds where appropriate, and preserve the original aspect ratio of each design.
If you regularly create large numbers of mockups, try Bulk Mockup to speed up the process and spend less time on repetitive production work.
You do not need to build a complete scene from scratch to create a logo mockup. A good PSD template already gives you the setting, lighting, shadows, and effects.
Your main job is to replace the sample design with your own logo, adjust its size and position, save the changes, and export the final image.
Choose a mockup that suits the brand and how the logo may actually be used. That will make the final result more useful and easier to present.
Download a PSD logo mockup template and open it in Photoshop. Edit the Smart Object, replace the sample artwork with your logo, save the changes, then export the updated mockup.
The logo may have been added outside the correct Smart Object, or the Smart Object may not have been saved after editing. Open the editable layer again, check the placement, and save it.
The visible size depends on how the logo is scaled inside the Smart Object. Extra transparent space around the artwork and different logo proportions can also affect how large it appears.
Use JPG for most finished photographic mockup scenes. Choose PNG when you need transparency or prefer lossless output for the final image.