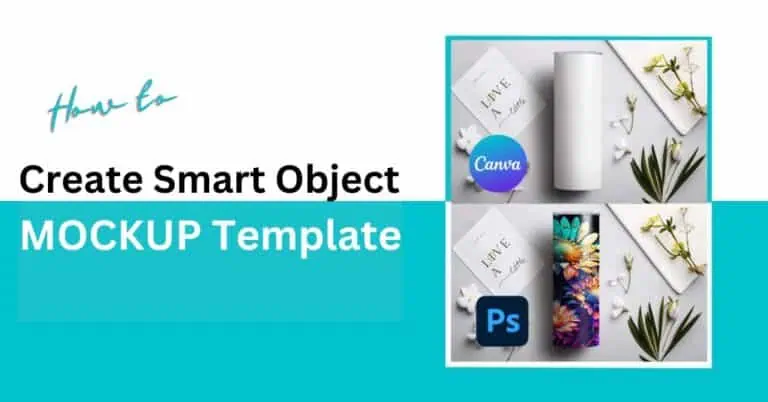
Learn the step-by-step process of converting Canva PNG mockups to smart object mockups, avoiding common mistakes for flawless results.


In this short tutorial, I will teach you how you can convert your Canva png mockup to smart object mockup like this –

There are four important parts of this article –
If you’re a visual learner, I suggest you watch this video in our official YouTube channel made by our founder Vikash Kumar Prajapati.
First we need to understand why we are converting Canva png mockups to smart object mockups. There are two distinct advantages –
With that out of the way, let’s get into the process.
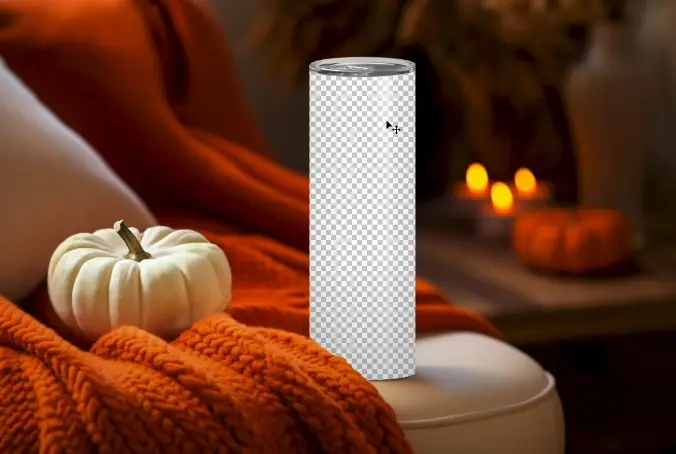
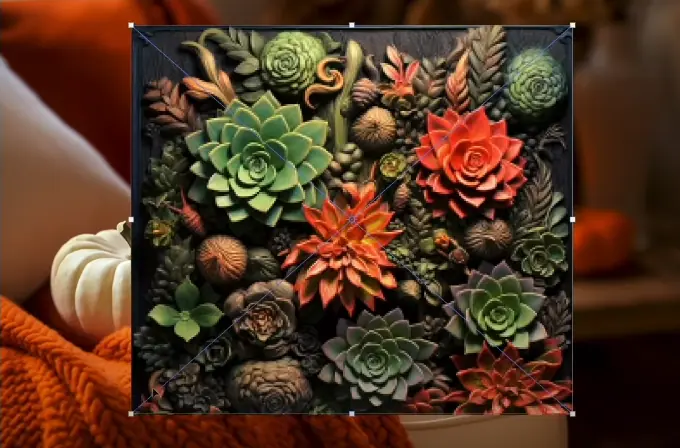
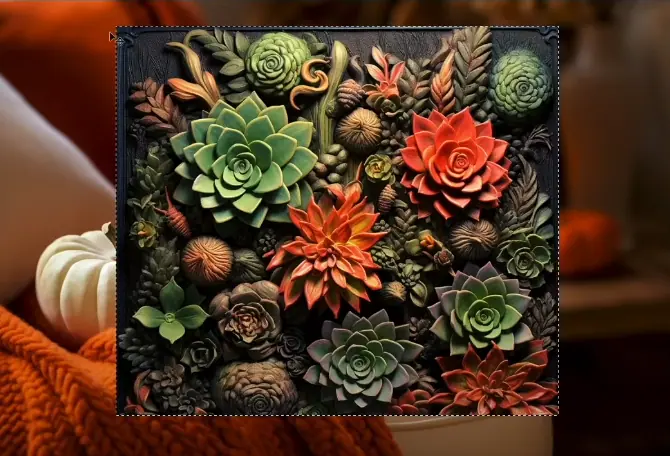
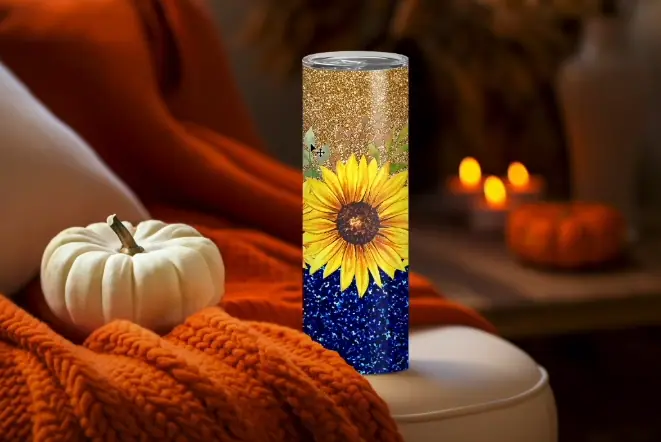
For the purpose of this tutorial, we will be using this Canva png mockup –
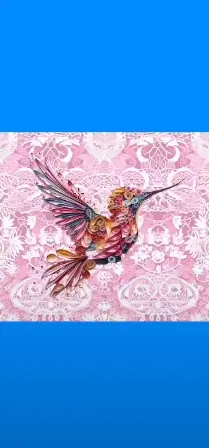
After this we need to take a random design as placeholder from our design library to drag and drop on the design like this –
After this click on the check mark in top middle to finish this step.
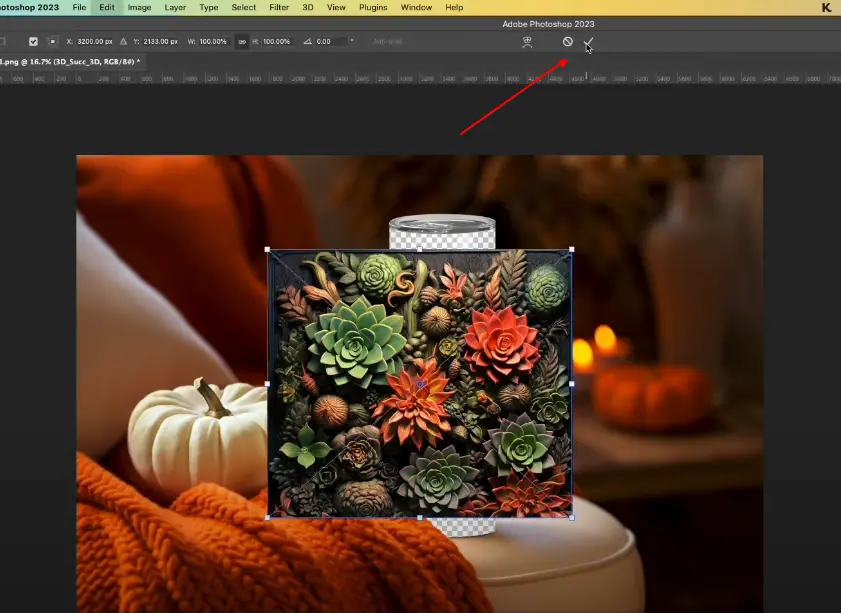
Next step is pressing ctrl+T for windows or “cmd+T” which will allow you to resize the design. Resize the design to completely hide the tumbler.
Then press and hold Ctrl or Cmd + left click on the layer.
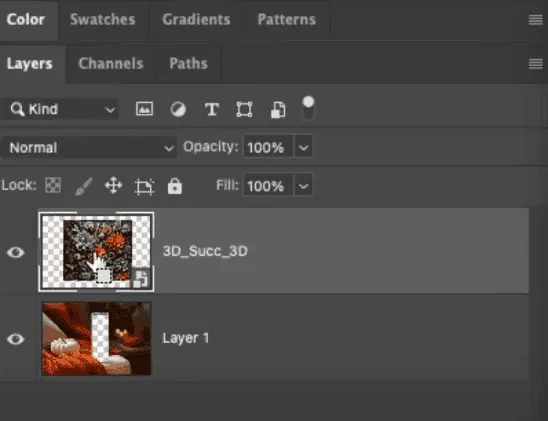
After the left click, you’ll see a highlight around the image.
Now turn off the visibility layer and our placeholder is done.
After making the placeholder, we will go to the next step.
For the next step, we will create a new layer. Then fill the new layer with any random color. We are filling it with blue. For the color filling go to Edit → Fill and choose a color.
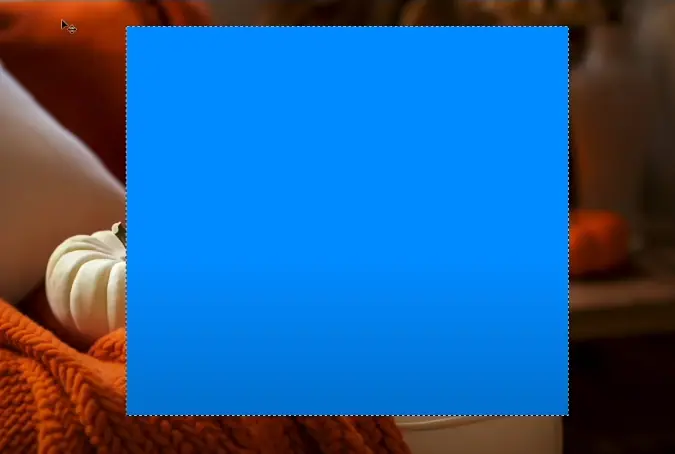
This will fill up our placeholder with the color you choose and the process is almost done.
To deselect the placeholder, press Ctrl+T or Cmd+T and the highlights will be gone.
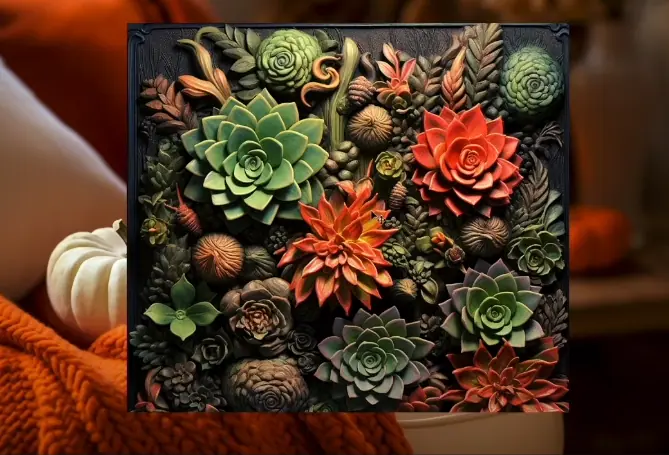
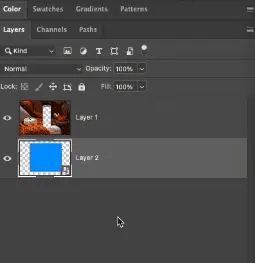
Then make the fill into a smart object → deleting the previous design → and dragging the smart object under the main layer. The result will look like this.
The last step is pressing Ctrl+T or Cmd+T to see the bounding box of your design, make the box fit the design and try to put the center of the box in the center of your product.
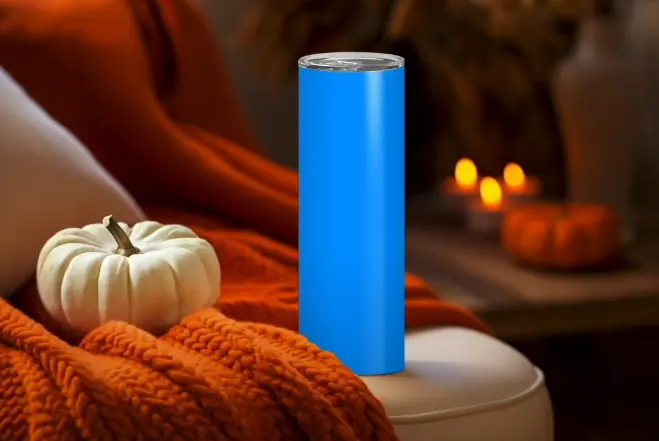
Save the file as PSD and now your smart object mockup from Canva png template is done.
You can now use the PSD like any other PSD file and just replace the smart object with your design. The end result will be an awesome tumbler mockup template.
Although the process shown above is really simple, we know some of you might be tempted to get a shorter and easier version of it.
The most common mistake is trying to use the marquee tool like this for an easier placeholder instead of your design and doing something like this.
It might look just like the previous process in the start and middle but at the end, you will get a smart object that is too narrow for your tumbler wrap design.
As you can see, this is not the way it works.
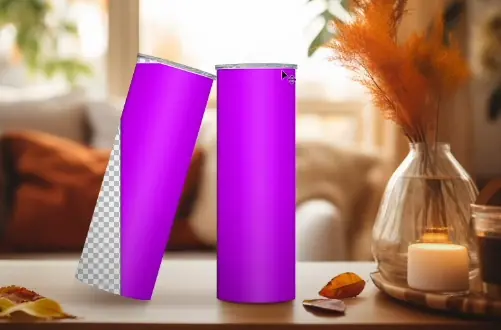
The previous Canva png image was quite simple but what to do when the design is complex like the below image.
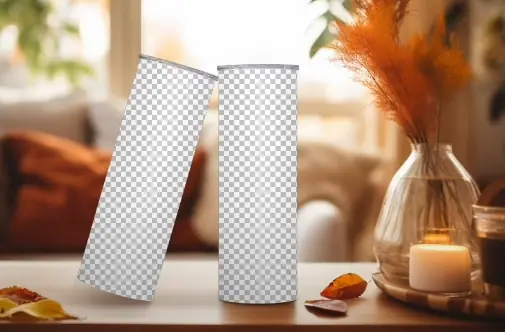
Don’t worry, the process is still pretty straightforward with some added extra steps.
As you can see, there are two tumblers in this Canva png mockup template.
So the first difference from the previous process is, we have to do it twice. Let’s start with the right one first.
For the right one, do the full process which we did earlier for the single tumbler. At the end, you will get an outcome like this.
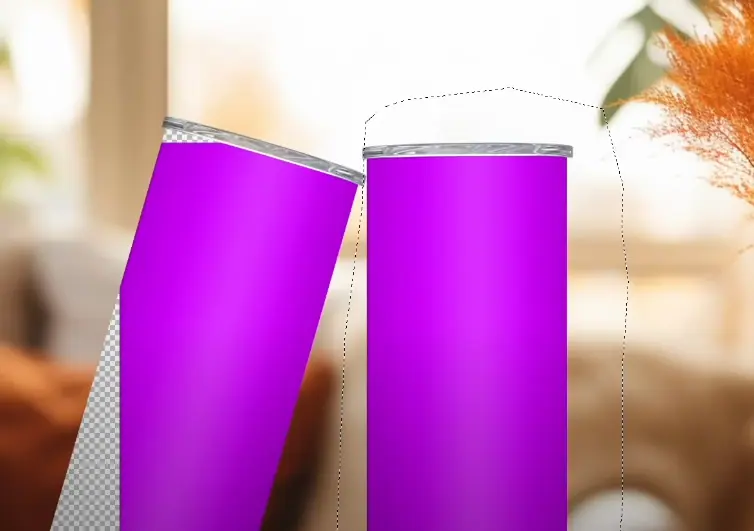
Then use the polygon lasso tool and try to make a selection around the right tumbler like this –
After that Click “D” on your keyboard or just change the foreground color to black like this.
Then click on the “Layer Mask” button at bottom right and you’ll get a result like this.
Now, choose layer 2 and click Ctrl +J or Cmd + J to make a copy of the layer, then delete the original smart object and turn off the visibility for Layer 2. to finish the process.
For the left tumbler, press Ctrl + T or Cmd + T while the “Layer 2 copy” is selected and then make the layer fit the left tumbler like this by tilting and resizing.
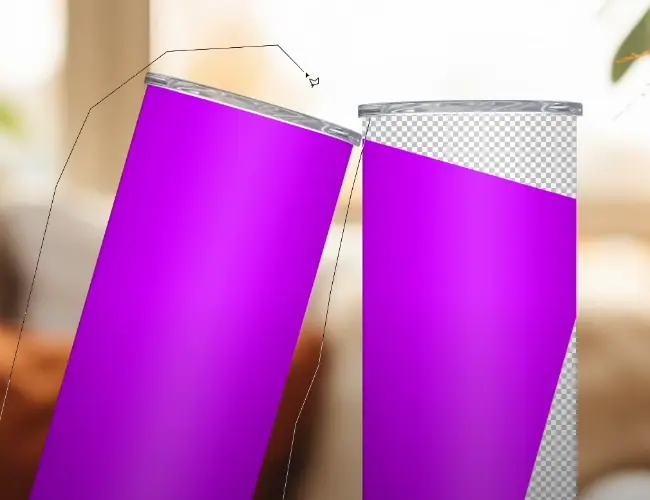
Then again take the Polygon Lasso tool to make an outline for the left tumbler.
Then click on the “Layer Mask” button at the bottom right and the process is finished.
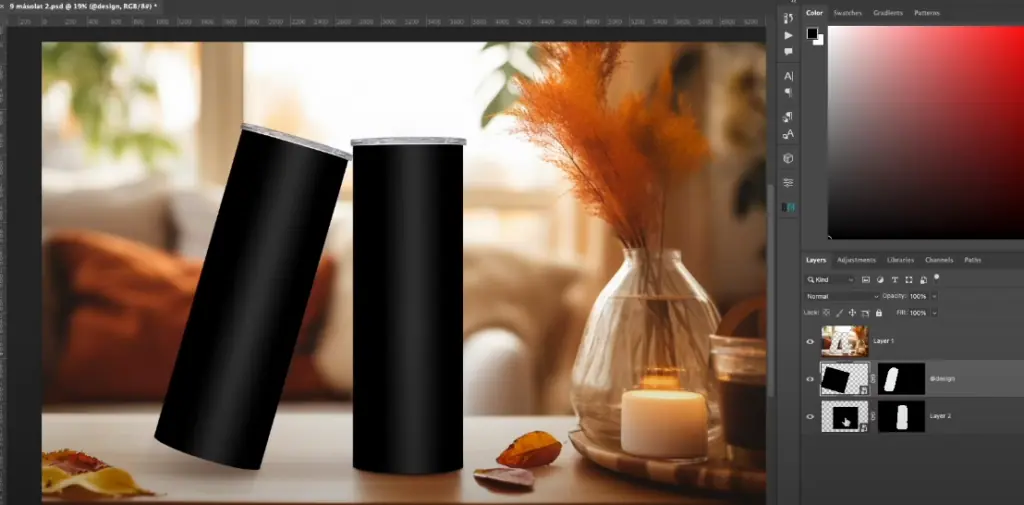
With complex designs can come some unexpected difficulties. Like in our last image, we can clearly see some color left on the right tumbler. So let’s fix it.
Make an outline around the problem area with the marquee tool like this –
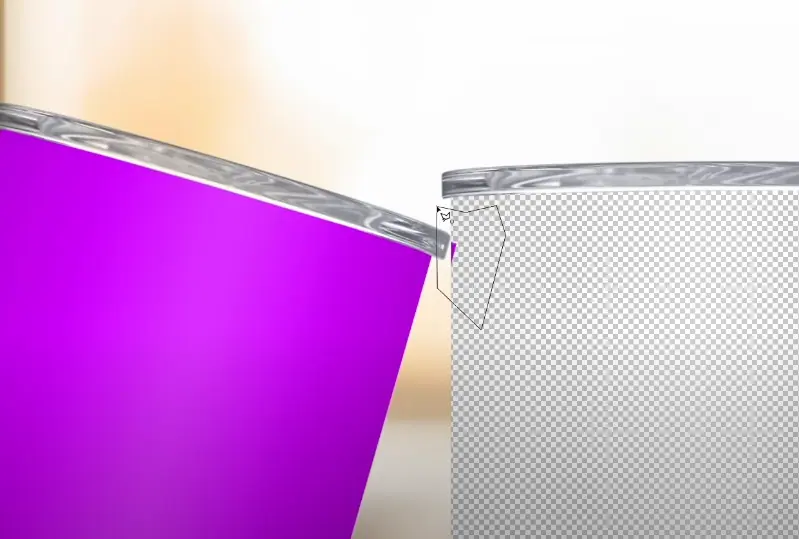
Then go to Edit → Fill → choose the color black. It will clean out the output.
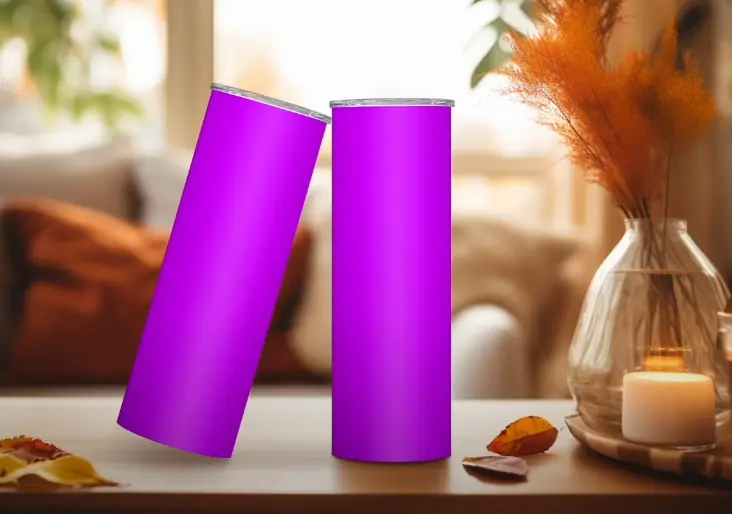
After the cleanup process, the process is finished and you’ll get two smart objects on your tumblers.
Pro Tip: click and hold the “Option” key and scroll up and down to zoom in/out. It will help you check the overall look and find any issues that are in the design.
For this step, we need our revolutionary software BulkMockup which can create thousands of mockup templates in an automated fashion without any of your input.
You just have to prepare the folders you want to put your templates and designs and want your outputs saved.
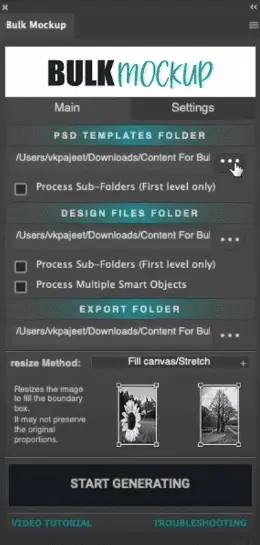
After you open BulkMockup, you’ll see three folder options.
Make the three folders, choose them in Bulkmockup in the proper places and click “START GENERATING”
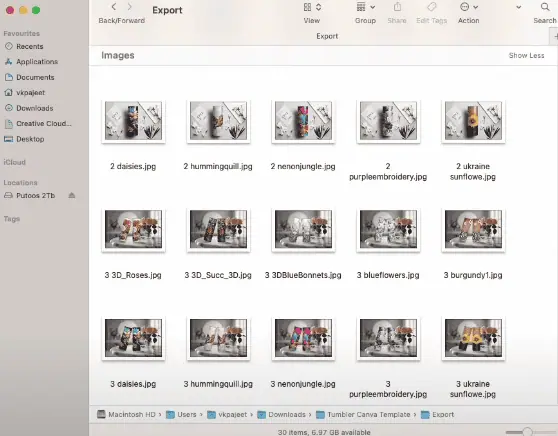
Bulkmockup will automatically put the designs on your converted PSD mockups and save the output in the Export folder.
After BulkMockup has cycled through all your design and templates automatically, the generating would stop and you’ll have the finished product in the Export folder.
I know it sounds too good to be true so I encourage you to check out our Youtube Channel where we do these live, every week.