
How to Batch Create Video Mockups for Wall Art
Overview
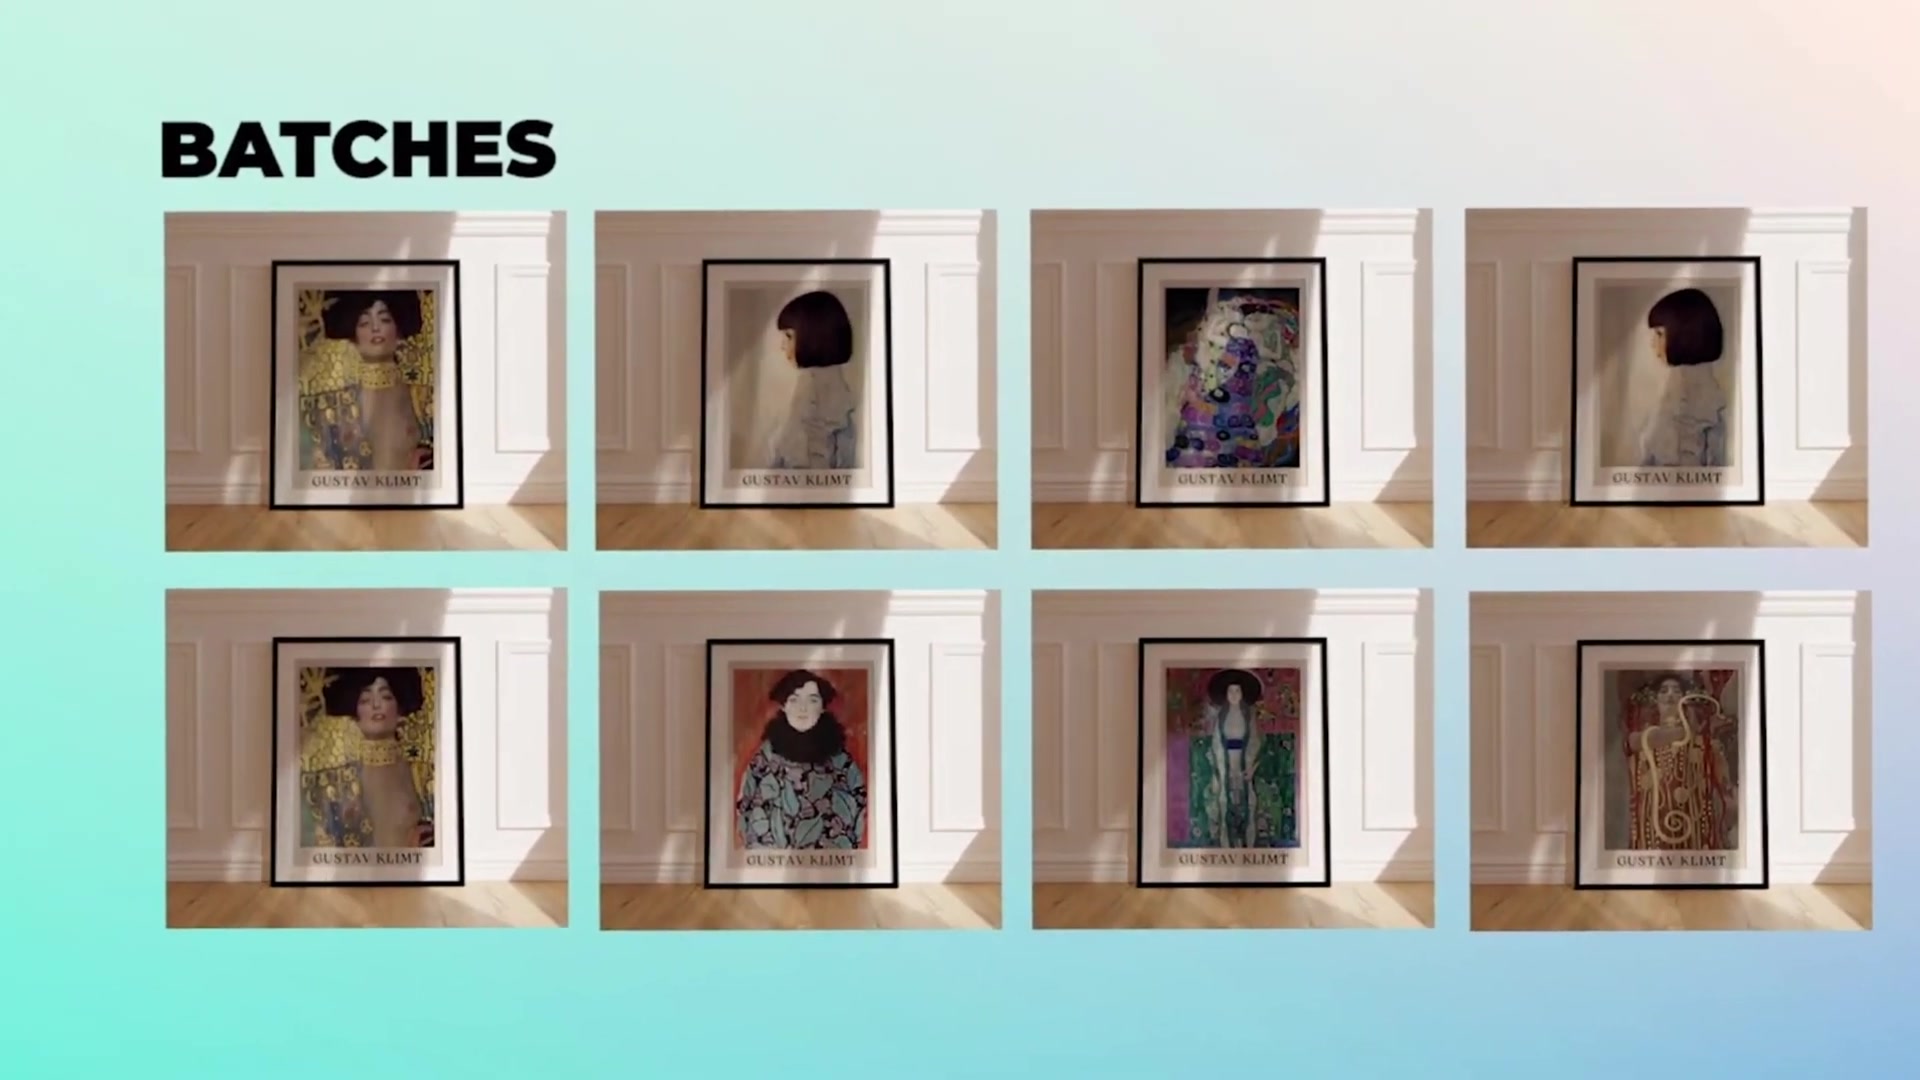
This tutorial shows you how to batch create video mockups (MP4 format) for wall art using the Bulk Mockup Photoshop plugin. You'll learn how to organize your files, prepare your PSD template, and automatically generate multiple video mockups in minutes.
This workflow is perfect for Etsy sellers, printable art creators, and anyone who needs to showcase wall art designs in video format for marketing or product listings.
What You'll Need
Adobe Photoshop with Bulk Mockup plugin installed (v3.2.3 or later recommended)
A wall art mockup PSD template with a smart object layer
Your design files (PNG, JPG, or other image formats)
Step 1: Create Your Folder Structure
Start by organizing your project into three folders. This keeps your workflow clean and helps the plugin locate all necessary files.
Create these three folders on your computer:
TEMPLATES – Store your PSD mockup file here
ARTS – Place all your design files (wall art images) here
EXPORTS – This is where your finished MP4 videos will be saved
You can name these folders whatever you like, but using clear names like these makes it easy to stay organized, especially when working on multiple projects.
Step 2: Enable Timeline in Photoshop
To create video mockups, you need to enable Photoshop's Timeline panel. This allows the plugin to generate MP4 files instead of static images.
Open your wall art mockup PSD file in Photoshop
Go to Window in the menu bar
Click Timeline to enable the Timeline panel
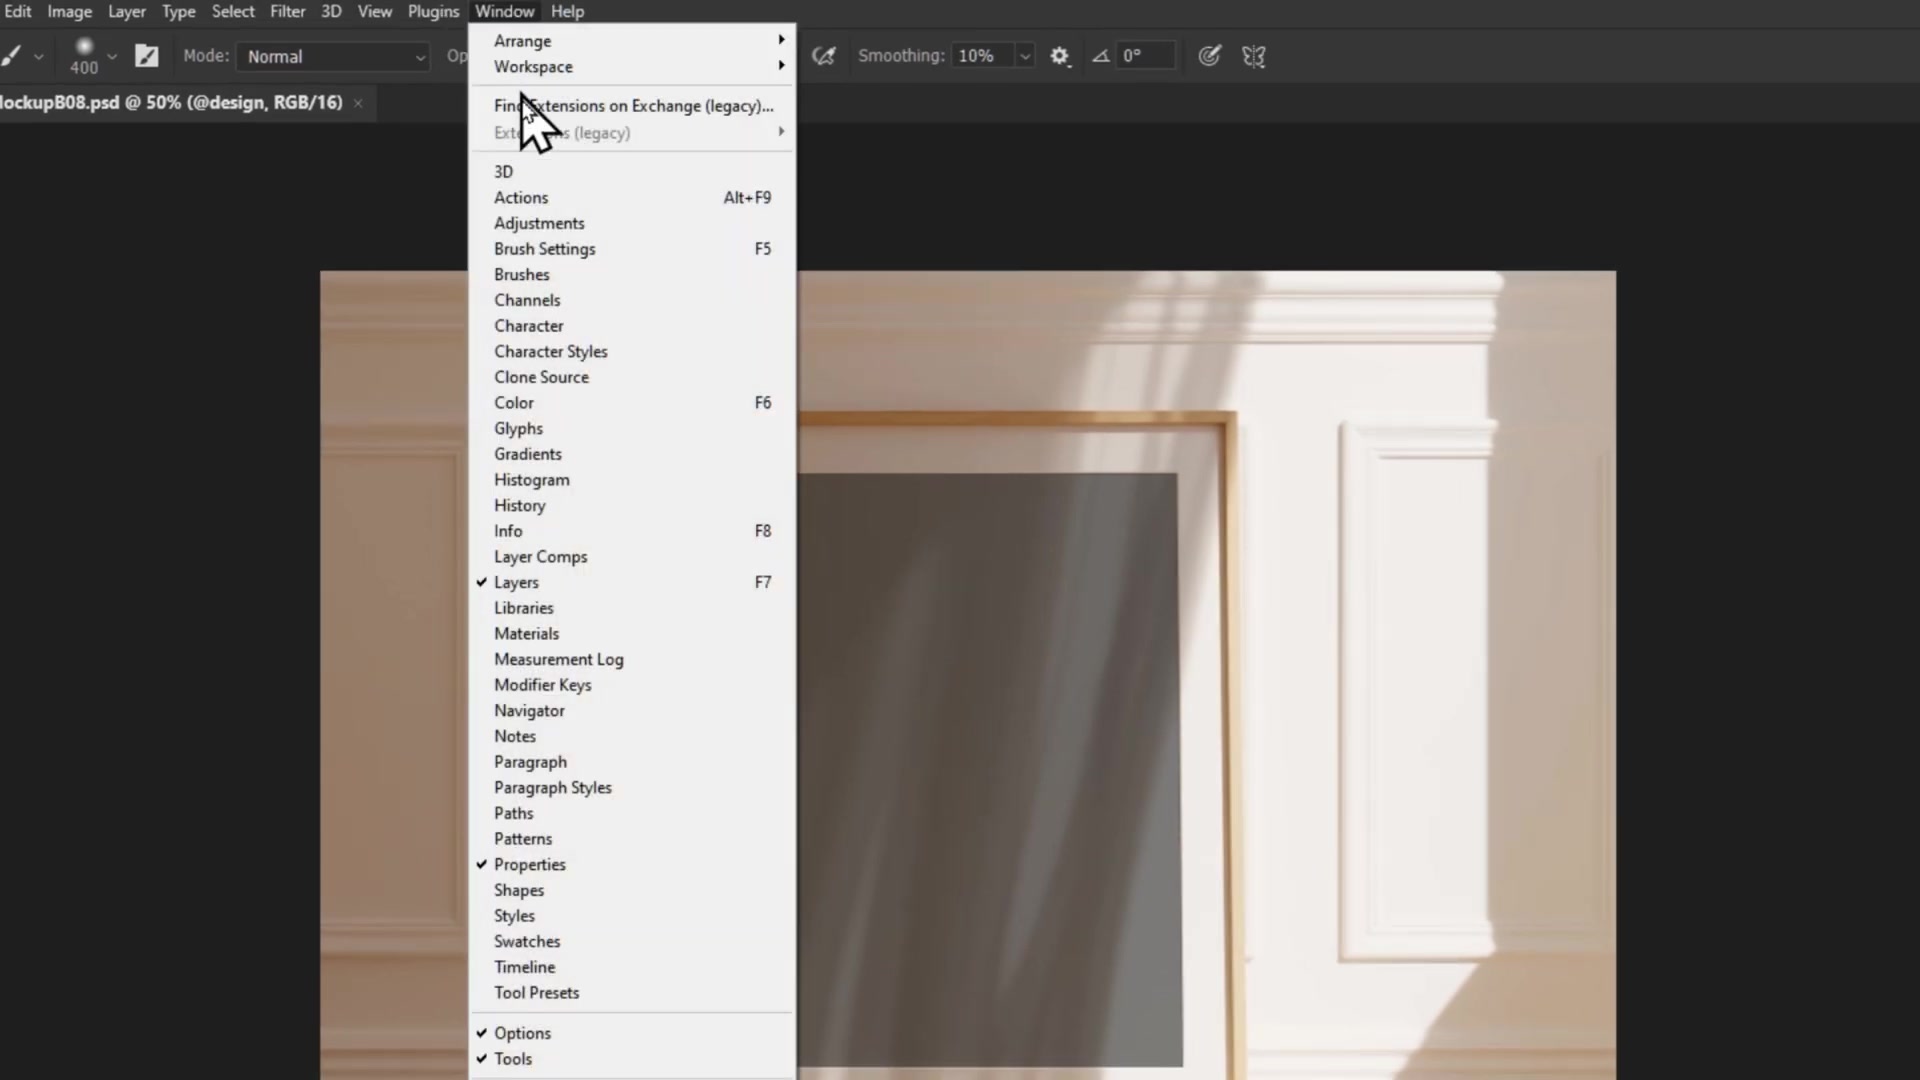
The Timeline panel will appear at the bottom of your Photoshop workspace.
Step 3: Rename Your Smart Object Layer
The Bulk Mockup plugin identifies which layer to replace by looking for a specific naming convention. You need to rename your smart object layer to @design.
In the Layers panel, locate your smart object layer (usually named something like "Placeholder" or "Design")
Double-click the layer name
Rename it to @design (include the @ symbol)
Press Enter to confirm
Save your PSD file and close it
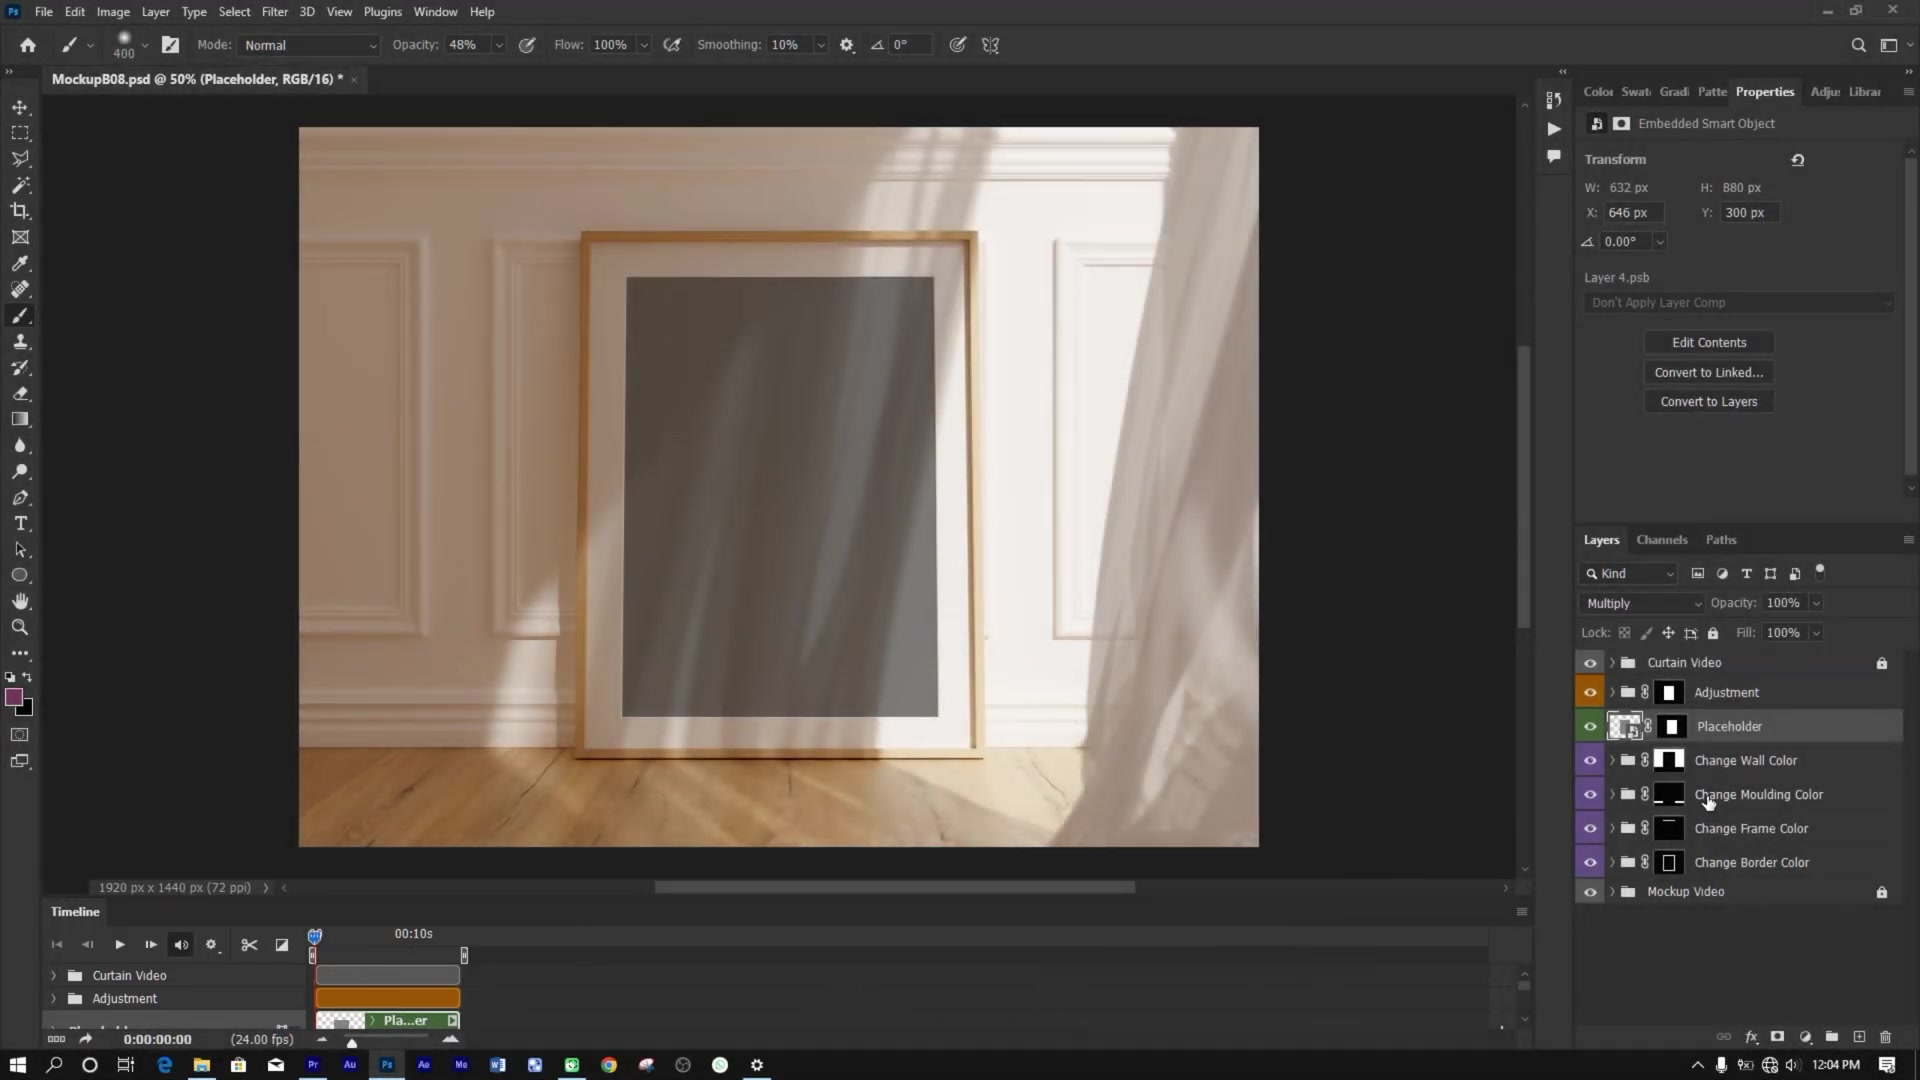
The @design naming convention is case-sensitive and must include the @ symbol. Without this exact name, the plugin won't recognize which layer to replace.
Step 4: Configure the Bulk Mockup Plugin
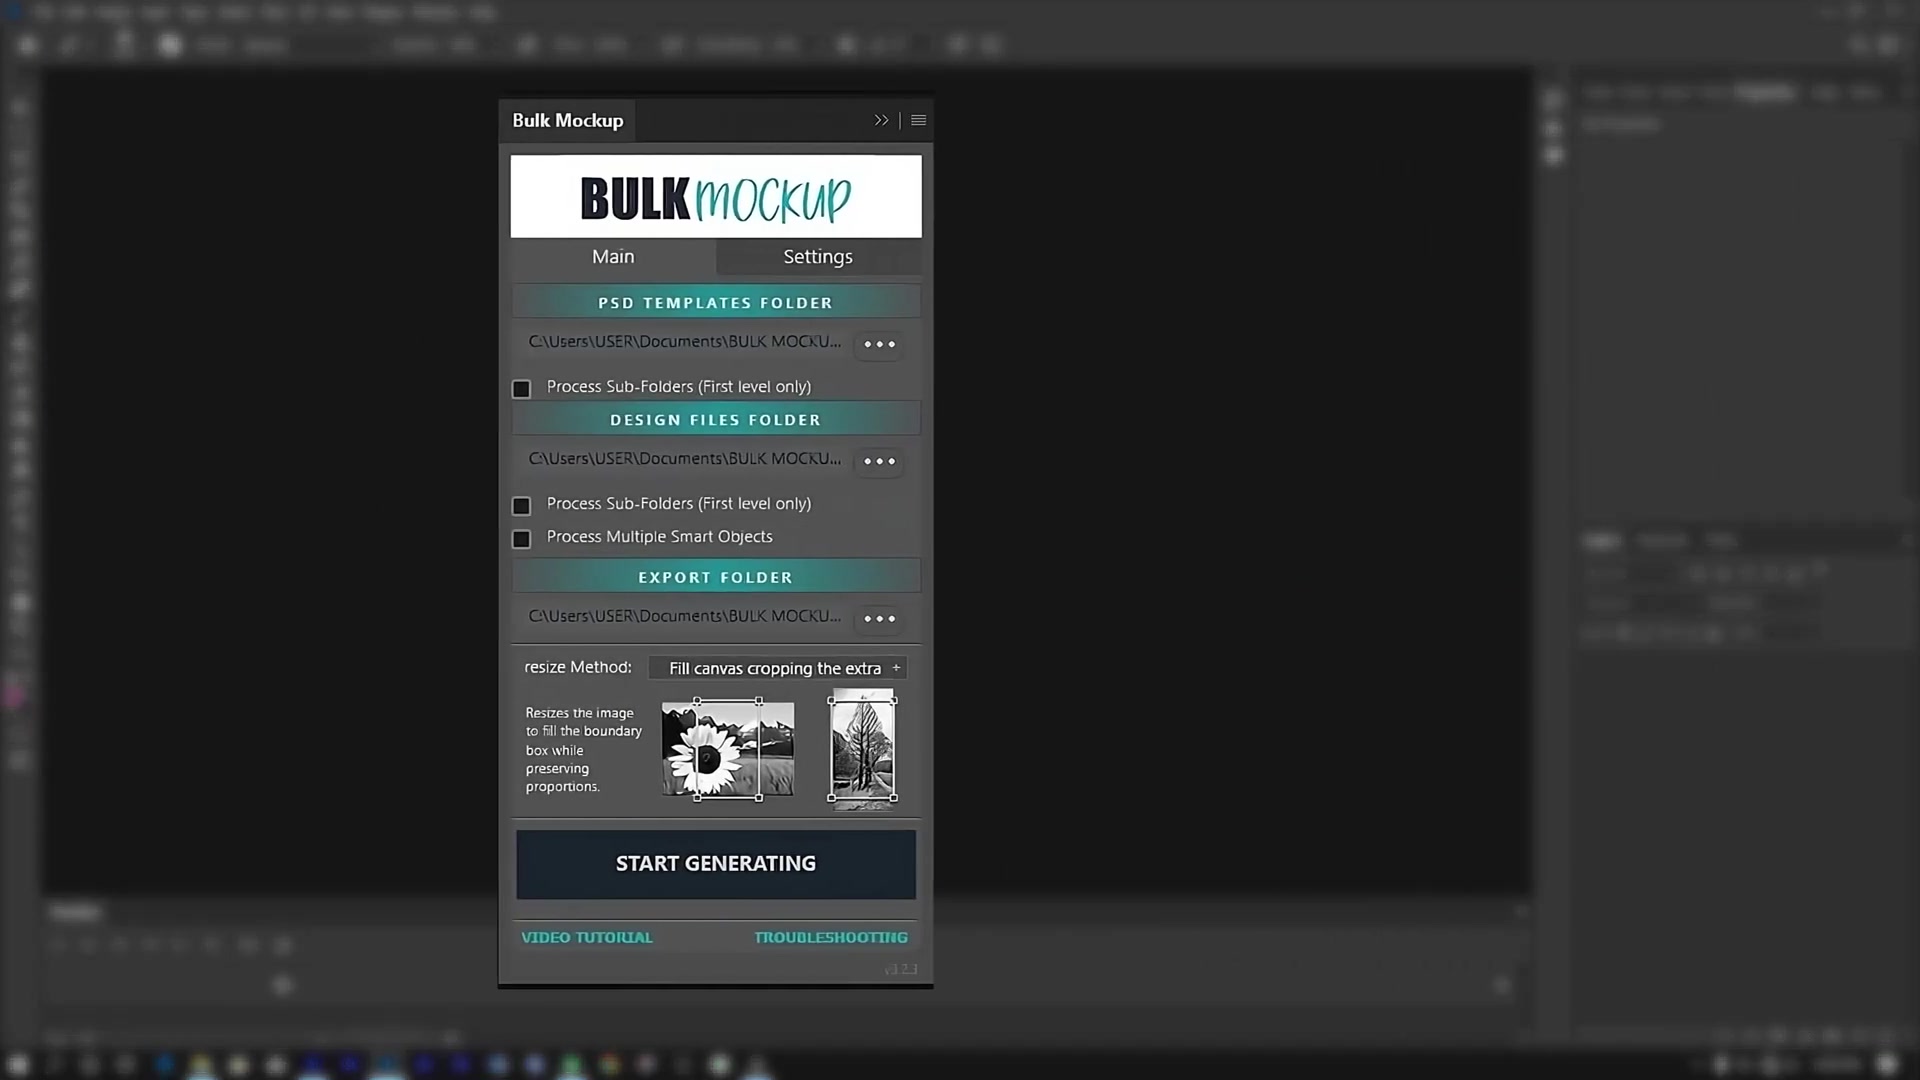
Now you'll set up the plugin to process your mockups automatically.
In Photoshop, go to Plugins > Bulk Mockup
In the plugin interface, configure the folders:
PSD Templates Folder – Select your TEMPLATES folder
Design Files Folder – Select your ARTS folder
Export Folder – Select your EXPORTS folder
Step 5: Set Export Format to MP4
To generate video mockups instead of static images, you need to change the export format to MP4.
Click the Settings tab in the Bulk Mockup plugin
Go to the Export section
Select MP4 as your export format
Leave other settings at their defaults (H.264 codec, High Quality preset)
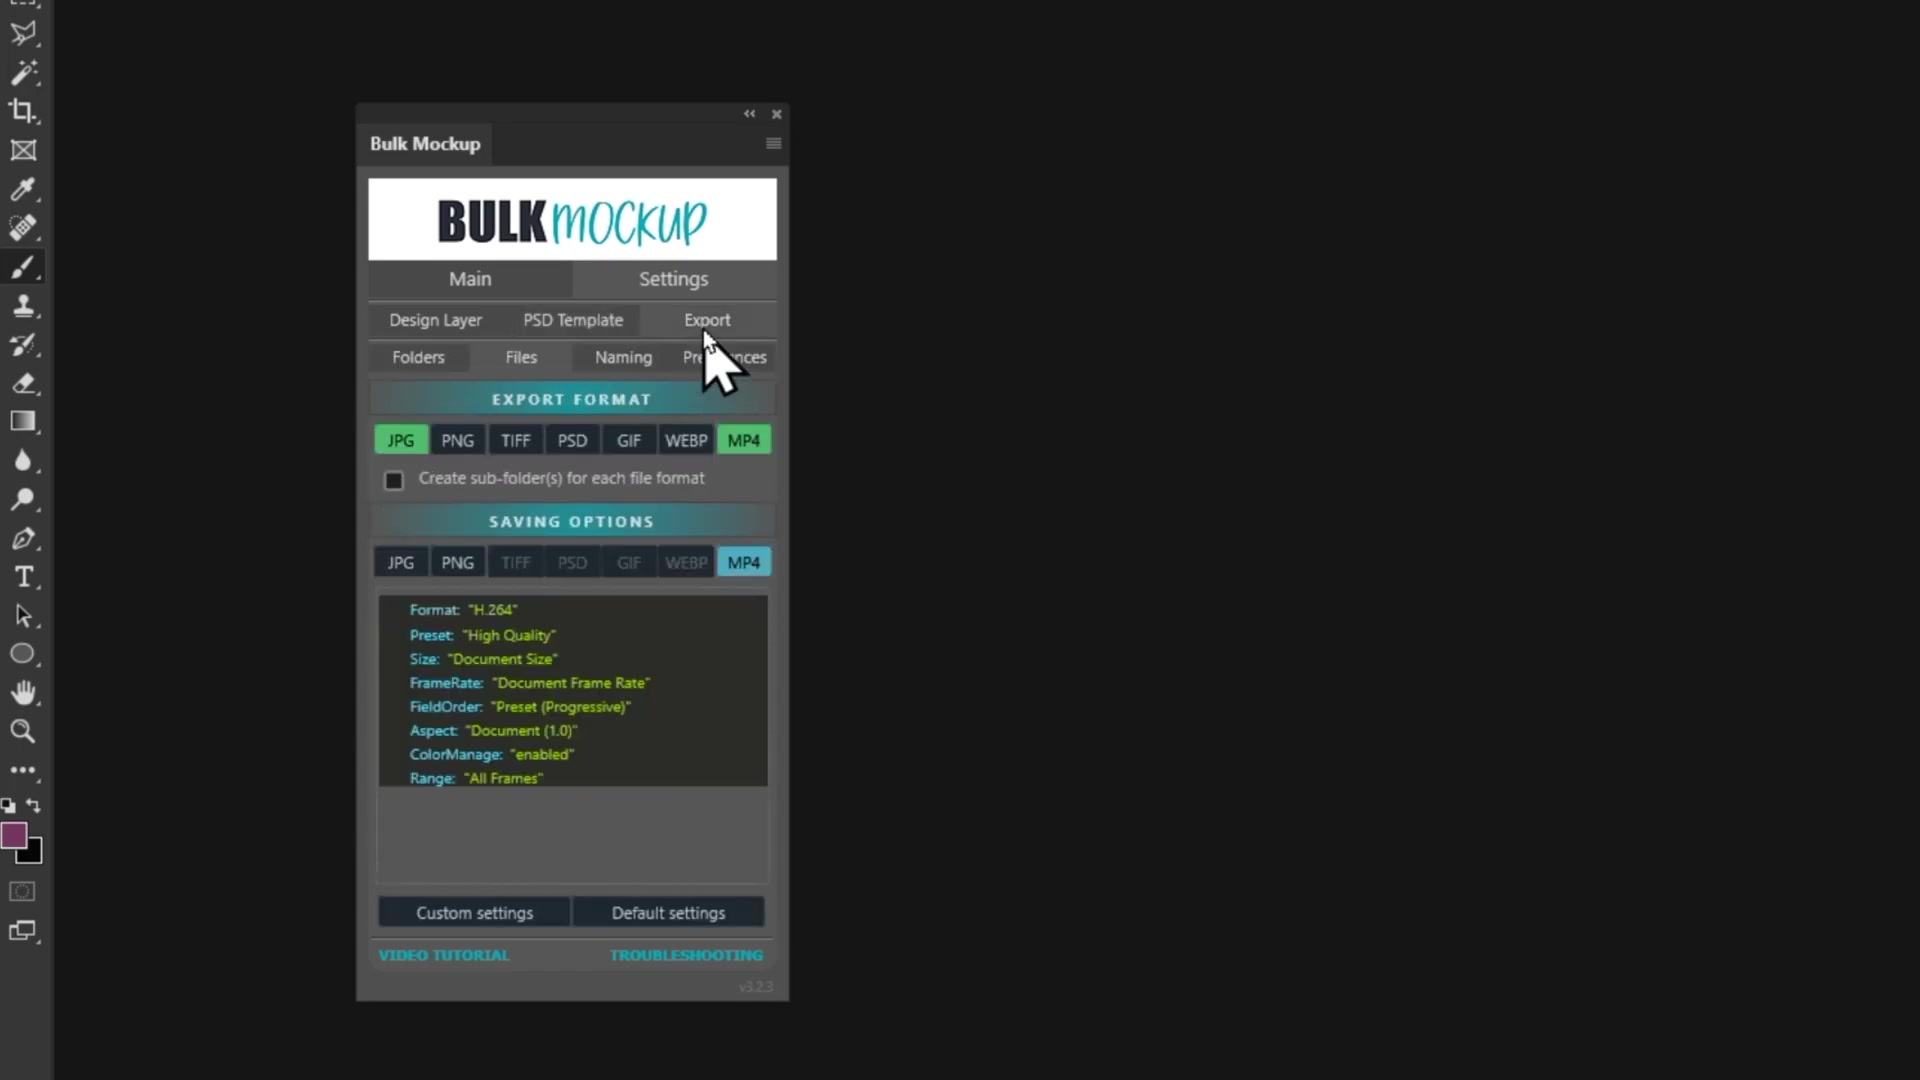
The MP4 format is ideal for sharing video mockups on social media, Etsy listings, or product showcase videos.
Step 6: Generate Your Video Mockups
With everything configured, you're ready to batch create your video mockups.
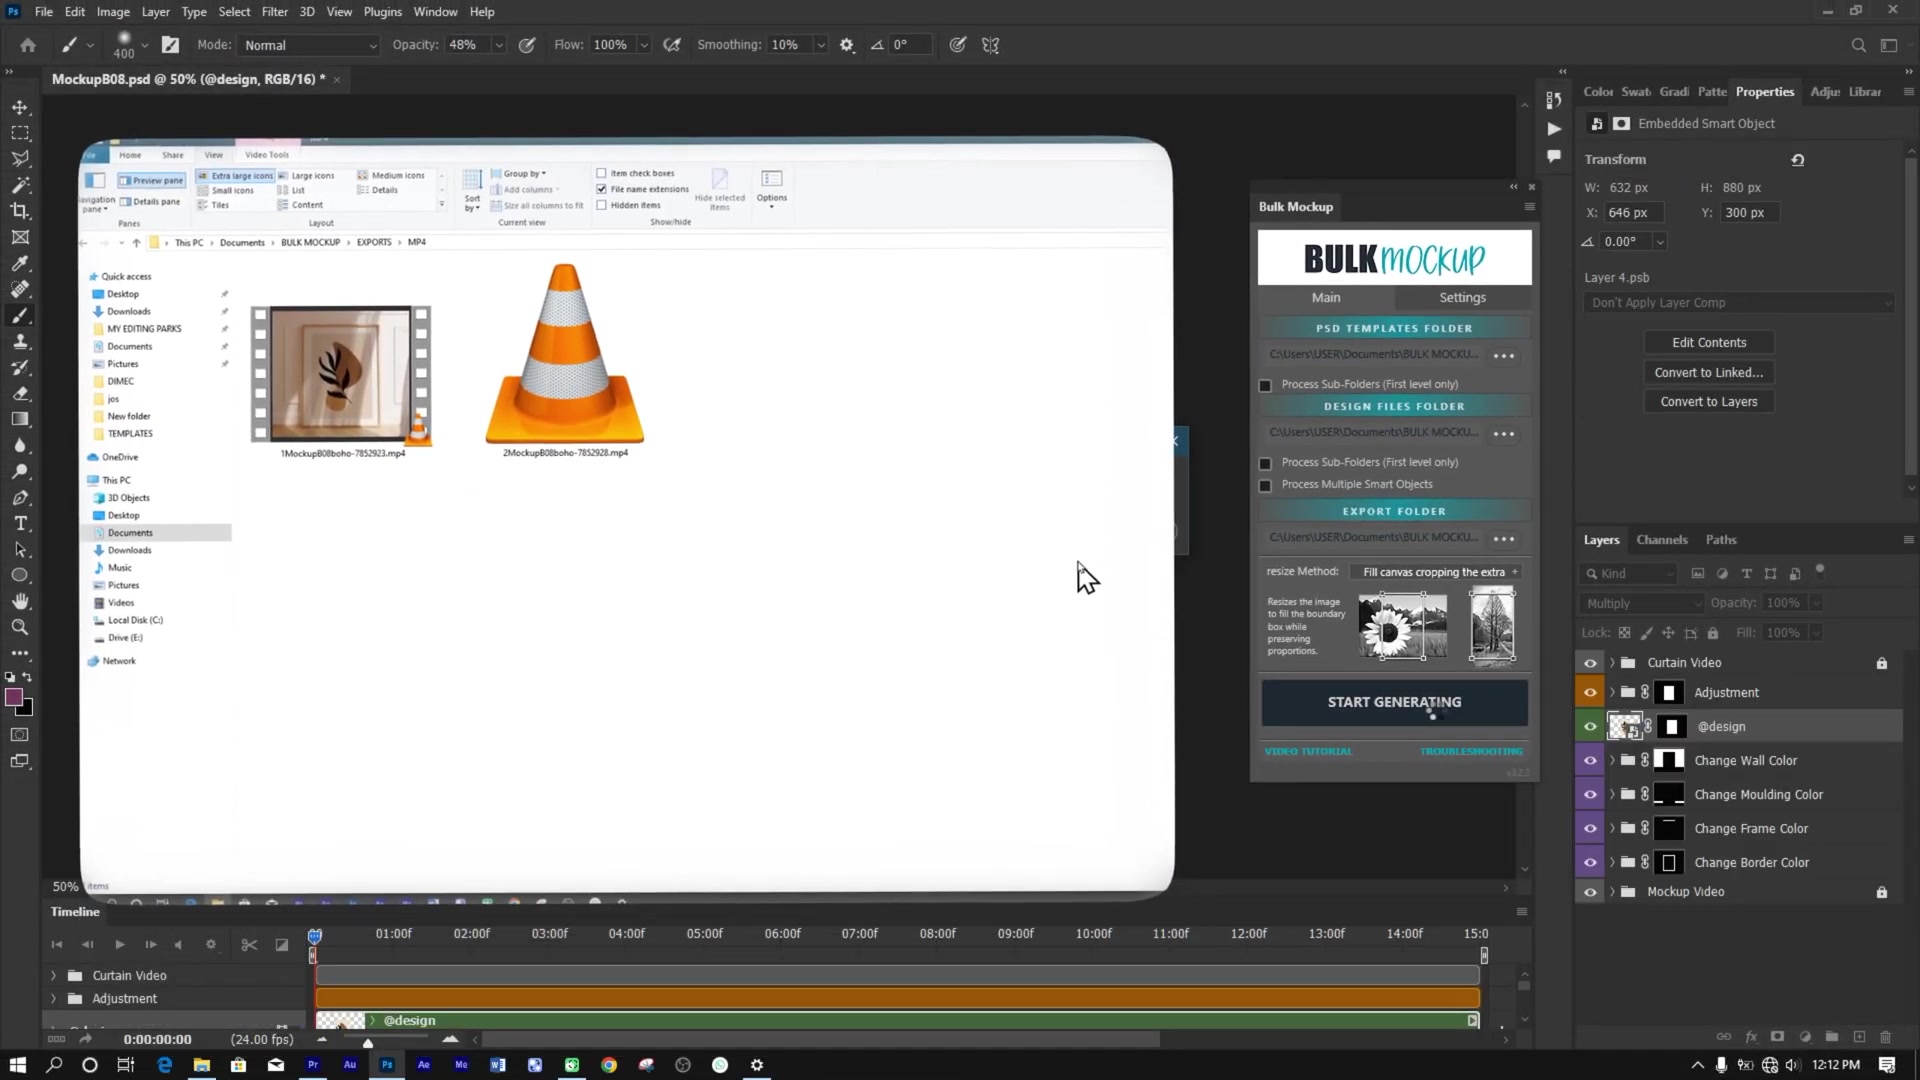
Return to the Main tab in the plugin
Click START GENERATING
The plugin will automatically process each design file in your ARTS folder
Wait for the batch process to complete
The plugin will create one MP4 video mockup for each design file in your ARTS folder.
Step 7: Access Your Video Mockups
Once processing is complete, all your video mockups will be saved in the EXPORTS folder.
Your video files are now ready to use for product listings, social media posts, or marketing materials.
For more advanced workflows like processing multiple scenes or multiple smart objects in a single video, check out the Batch Process Video Mockups guide.
Related Resources
Need More Help?
If you have questions about creating video mockups or encounter any issues, contact the Bulk Mockup support team at [email protected].
Watch Similar Videos
Batch Process Video Mockups — Multiple Scenes & Multiple Smart Objects
Use Cases
Creating product showcase videos for Etsy listings
Generating social media content for printable wall art
Building video portfolios for interior design mockups
Automating video mockup creation for marketing campaigns