
Creating First Mockup With Photoshop Plugin Bulk Mockup (Complete Beginner Guide)
This step-by-step tutorial shows you how to use the Bulk Mockup Photoshop Plugin to convert JPG mockups into reusable Smart Object PSD templates and automatically generate bulk mockups from multiple designs in minutes.
If you’re new to Photoshop automation or want to create hundreds of marketplace ready mockups faster, this guide walks you through setup, template creation, and batch exporting without common beginner mistakes.
Step 1: Create the Correct Folder Structure for Batch Mockup Generation
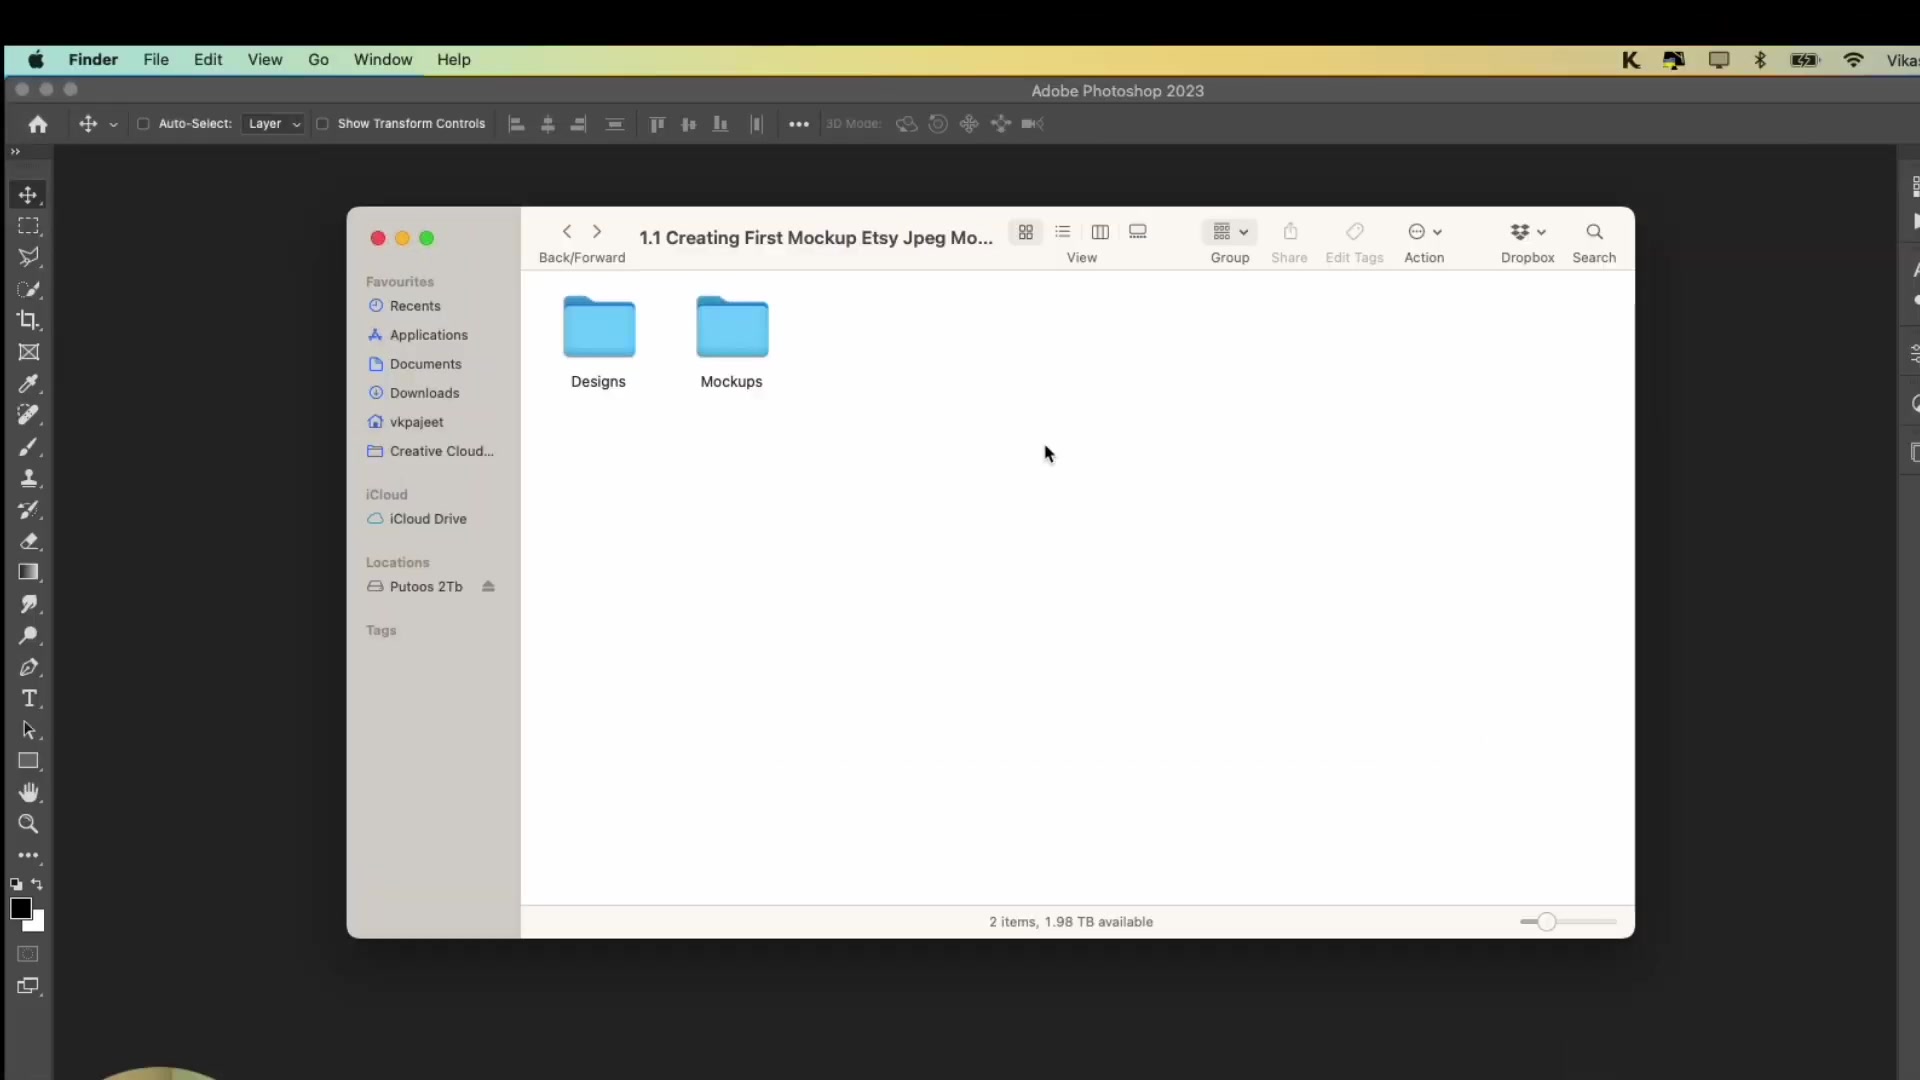
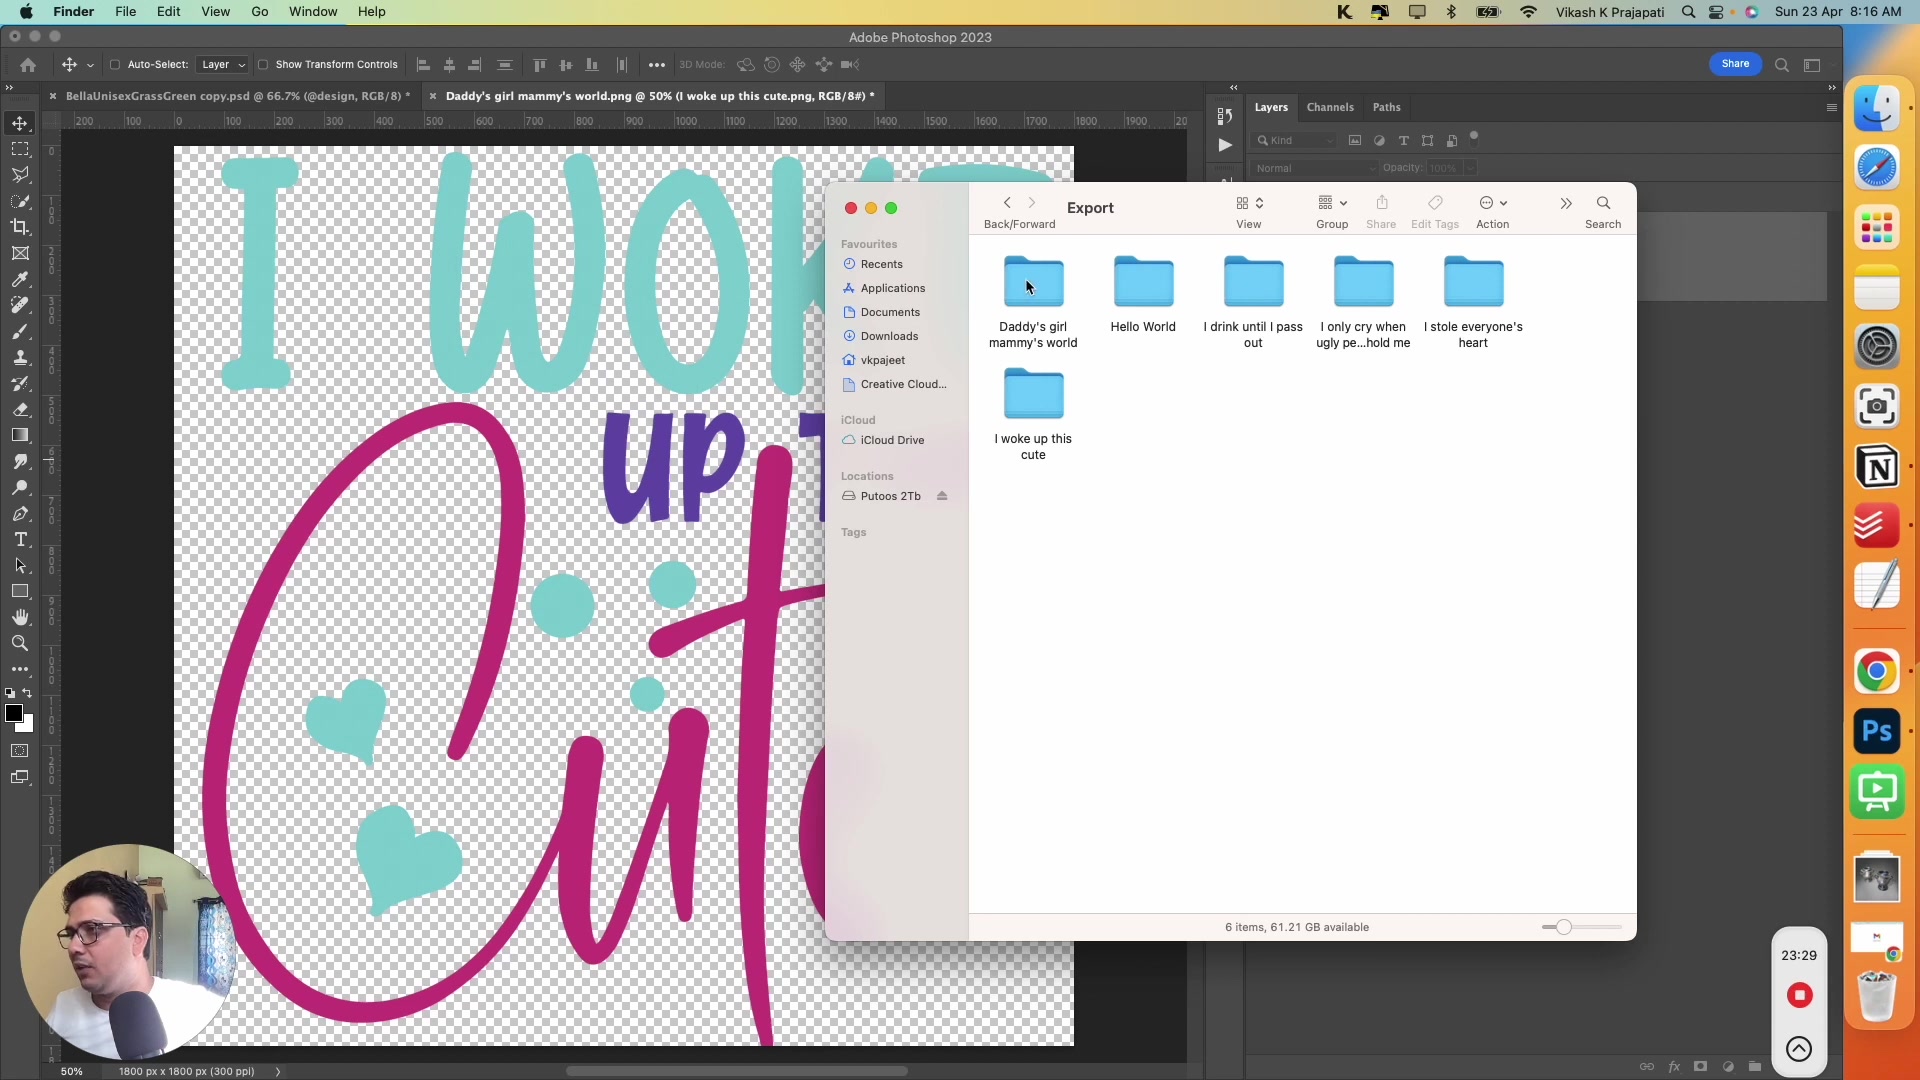
Create three folders on your computer:
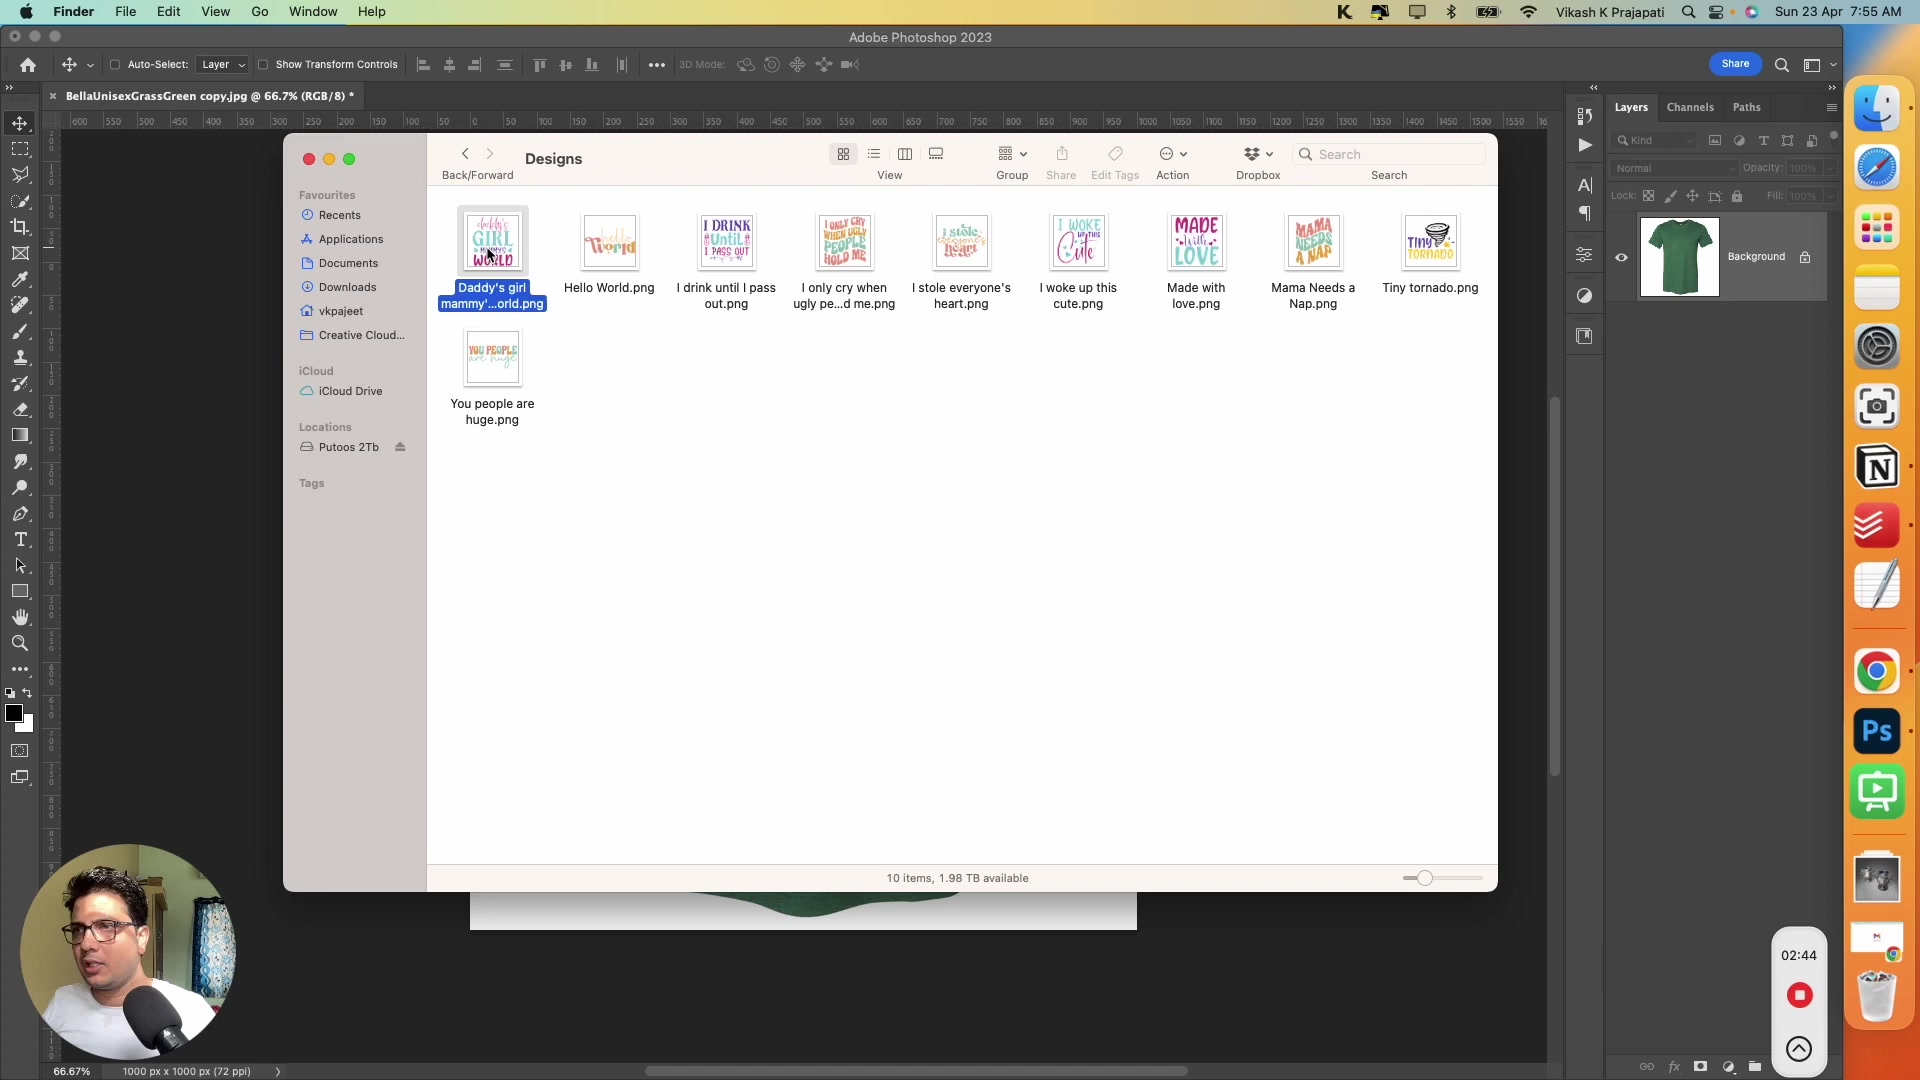
Designs – Place all your design files here (PNG format works best)
Mockups – Place your JPG mockup files here initially
Export – Leave this empty; the plugin will export final mockups here
Step 2: Convert JPG Mockups into Smart Object PSD Templates
For each JPG mockup, you'll create a PSD template with a Smart Object layer. This is a one-time setup.
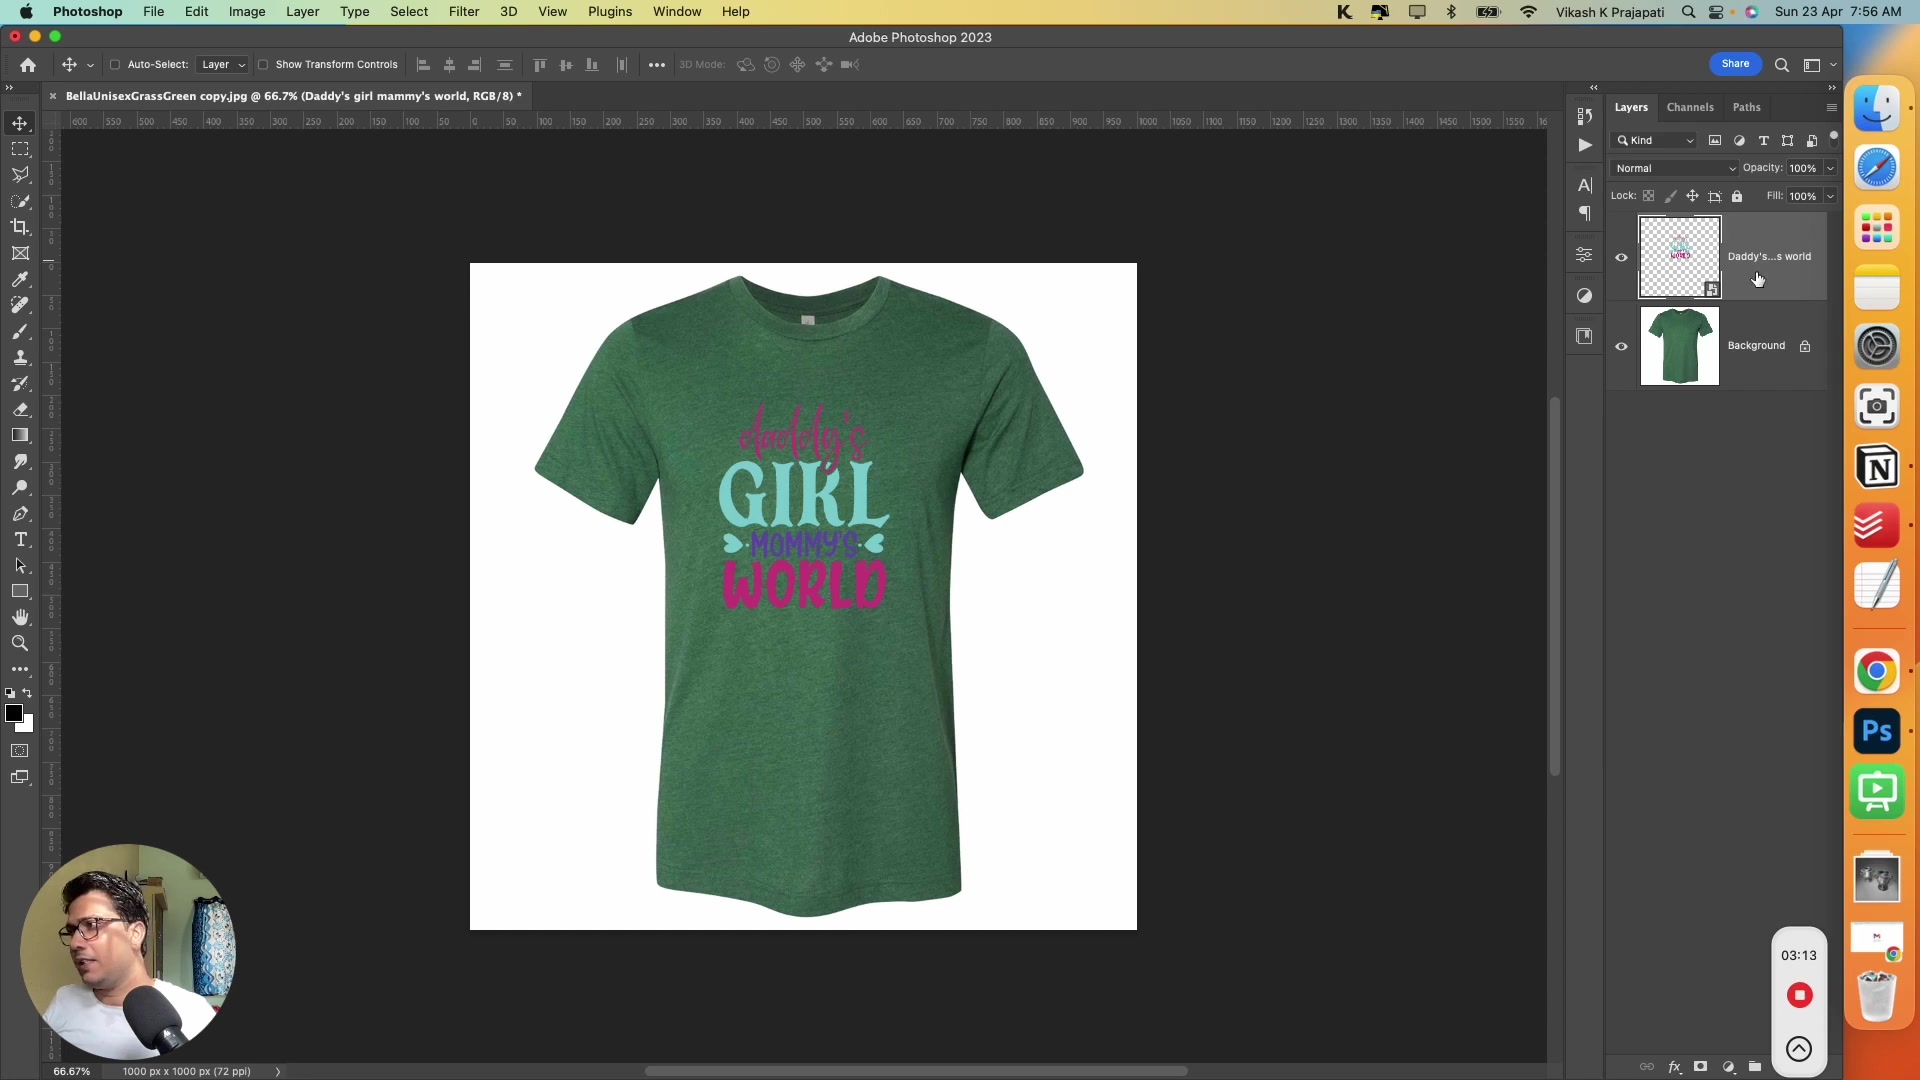
Open a JPG mockup in Photoshop
From your Designs folder, drag and drop any placeholder design file onto the canvas
Transform and position the design to fit the mockup area (use Perspective Warp for angled products)
Press Enter/Return to commit the placement – a small icon appears on the layer thumbnail confirming it's a Smart Object
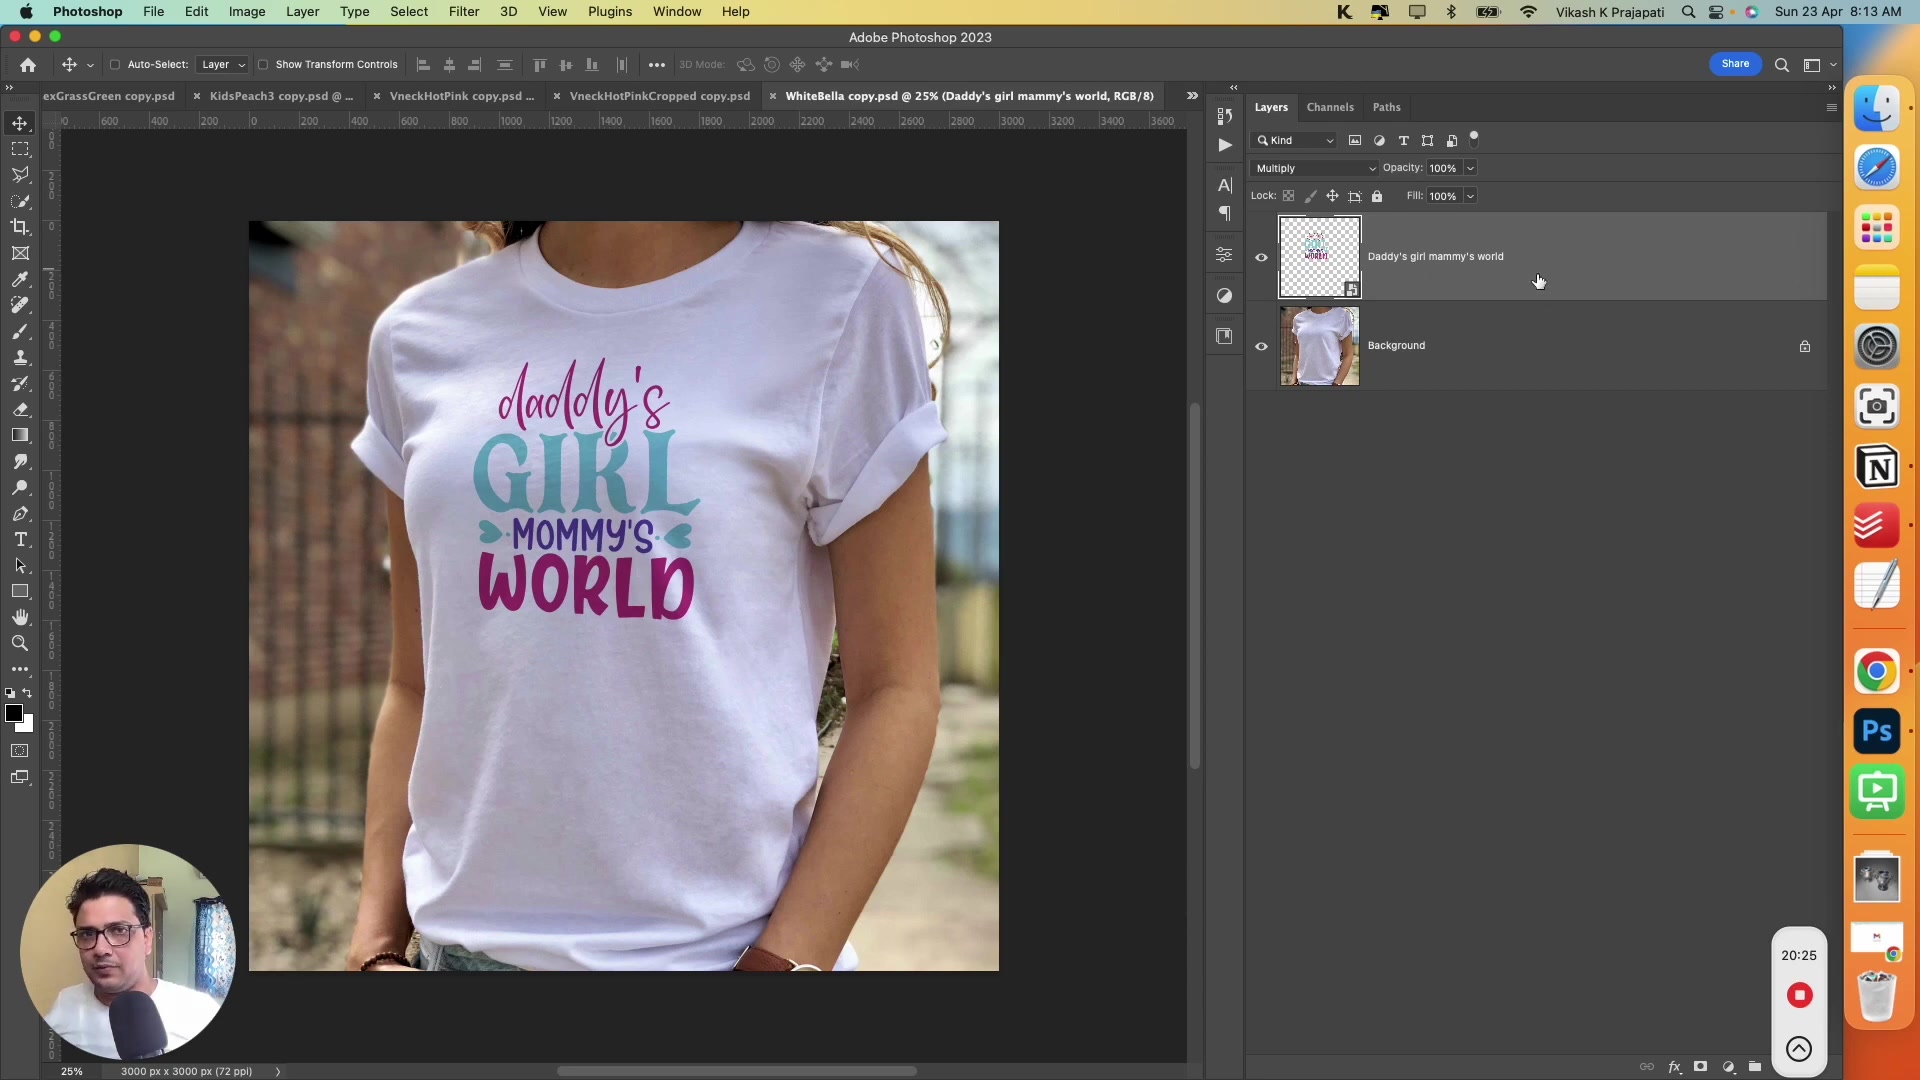
Set the layer blending mode:
For light/white shirts: Use Multiply to apply fabric texture
For dark/colored shirts: Keep Normal and reduce opacity slightly
Save the file as a PSD in your Mockups folder
Repeat for all JPG mockups
Use any placeholder design during setup – you don't need your final designs yet. The plugin will replace it automatically later.
Step 3: Set the Correct Smart Object Layer Names for Batch Processing
After converting all mockups to PSDs, delete the original JPG files from your Mockups folder. Then:
Open each PSD file
Right-click on the Smart Object layer and select 'Rename Layer'
Rename it to @design
Save the file
The "@design" layer name tells the bulk mockup photoshop plugin which layer to replace. The plugin will ignore all other layers.
Step 4: Set Up the Bulk Mockup Plugin to Run Your First Batch
Open the plugin by going to Plugins > Bulk Mockup in Photoshop.
Main Tab Settings
PSD Templates Folder: Select your Mockups folder
Design File Folder: Select your Designs folder
Export Folder: Select your Export folder
Resize Method: Choose how designs fit the mockup area (e.g., "Fit to canvas without cropping")

Settings Tab Configuration

Design Layer:
Scale design layer: Choose "Do not Scale" or "Scale to Align"
Align to canvas: Select alignment (e.g., Center)
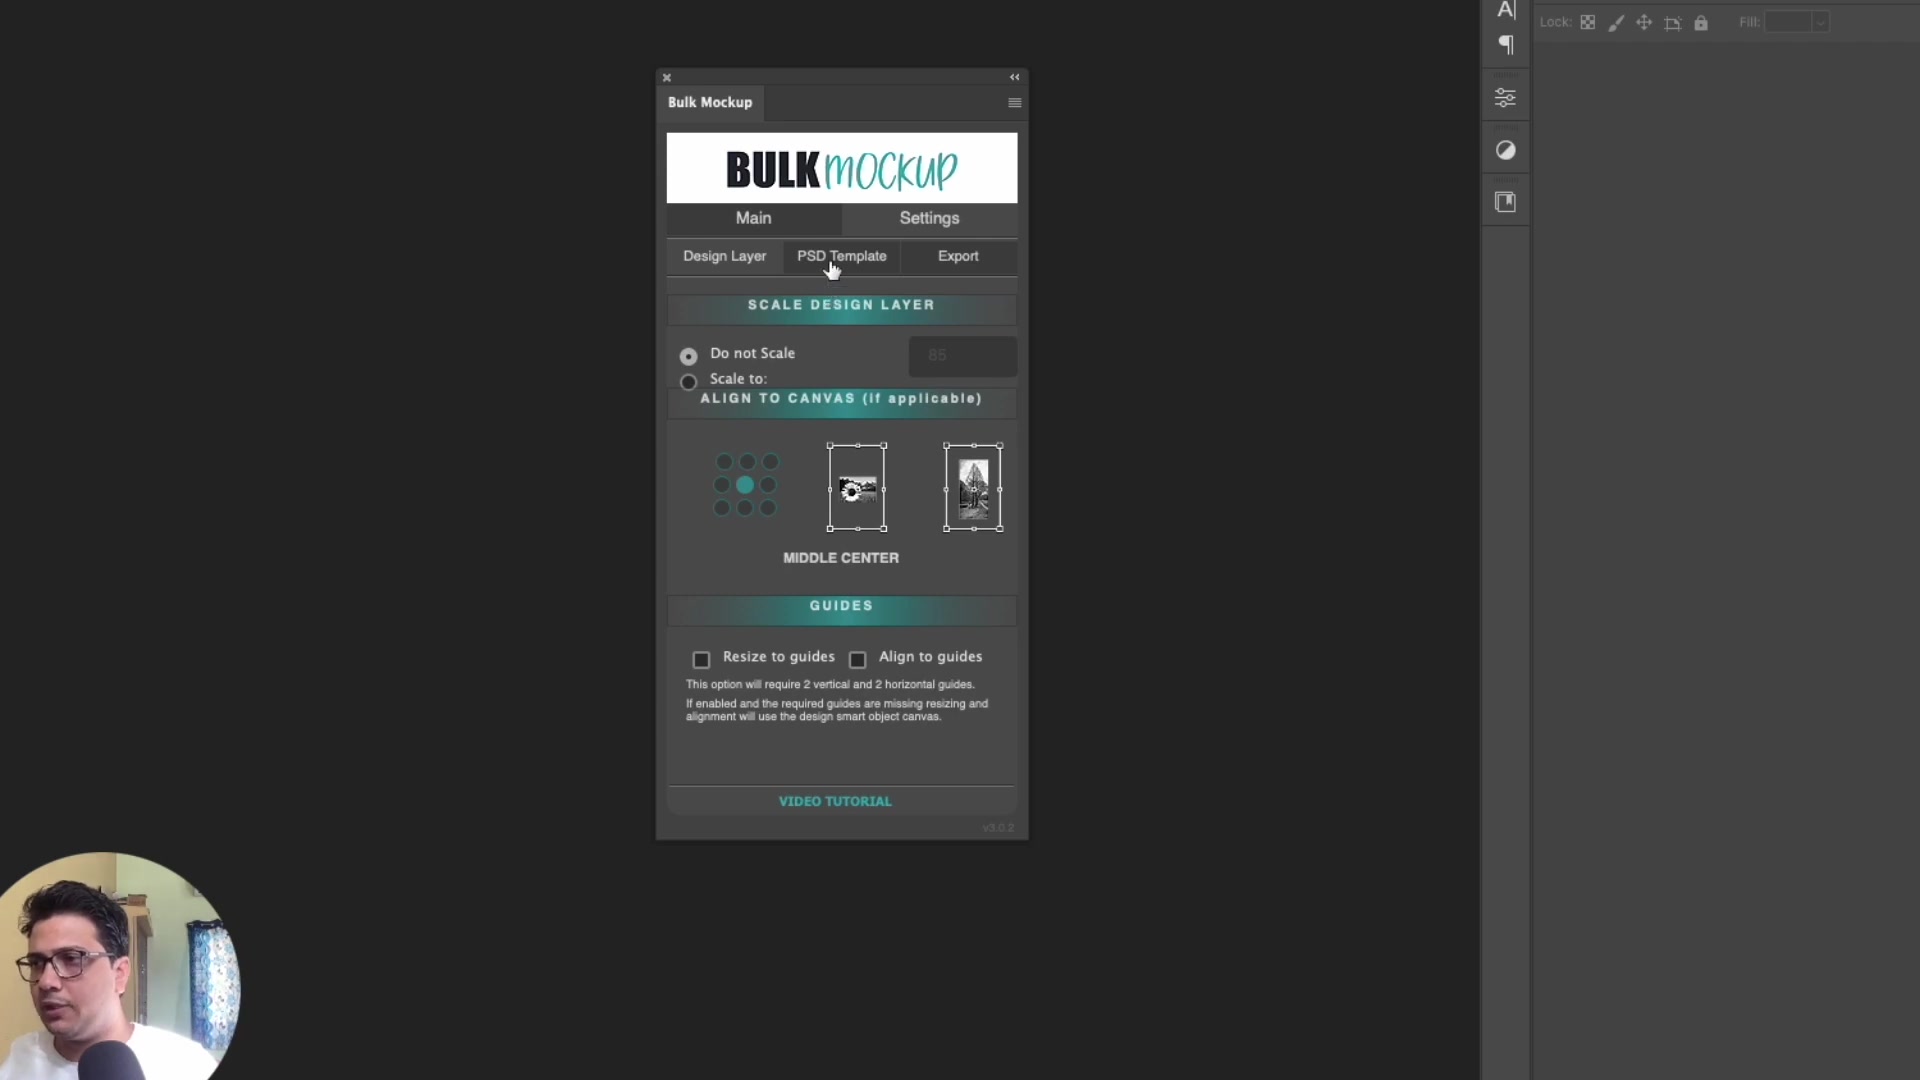
PSD Template:
Export format: Select JPG, PNG, or multiple formats (green = active)
Resolution: Choose "As Is", "72 DPI", or "300 DPI"
Optionally resize longest side (e.g., 1200px)
Export:
Sub-folders: Organize by "Design File" or "PSD Mockup"
File naming pattern: Combine elements like Mockup name + Design name + Suffix (e.g., "BLK" for black shirts)

Step 5: Run Your First Bulk Mockup Batch and Export the Files
Click Start Generating. The plugin will:
Open each PSD template
Replace the @design layer with each design file
Export the mockup according to your settings
Organize files into subfolders based on your configuration
For example, with 10 designs and 5 mockup templates, you'll get 50 mockups automatically exported and organized.
The JPG-to-PSD conversion is a one-time setup. Once your templates are ready, you can reuse them for unlimited designs.
Troubleshooting Tips
Smart Object not detected? Look for a small icon in the layer thumbnail. If missing, right-click the layer and select "Convert to Smart Object" (though the drag-and-drop method is preferred)
Design doesn't fit properly? Adjust the Resize Method in the Main tab or use alignment settings in the Design Layer section
Blending looks wrong? For light fabrics use Multiply mode; for dark fabrics use Normal with reduced opacity
FAQs
Do I need to convert JPG mockups to PSD every time?
No, you don't need to convert JPG mockups to PSD every time. It's a one-time process you need to do. For future batches, you can reuse the same template.
What happens if the Smart Object layer is not named @design?
Bulk Mockup will choose the topmost smart object layers from your layer stack, which may or may not be the intended smart object for replacing your design. This could lead to incorrect results. However, if your template contains only one smart object layer, you can skip renaming it to @design.
Can I use PNG files instead of JPG for mockup templates?
Yes you can use png files instead of JPG mockups.
How many mockups can I generate at once?
You can generate as many as you want. There is no limitation.
Can I reuse the same PSD templates for future designs?
Yes you can use the same PSD templates for future designs. The template creation is a one time process.
Which export format should I choose for Etsy marketplace?
Jpg and PNg exports are the best for format for etsy marketplace. You can opt for any of the two format
Can I organize exports by design instead of mockup?
Yes, you can organize the export by design. You may also choose to arrange your mockups in a single folder. Make sure to follow a consistent naming pattern for your mockups to avoid overwriting.
Watch Similar Docs
Need More Help?
If you have questions about creating Smart Object templates or encounter any issues, contact the Bulk Mockup support team at [email protected].