
How to Show a Detailed Close-Up of Artwork Along With the Mockup
Use this workflow to create a full mockup and a matching close-up image that shows the texture, brushwork, or fine details of your artwork. This is especially useful for wall art listings, where buyers want to see both the room mockup and a zoomed-in view of the print.
Before you start, make sure your file is high resolution and your template uses Smart Objects. If you need help with setup, read Pre-Requisites For Working With Bulk Mockup and Creating First Mockup With Photoshop Plugin Bulk Mockup (Complete Beginner Guide).
What this workflow does
You will prepare one main artwork file, resize it for the mockup if needed, then export two listing images:
A standard mockup that shows the full product or framed artwork
A close-up image that highlights the fine details of the same design
This keeps your listing consistent while helping buyers inspect the artwork more closely.
Step 1: Start with a high-resolution artwork file
Your close-up image will only look sharp if the original artwork is sharp.
Open your artwork in Photoshop
Check that the file has enough resolution for print-quality output
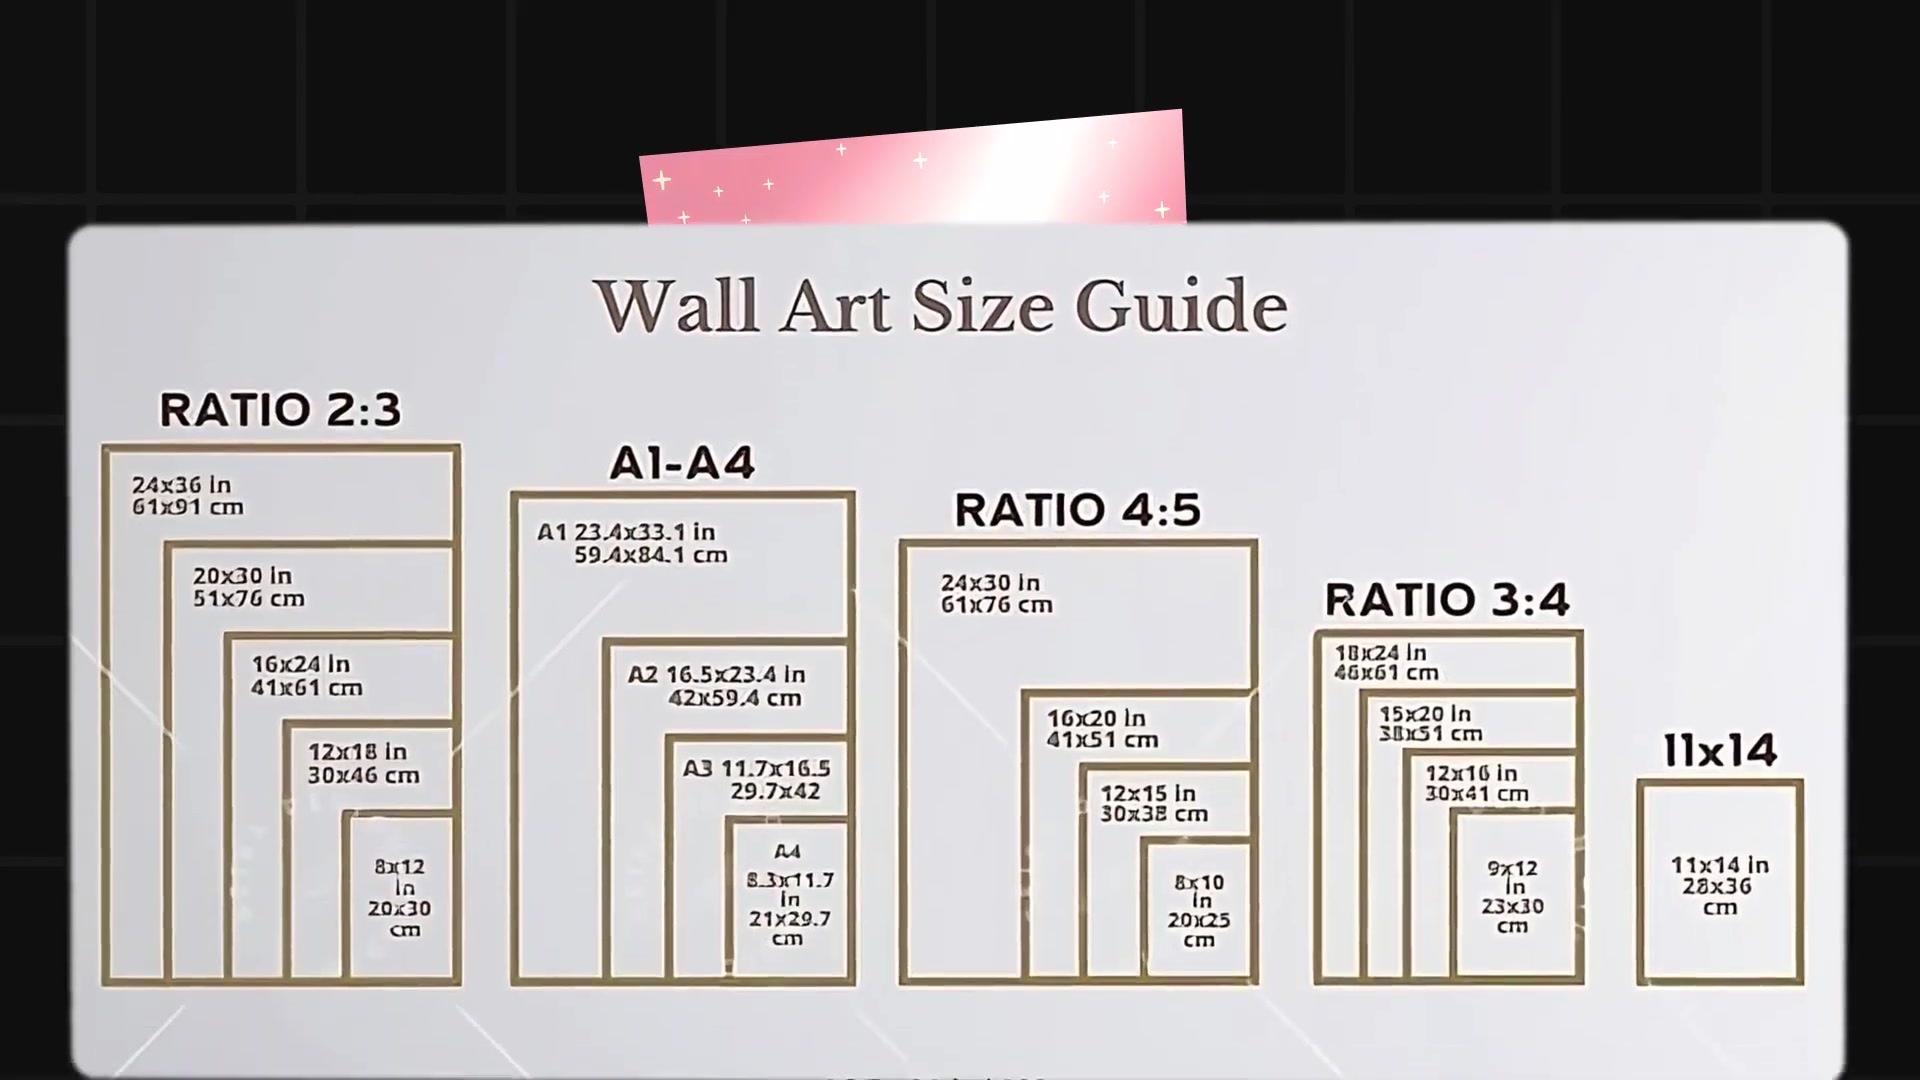
If possible, begin with a large source file such as 24x36 inches at 300 DPI
A larger source file gives you more freedom to crop into the artwork for a detail shot without making the image look soft or pixelated.
Step 2: Prepare the main mockup template
If you are using Bulk Mockup Photoshop Plugin, make sure your PSD template is ready for batch replacement.
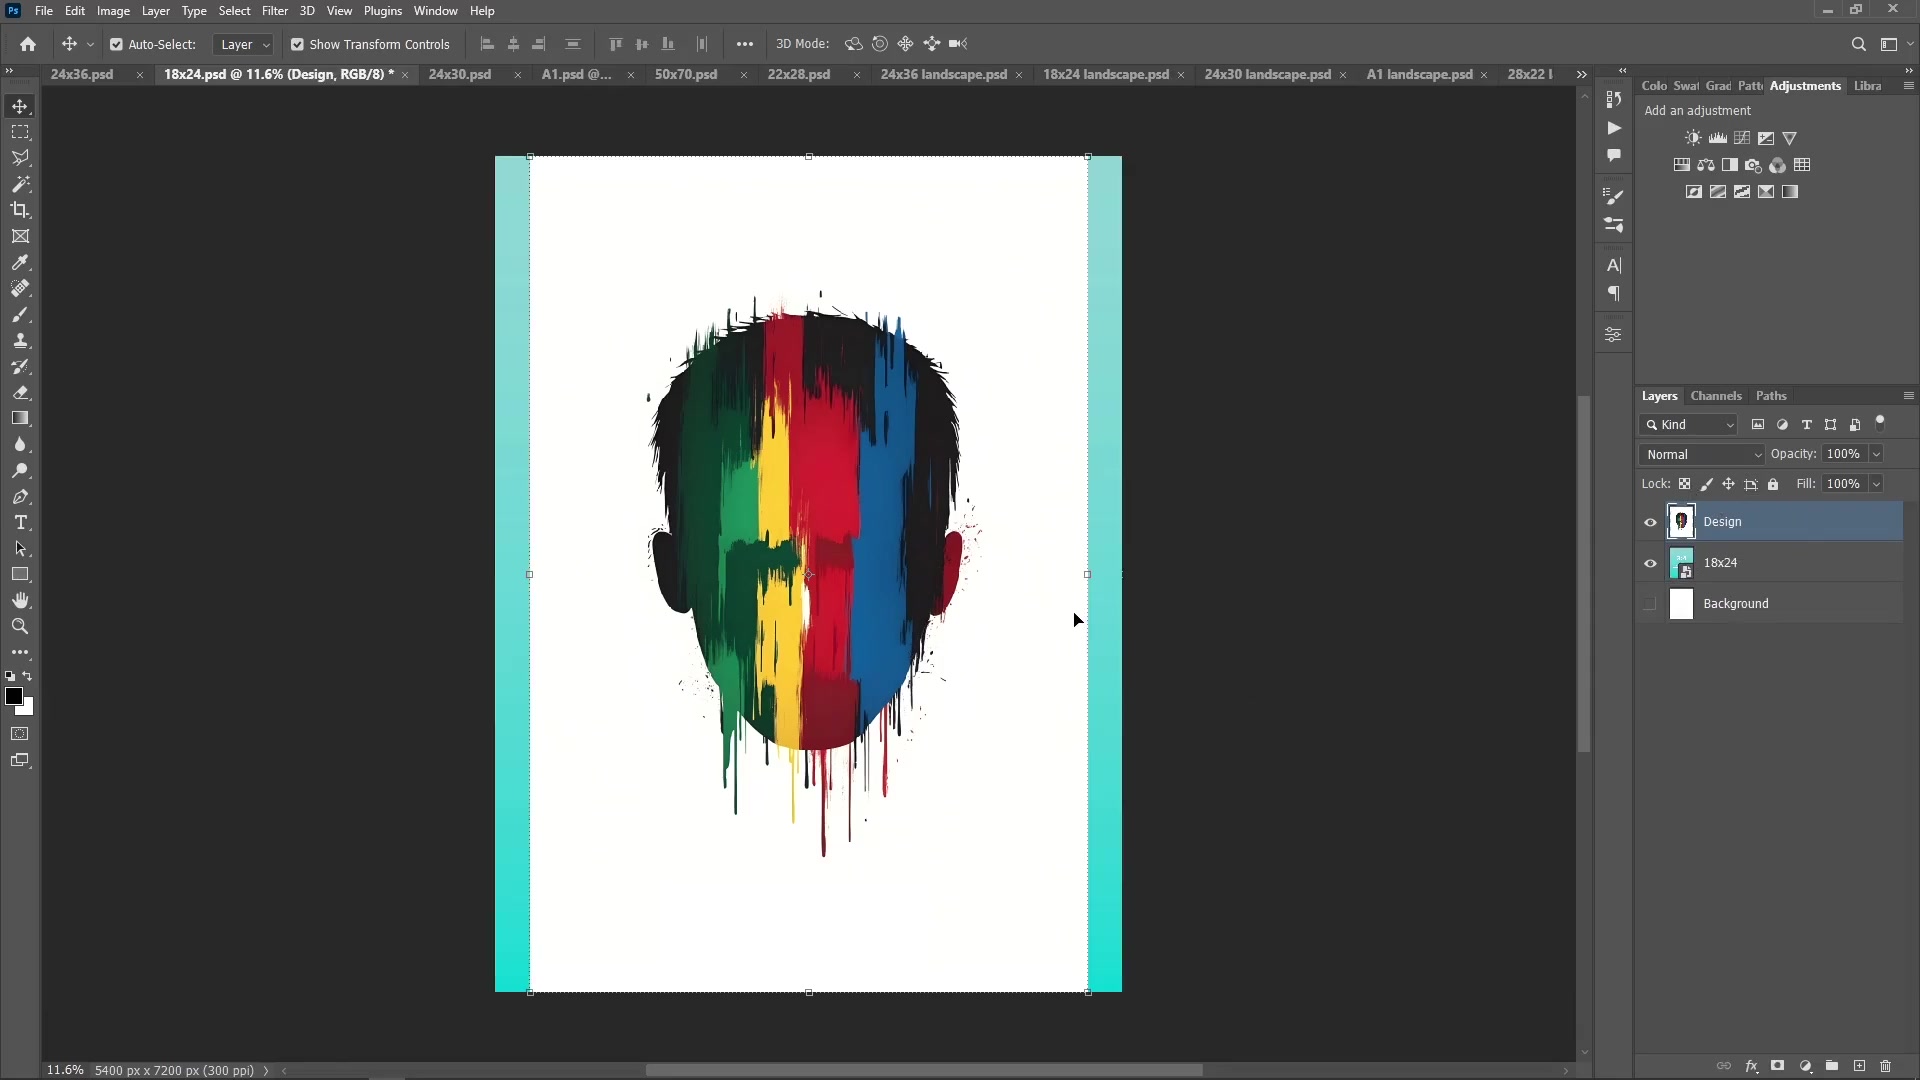
Open your PSD mockup template in Photoshop
Confirm the design layer is a Smart Object
Rename the target Smart Object layer to @design
Save the PSD template
If your template is still a flat JPG, convert it into a PSD Smart Object template first by following the beginner guide.
Step 3: Choose the right resize method for the full mockup
The full mockup should show the artwork clearly without stretching it.
Open Plugins > Bulk Mockup in Photoshop
Set your PSD Templates Folder, Design File Folder, and Export Folder
Choose a Resize Method that keeps the artwork natural inside the mockup area
If the artwork ratio does not match the mockup perfectly, use a method that avoids distortion. In the related wall-art workflow, symmetric crop is the recommended option because it preserves quality better than stretching.

Do not stretch the artwork just to fill the frame. Distortion is much easier to notice in a close-up image.
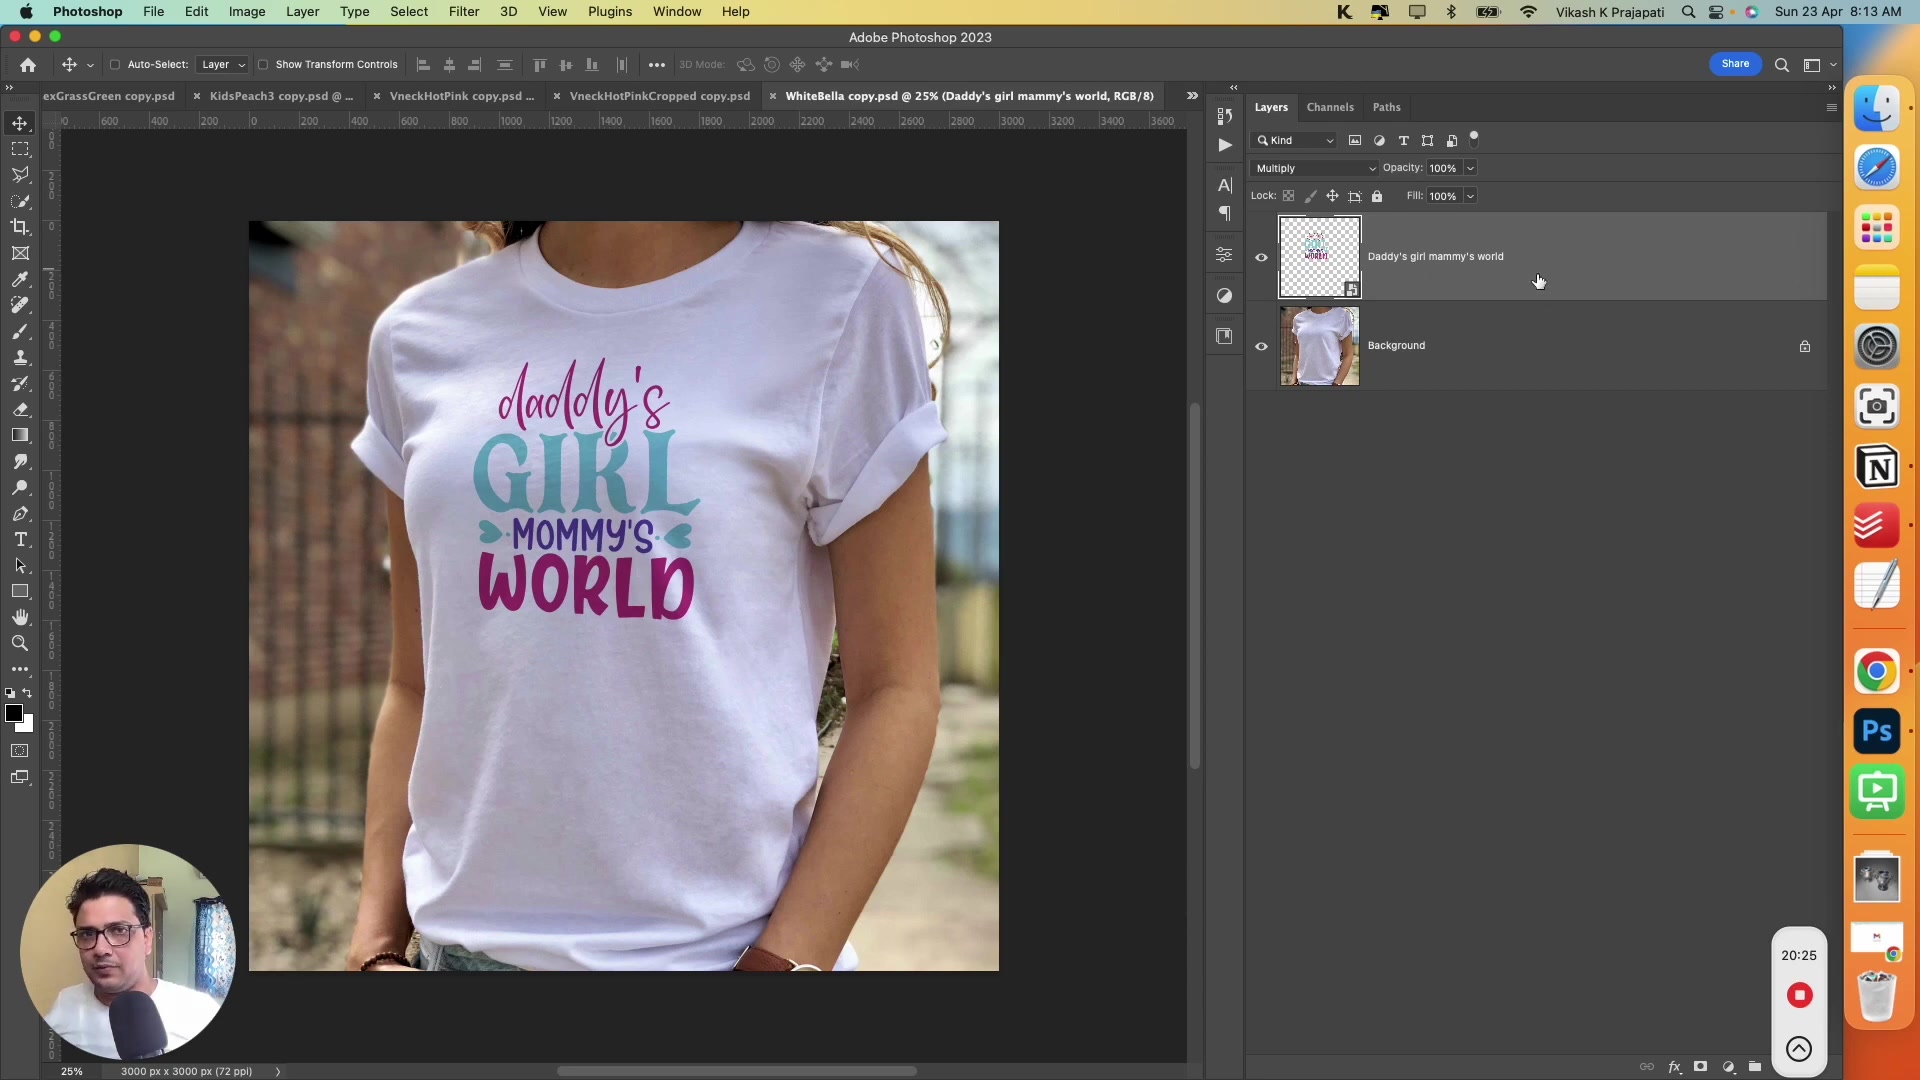
Step 4: Generate the full mockup
Now export the main listing image that shows the complete product or framed artwork.
Click Start Generating
Wait for Bulk Mockup Photoshop Plugin to replace the @design layer and export the mockup
Open the exported file and confirm the artwork looks centered and natural
This image becomes your main listing mockup.
Step 5: Create the detailed close-up image
After you have the full mockup, create a second image that focuses on a smaller area of the same artwork.
Open the original artwork file in Photoshop
Duplicate the file or create a separate version for the detail image
Zoom into the part of the design you want to highlight
Crop the view to show the most important texture, brush detail, typography, or illustration work
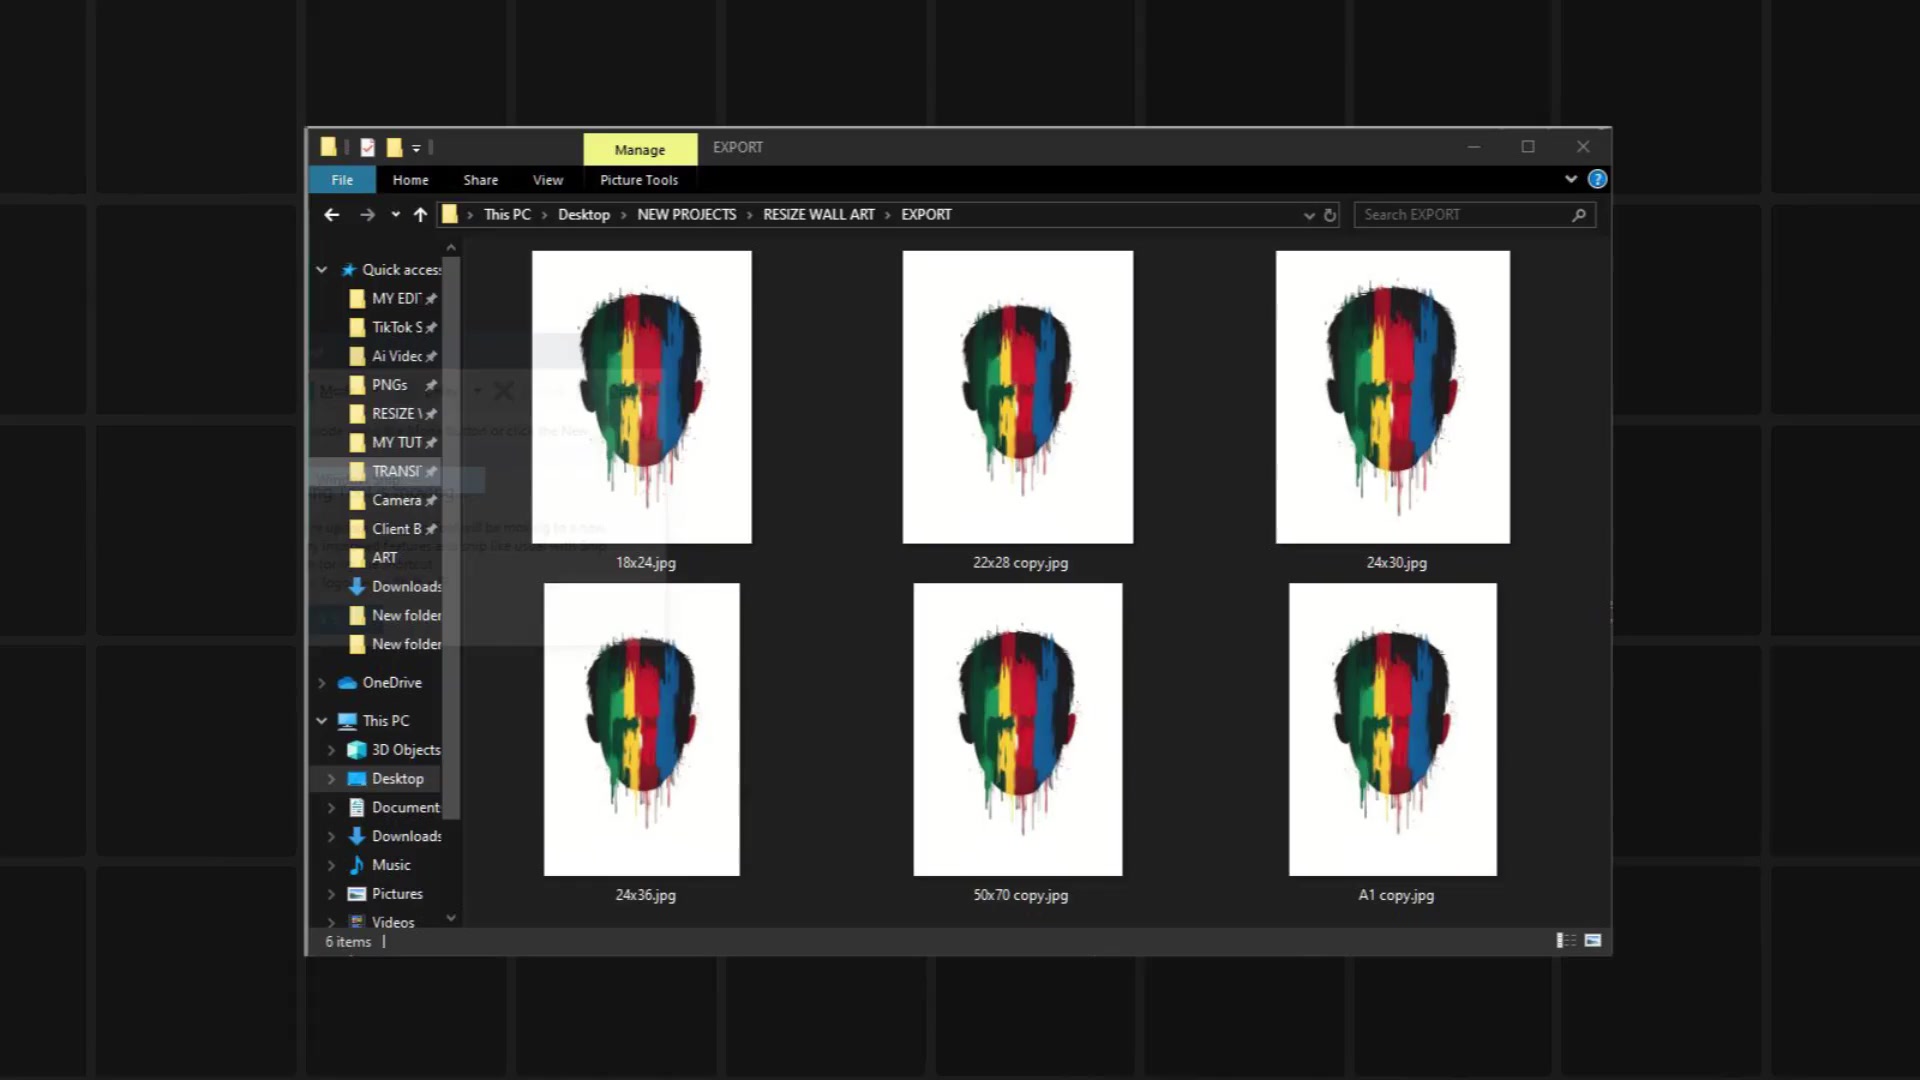
Export that cropped version as a separate listing image
This second image is not meant to replace the main mockup. It supports the mockup by helping the buyer inspect the artwork quality more closely.
Step 6: Keep the close-up and mockup visually consistent
Your close-up should look like it belongs to the same listing set.
Use the same artwork file for both images
Do not apply different colors, filters, or edits to the detail image
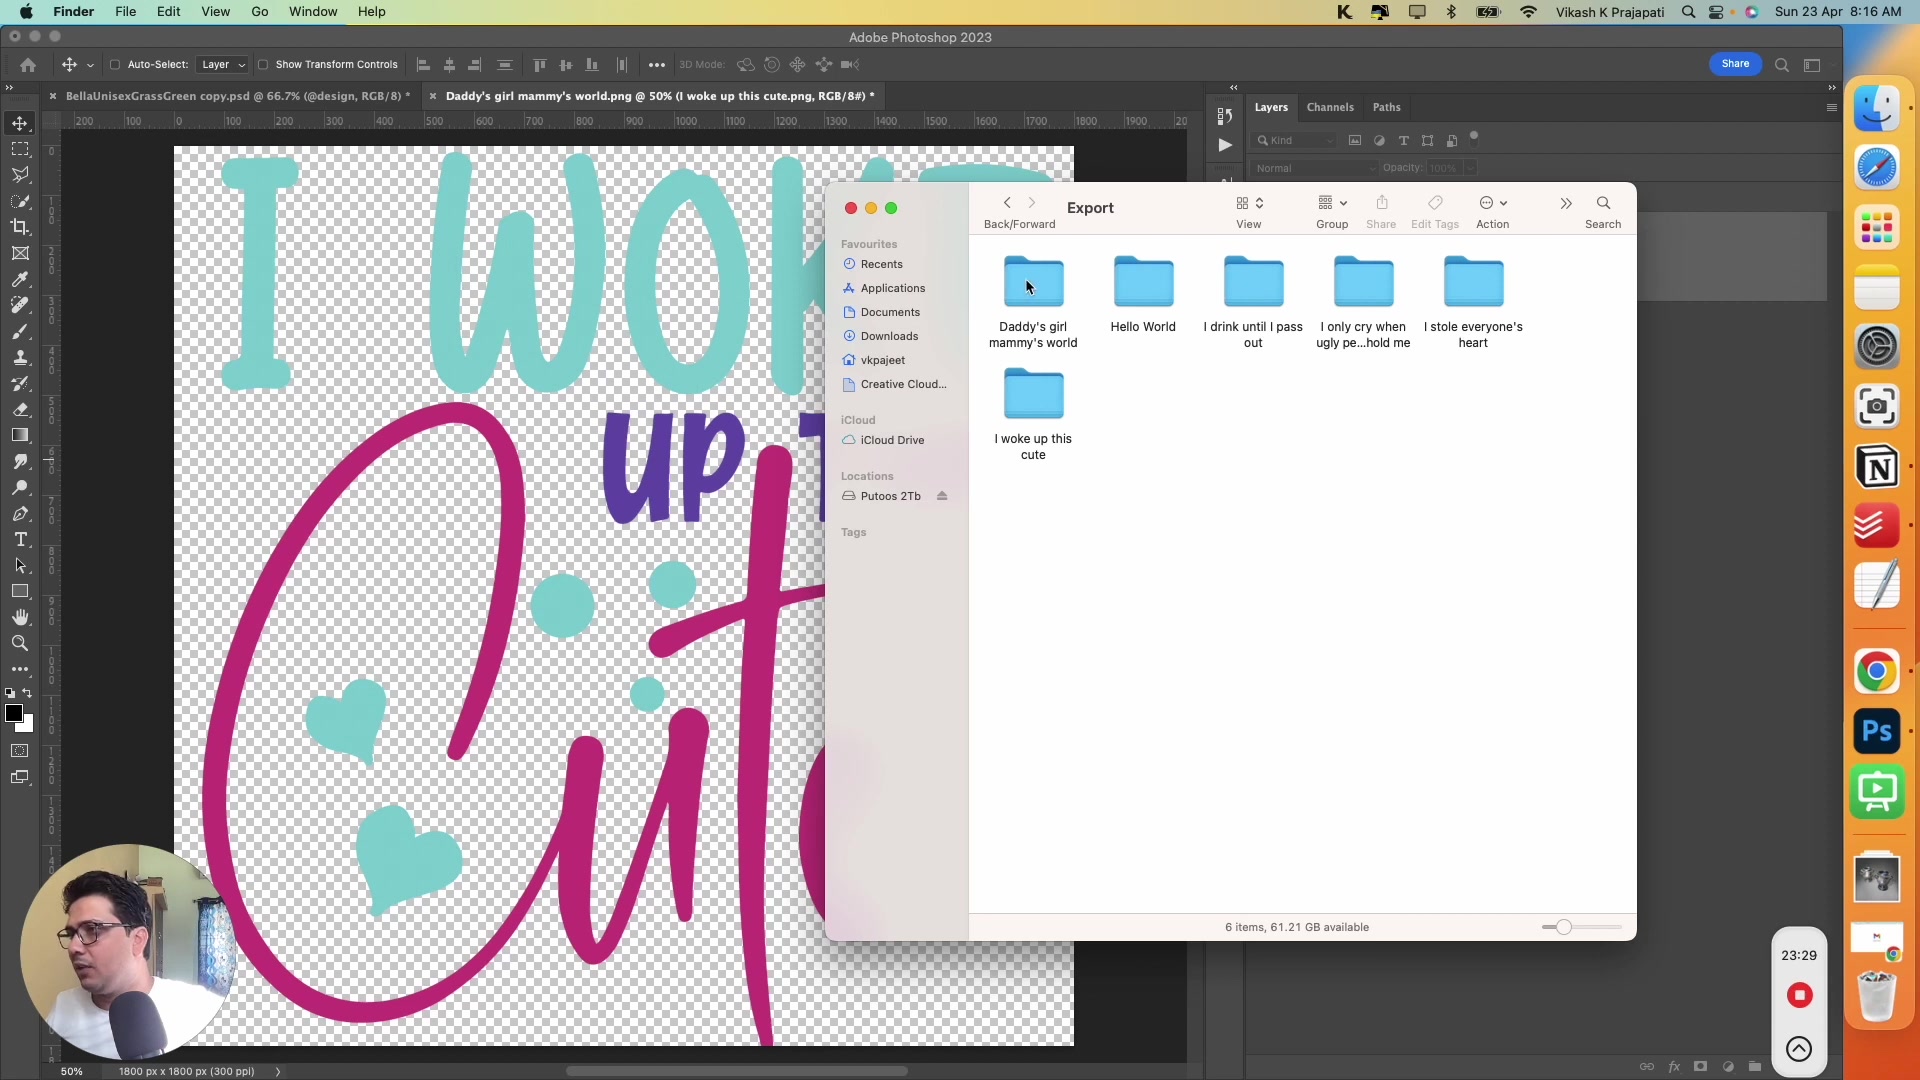
Export both images at strong quality so the detail remains visible
Store both outputs in your Export Folder with clear names so you can upload them together
If you are producing many listing sets, organize the exported files with consistent names so each mockup and its close-up stay grouped together.
Step 7: Upload both images to your listing
When you upload your product images, place the close-up image after the main mockup so buyers first see the full product and then the detail view.
Upload the full mockup as your main product image
Upload the cropped close-up as a secondary listing image
Check the image order in your marketplace listing
This presentation works well for printable wall art and other products where texture or small design details matter.
Tips for better close-up artwork images
Pick a section with obvious visual detail, not a flat empty area
Use a source file that stays sharp when zoomed in
Test the crop at actual listing size before uploading
If the artwork needs ratio changes, use a method that preserves detail instead of stretching pixels
A simple listing pair works best: one full mockup for context and one clean close-up for detail.
Watch Similar videos:
Creating First Mockup With Photoshop Plugin Bulk Mockup (Complete Beginner Guide)
Batch Replace Smart Object Layer in Photoshop | 8 Practical Use Cases
Use Cases:
Printable wall art listings: Show the framed mockup first, then show paper texture or fine detail in a close-up image
Etsy product images: Help buyers understand line quality, brush texture, and print sharpness before purchase
Batch listing workflows: Generate the main mockups in Bulk Mockup Photoshop Plugin, then create matching detail crops for each design
Portfolio presentations: Pair a full scene mockup with a detail view to make the artwork easier to evaluate
Need More Help?
If you have questions about export folder settings or encounter any issues, contact the Bulk Mockup support team at [email protected].