
Pre-Requisites For Working With Bulk Mockup
Before using Bulk Mockup Photoshop Plugin, you need Adobe Photoshop and Smart Object-based mockup templates. This guide shows you how to identify Smart Object mockups and understand the manual workflow that Bulk Mockup automates.
Prerequisites
You'll need Adobe Photoshop CC 2022 or newer and Smart Object-based mockup templates to use Bulk Mockup Photoshop Plugin.
What Are Smart Objects?
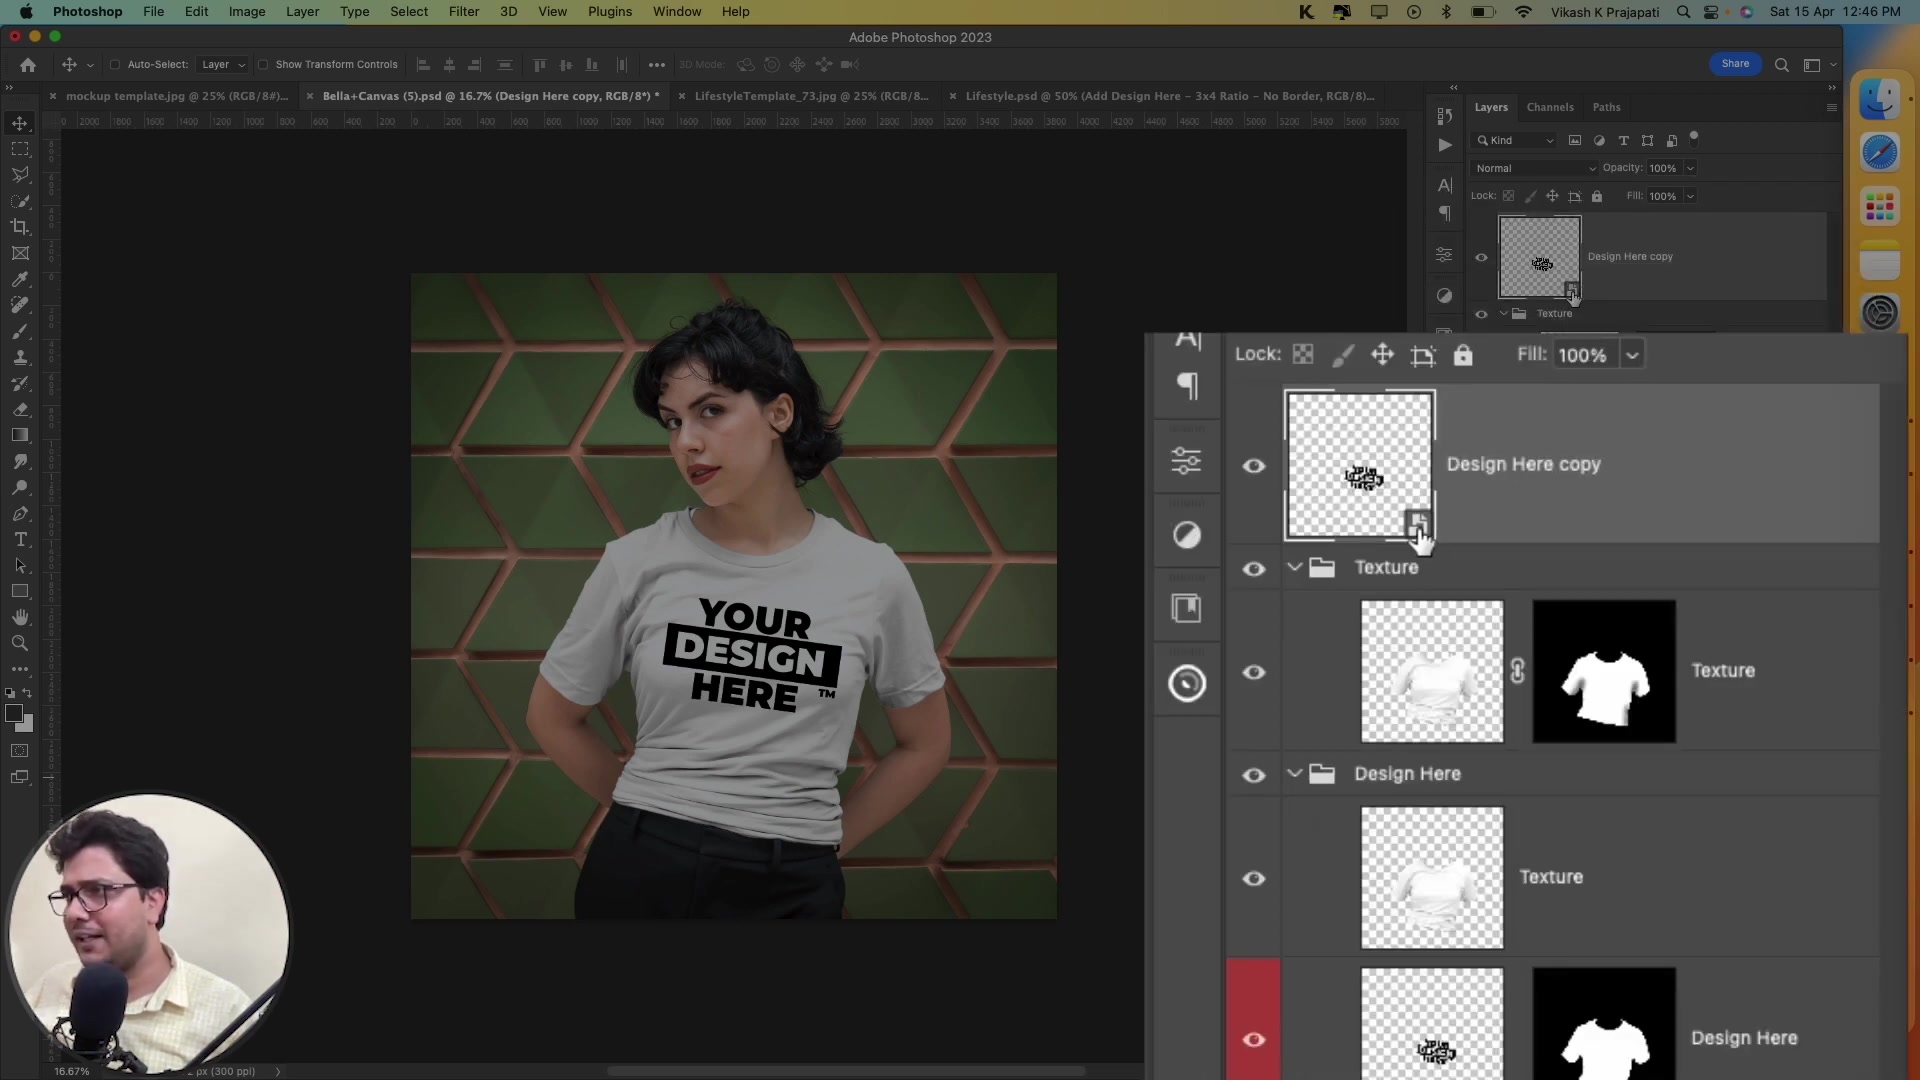
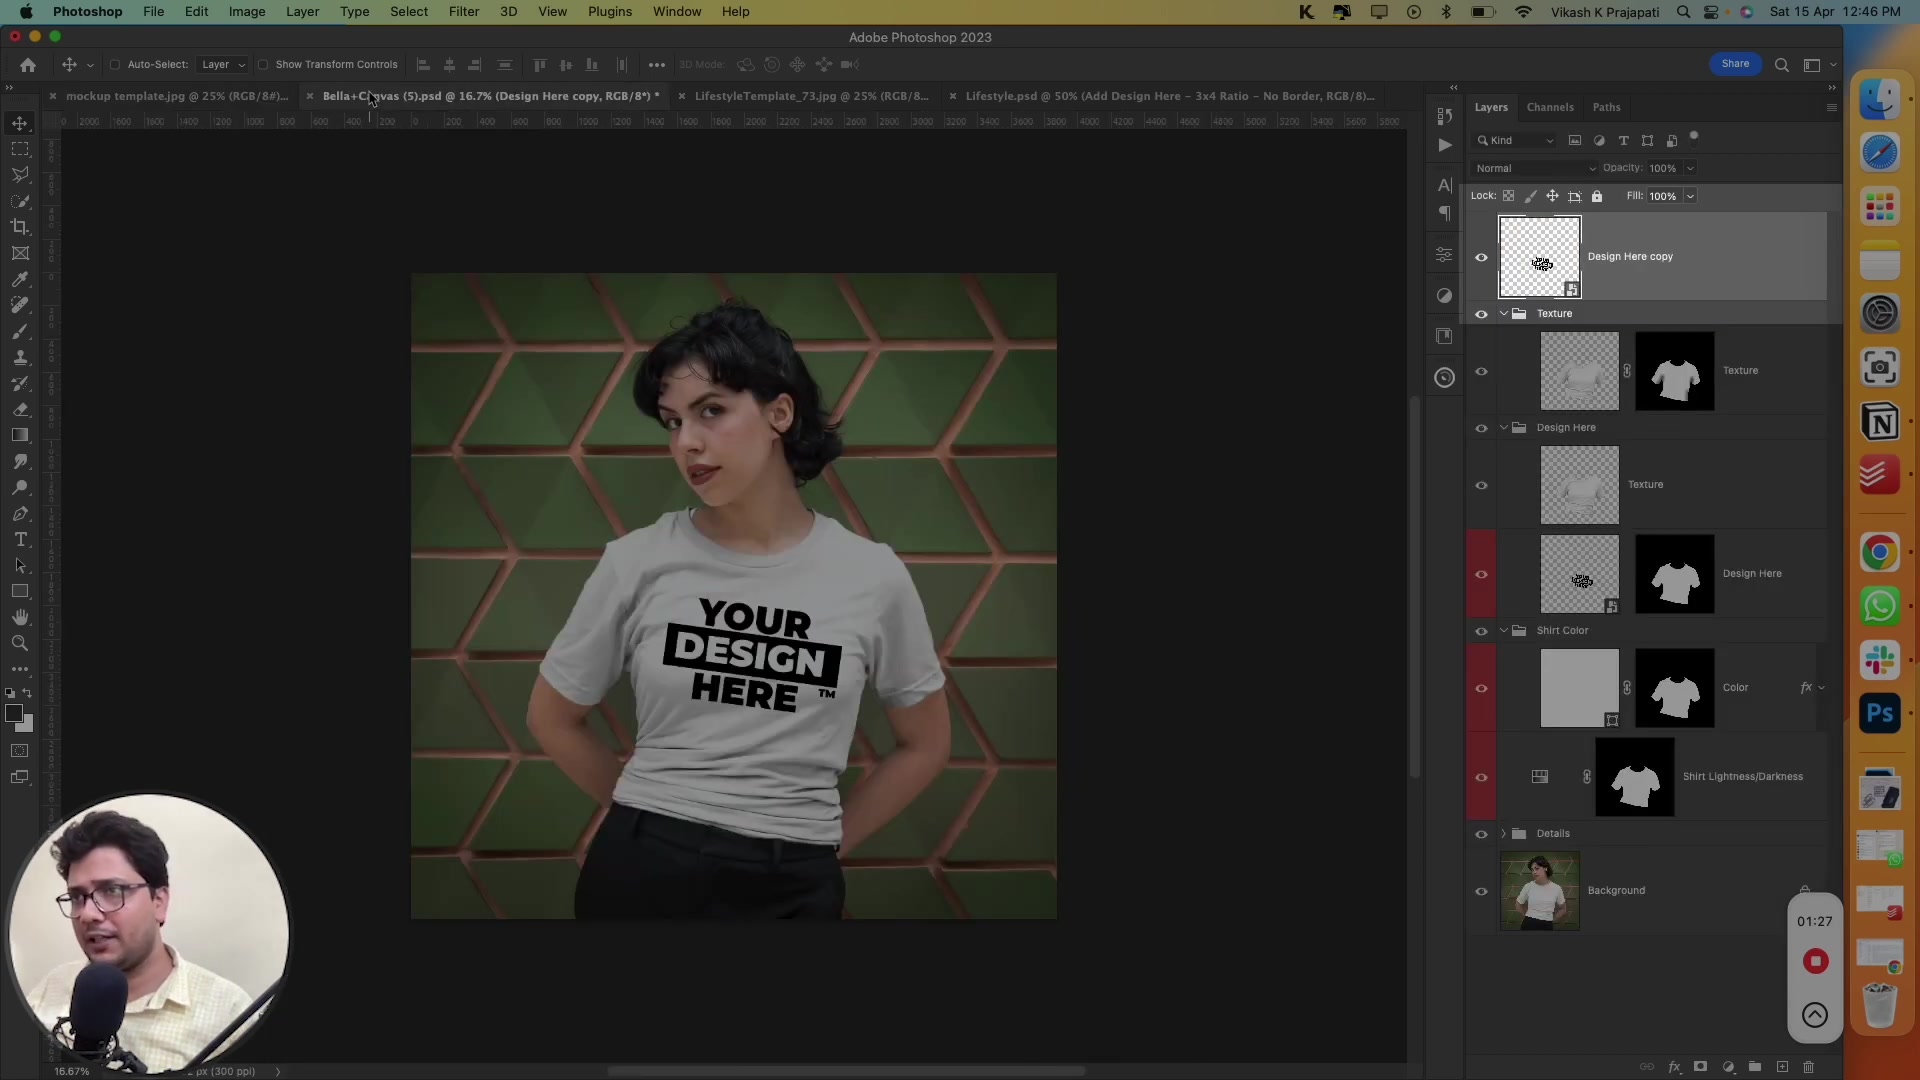
Smart Objects are special Photoshop layers that preserve your design's original content. You can identify them by the small icon on the layer thumbnail in your Layers panel.
Identifying Smart Object Mockups vs. Flat Mockups
Smart Object mockups: Look for the Smart Object icon on the layer thumbnail. These work with Bulk Mockup Photoshop Plugin.
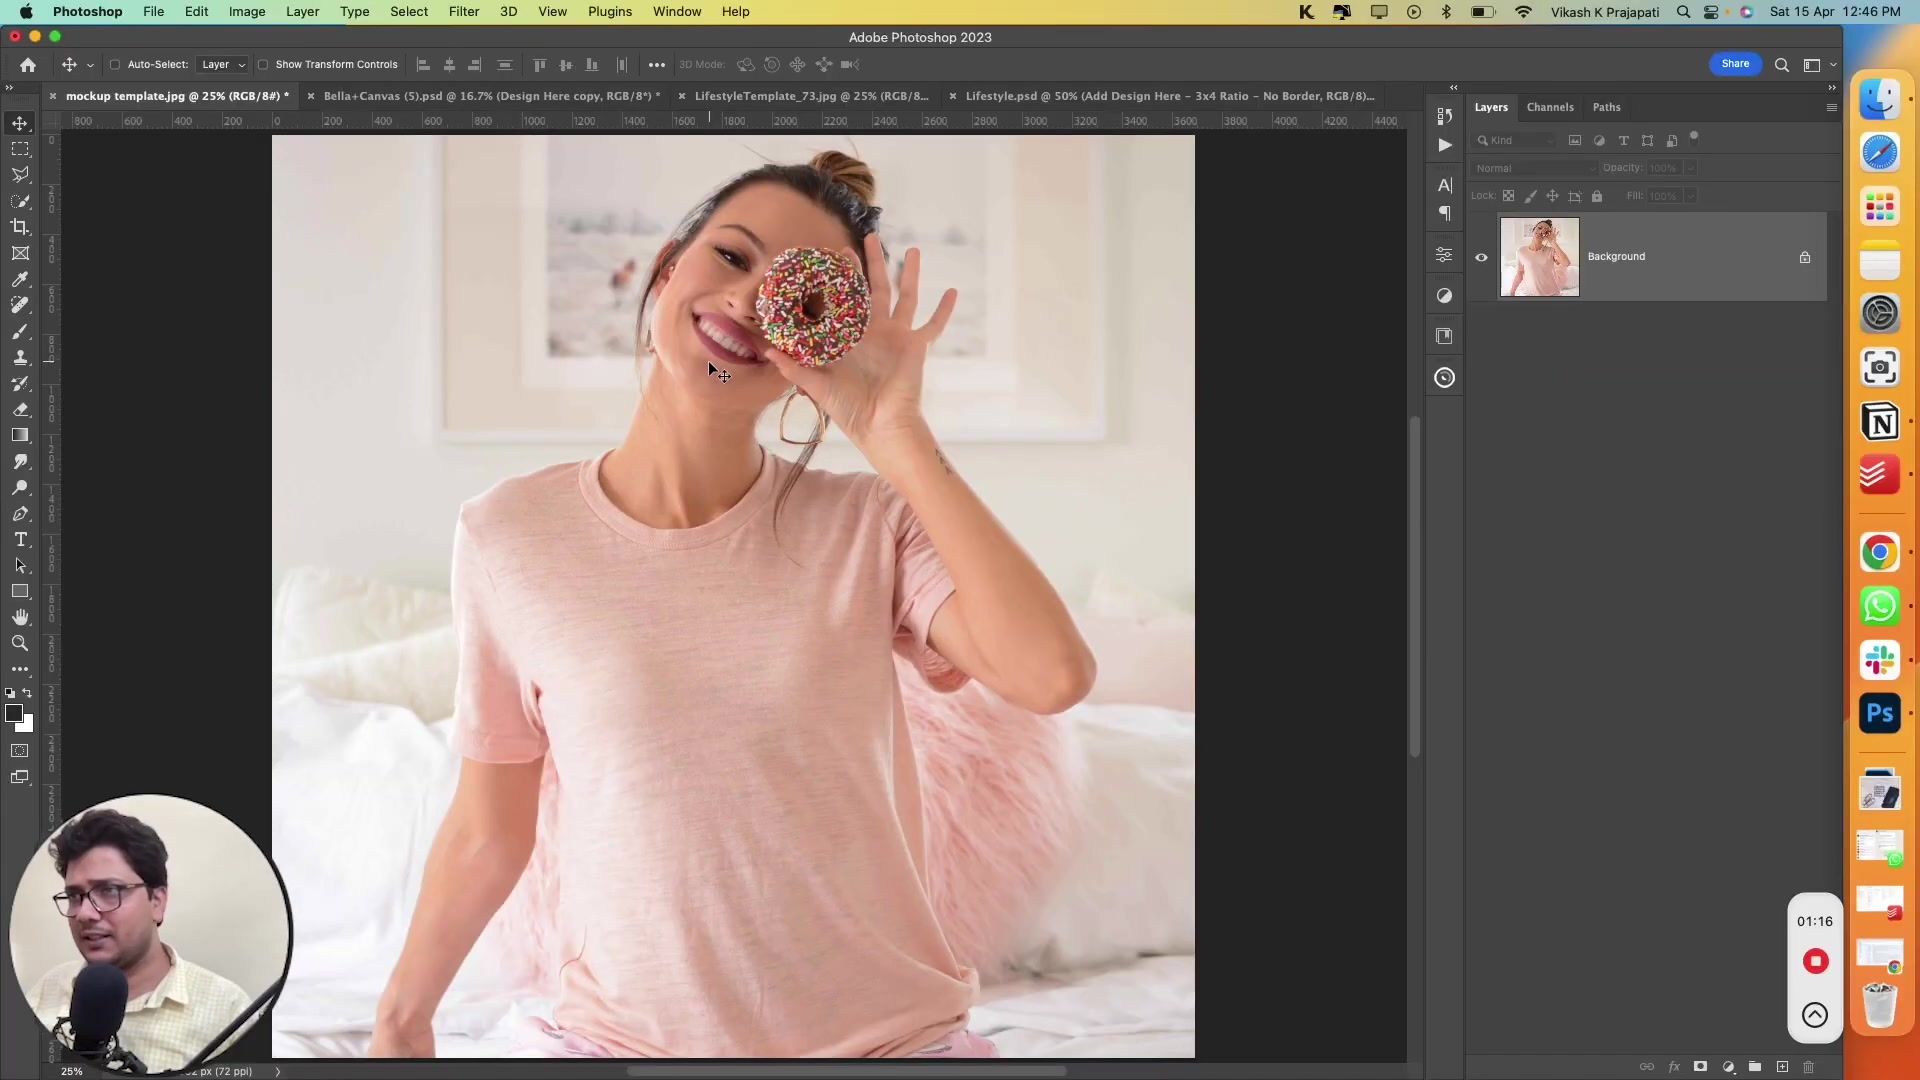
Flat JPG mockups: Show only a single background layer without the Smart Object icon. These don't work with Bulk Mockup Photoshop Plugin.
Manual Smart Object Workflow (What Bulk Mockup Automates)
Understanding the manual process helps you see how Bulk Mockup saves time:
Double-click the Smart Object layer – A new tab opens with the embedded content
Hide the default design layer – Turn off visibility of the placeholder
Place your new design – Import your artwork (File > Place Embedded)
Resize and position – Adjust your design to fit the canvas
Save the Smart Object – File > Save (not Save As)
Close the Smart Object tab – Your main mockup canvas updates automatically
Export the final mockup – File > Save As > JPEG
Bulk Mockup Photoshop Plugin automates steps 1-7 for hundreds or thousands of designs at once, turning a 1-hour manual job into a 2-minute automated batch process.
Manual Flat Mockup Workflow (For Comparison)
Flat mockups require a different approach:
Place your design – File > Place Embedded
Resize and position – Adjust to fit the mockup area
Adjust blend mode – Set to Multiply or similar to blend with background
Adjust opacity – Fine-tune transparency if needed
Export – File > Save As > JPEG
Bulk Mockup Photoshop Plugin only works with Smart Object-based mockups. If your mockup is a flat JPG, you'll need to create or purchase Smart Object templates.
Next Steps
Now that you understand Smart Objects, you're ready to install Bulk Mockup Photoshop Plugin and start automating your mockup workflow.
Need More Help?
If you have questions about Smart Objects or mockup compatibility, contact the Bulk Mockup support team at [email protected].
Watch Similar Videos:
Looking for related tutorials? Check out:
Use Cases:
This workflow is essential for:
Etsy sellers creating hundreds of product listing images
POD sellers managing T-shirt, hoodie, and apparel mockups
Designers generating mockups for framed posters, phone cases, and mugs
Anyone tired of manually editing mockups one by one