
Batch Replace Smart Object Layer in Photoshop | 8 Practical Use Cases
This tutorial walks you through 8 practical use cases for the Bulk Mockup Photoshop Plugin, from basic smart object replacement to advanced techniques like nested layers, multiple smart objects, and video mockups. Whether you're handling aspect ratio mismatches, organizing exports, or creating pattern-based designs, these step-by-step examples will help you master the plugin's most powerful features.
Prerequisites
Before starting, ensure you have:
Photoshop CC 2022 or later installed
Bulk Mockup Photoshop Plugin installed and activated (see installation guide)
Your PSD templates with smart objects renamed as
@design(or@nestedfor nested layers)Design files organized in clean folders
Use Case 1: Basic Smart Object Replacement
The foundation of all mockup workflows—replace smart objects across multiple templates with different design files in one batch process.
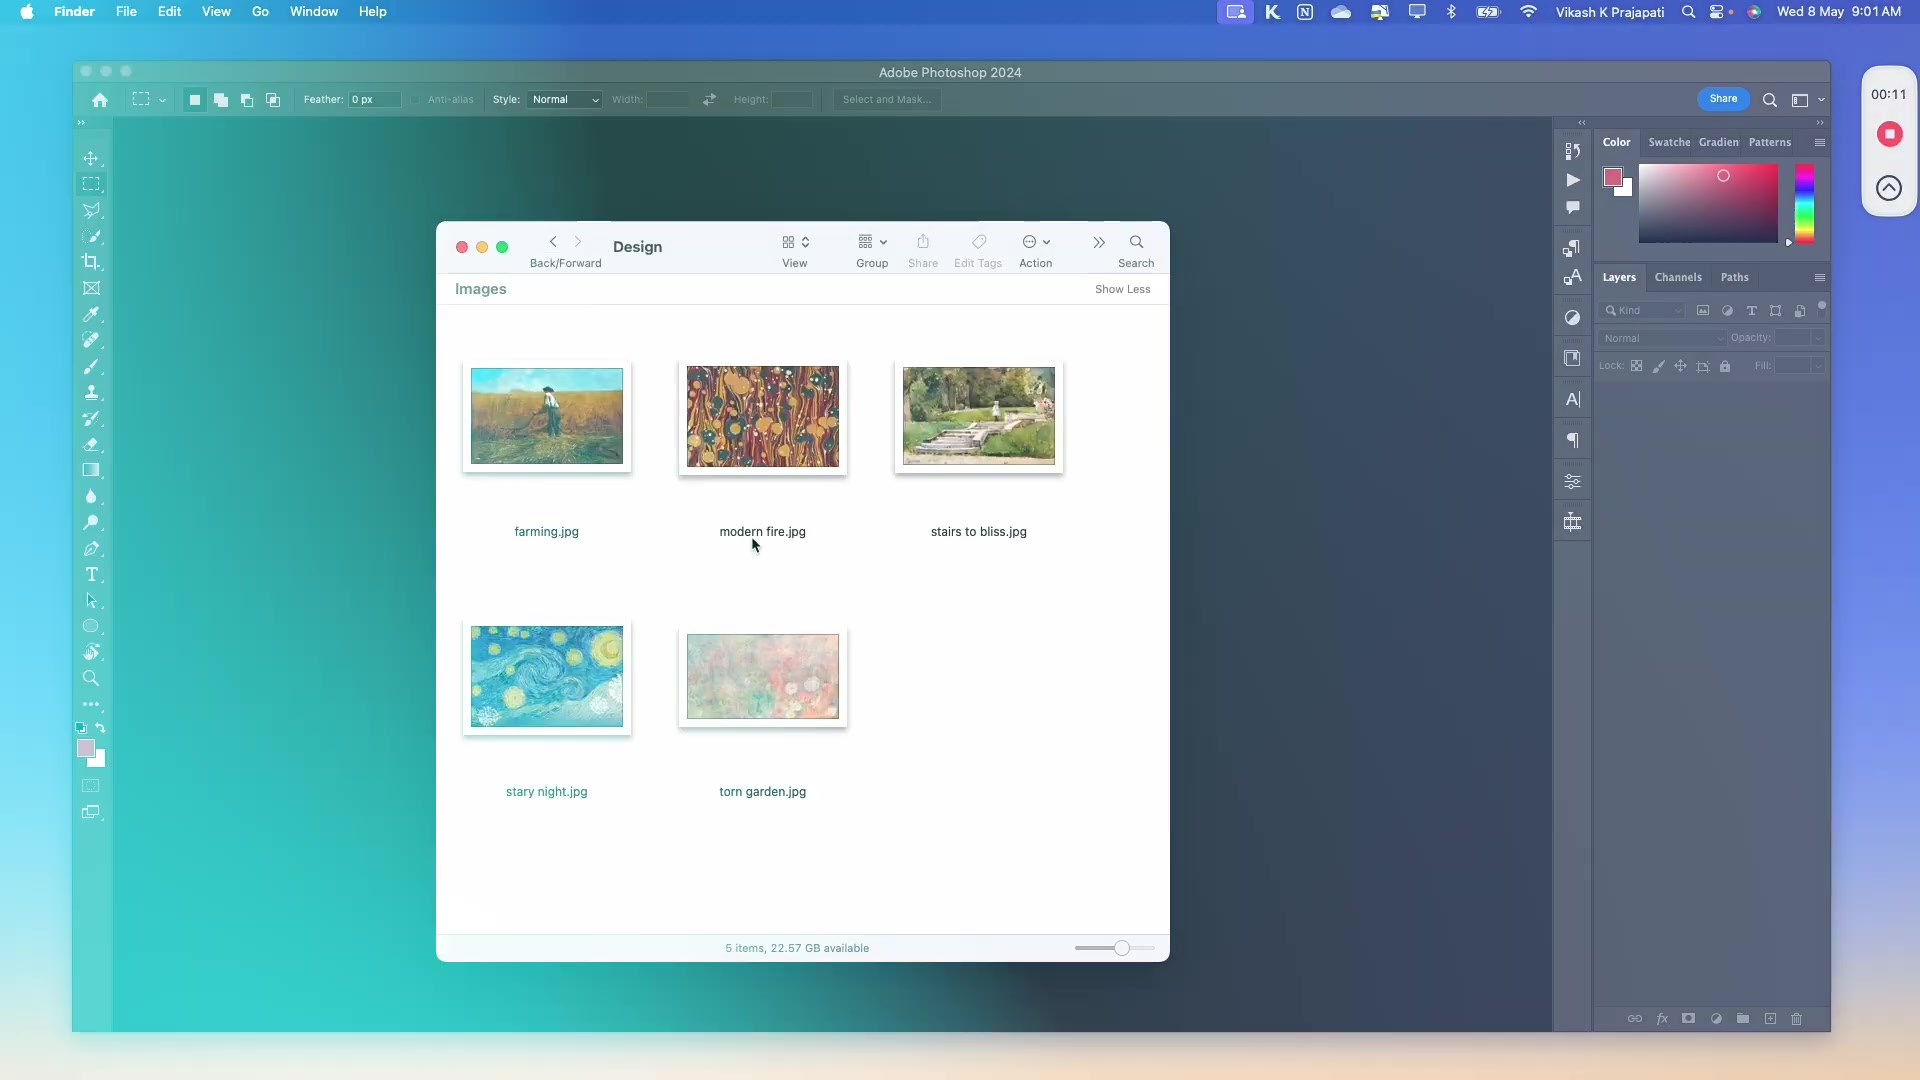
Step 1: Prepare Your Folders
Set up three folders for the Bulk Mockup workflow:
PSD Templates Folder: Contains your mockup templates with smart objects renamed to
@designDesign Files Folder: Contains your artwork/graphics to insert
Export Folder: Where final mockups will be saved
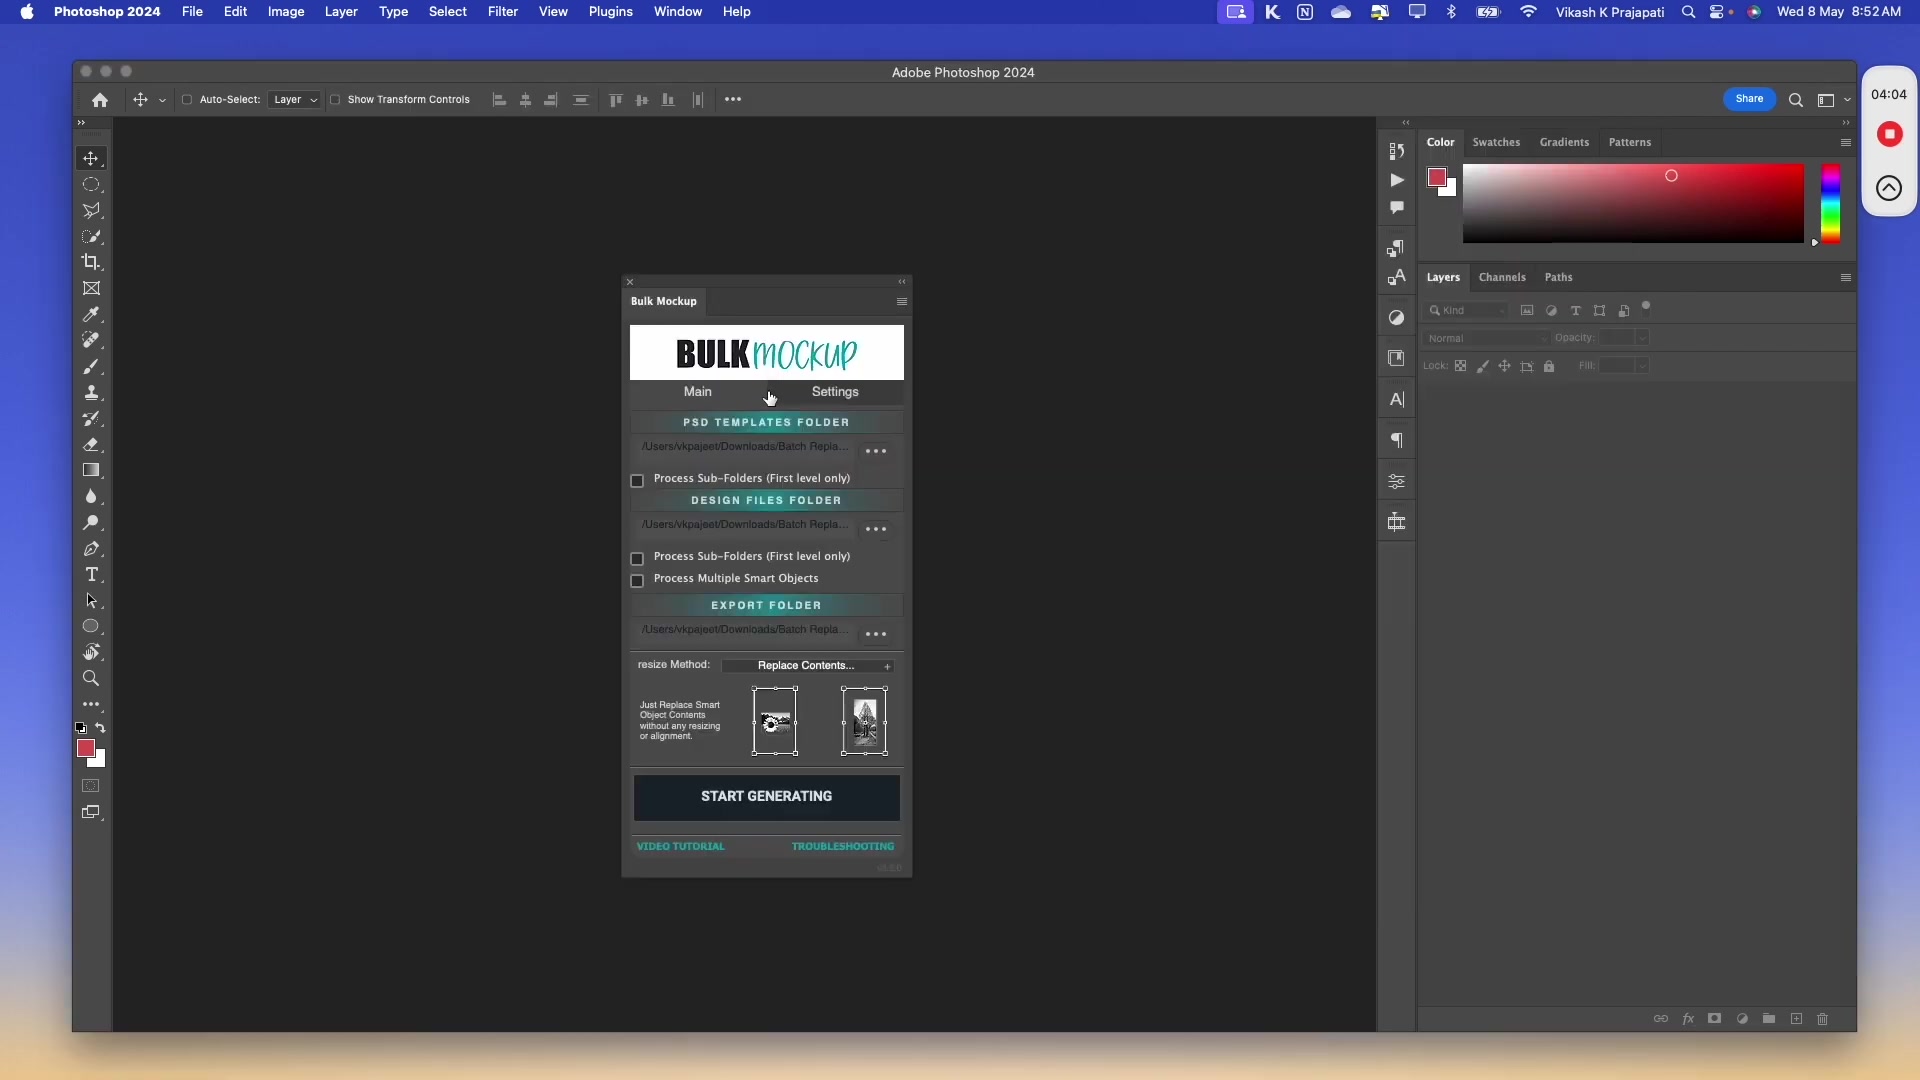
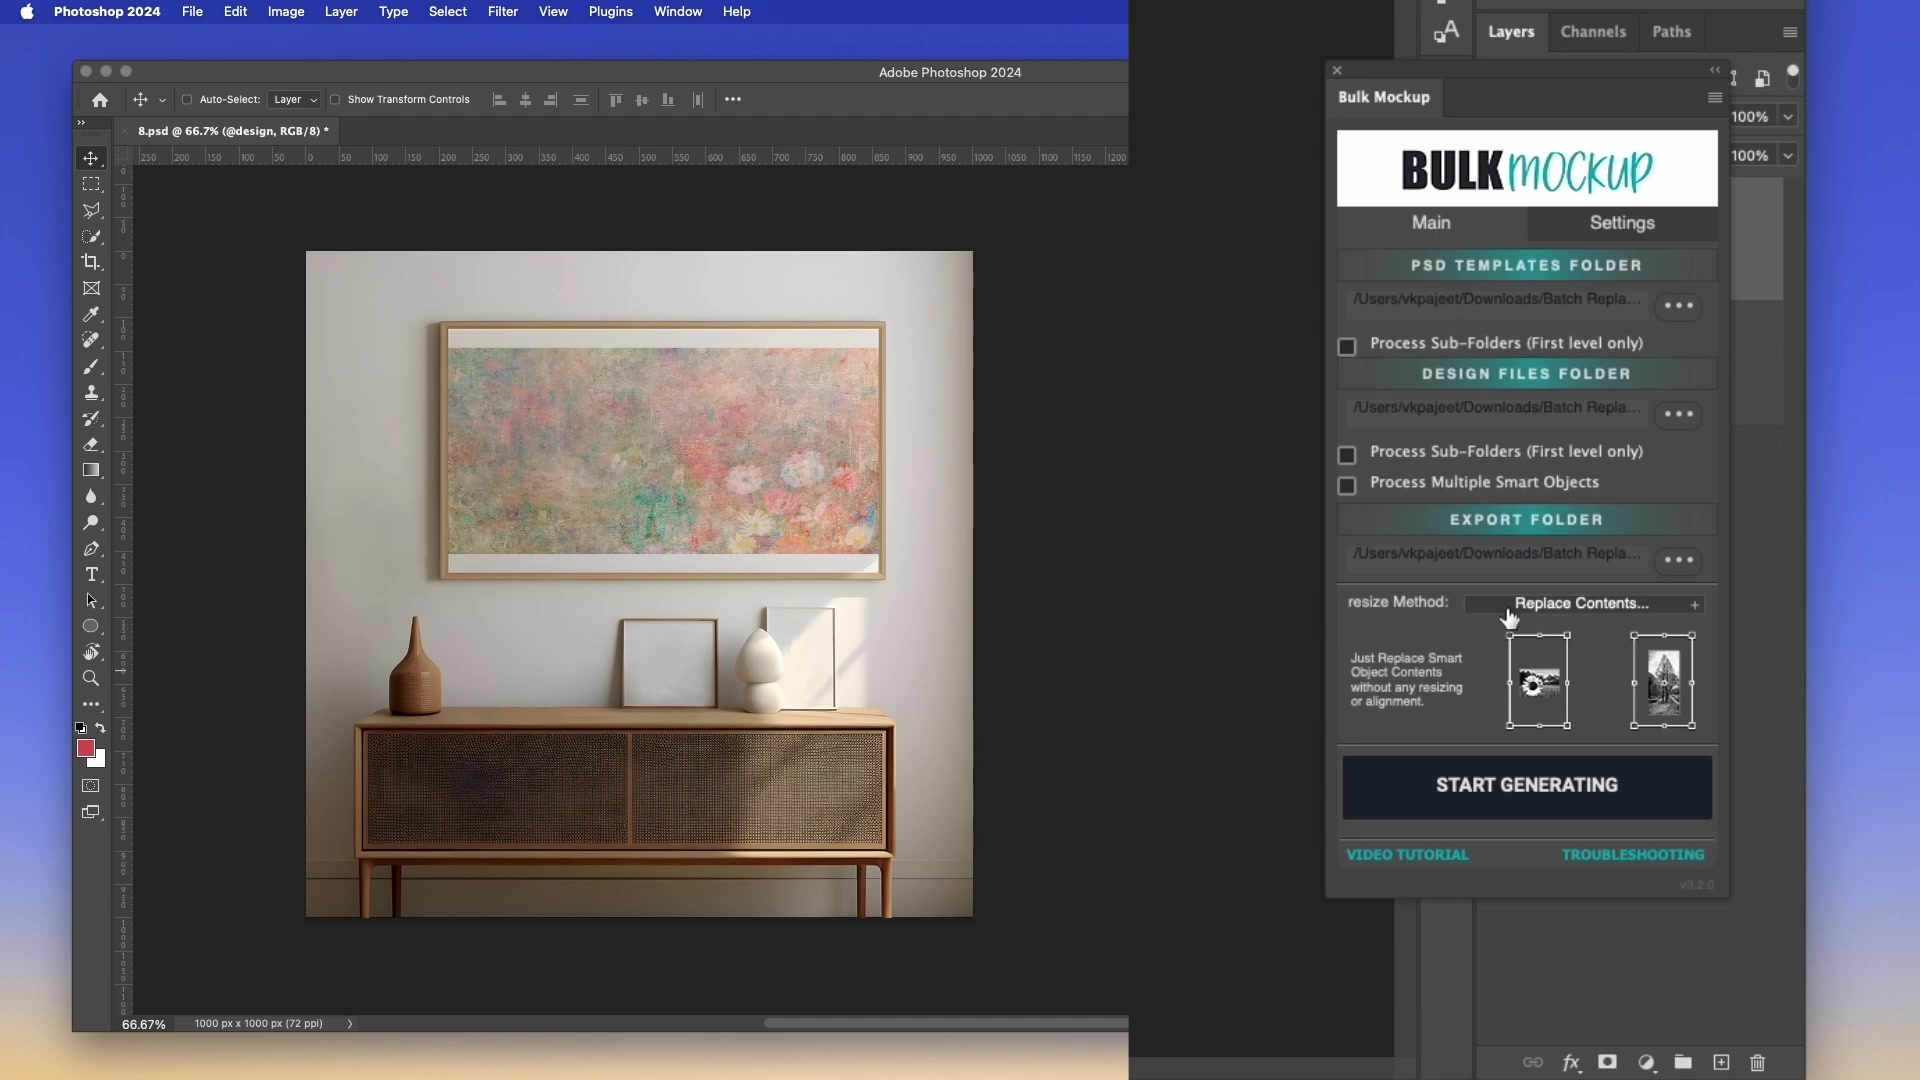
Step 2: Configure the Plugin
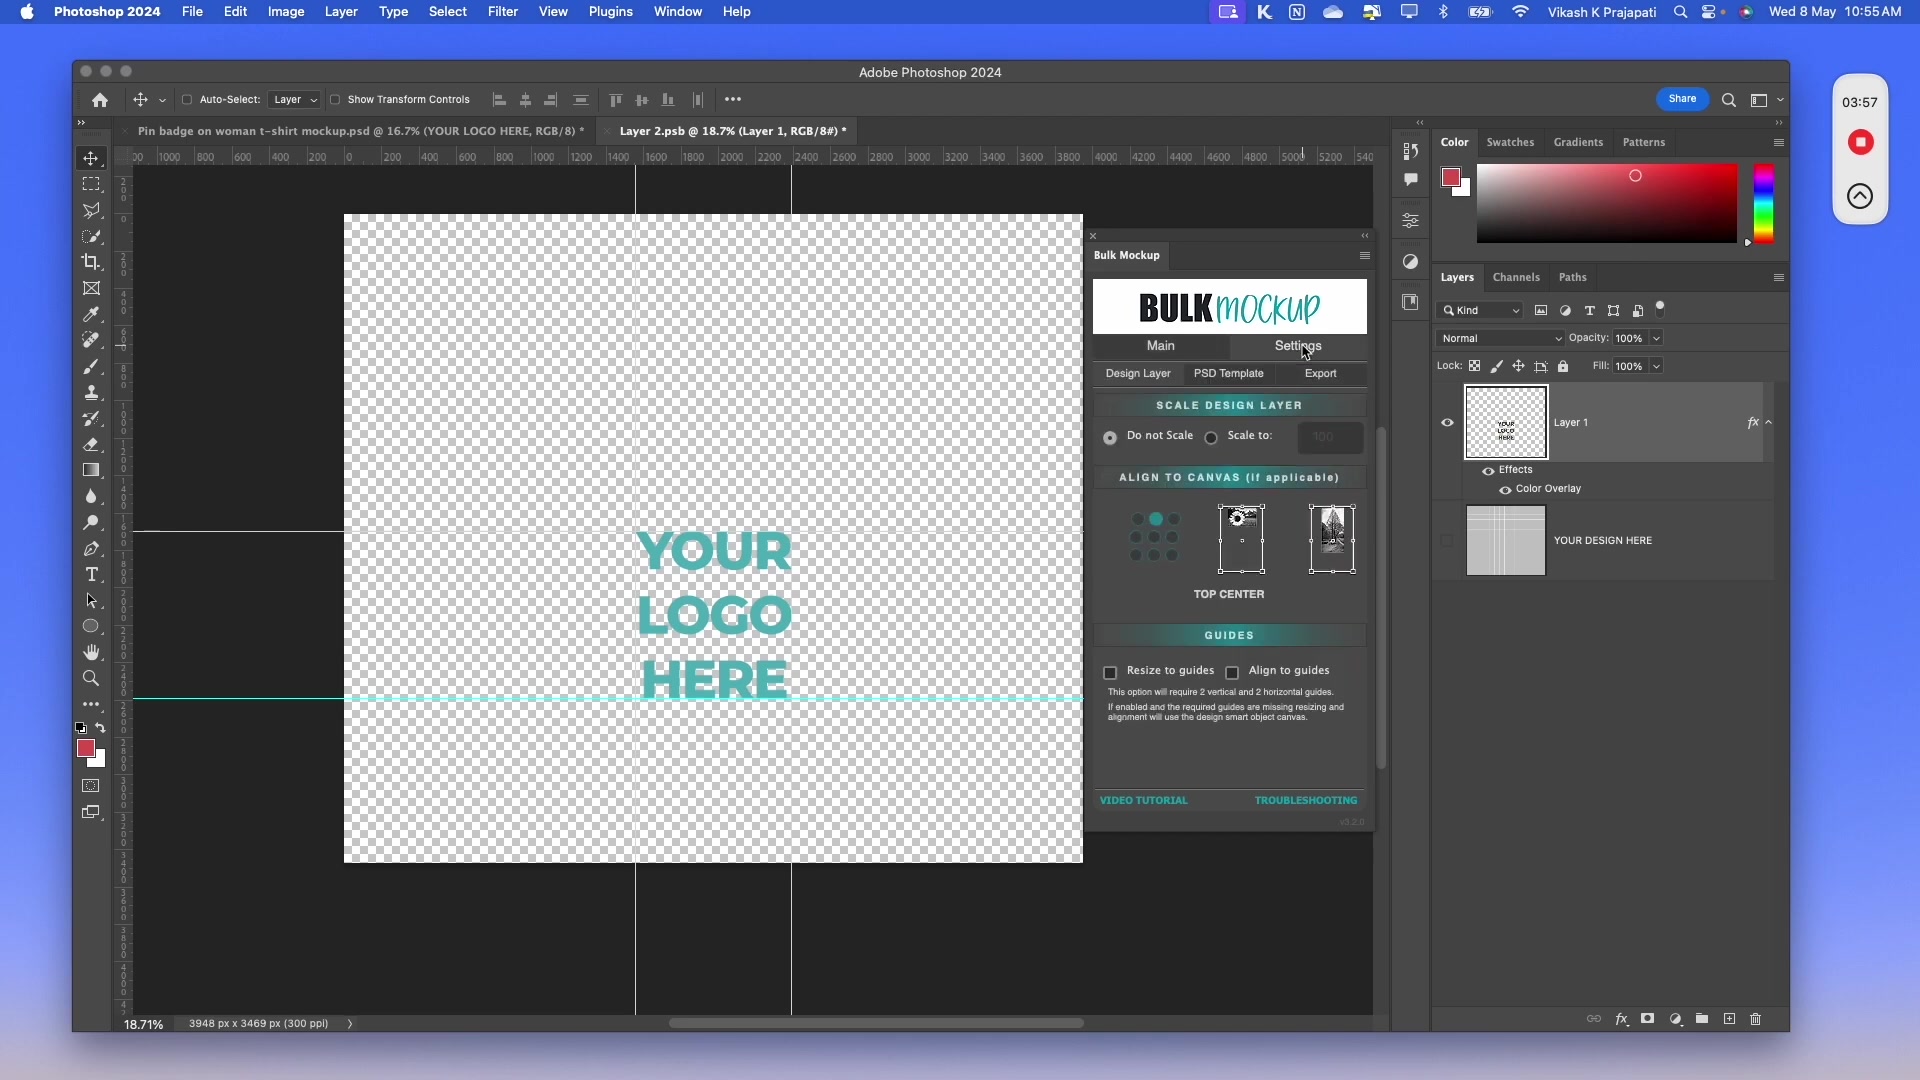
Open the Bulk Mockup Photoshop Plugin from Plugins > Bulk Mockup.
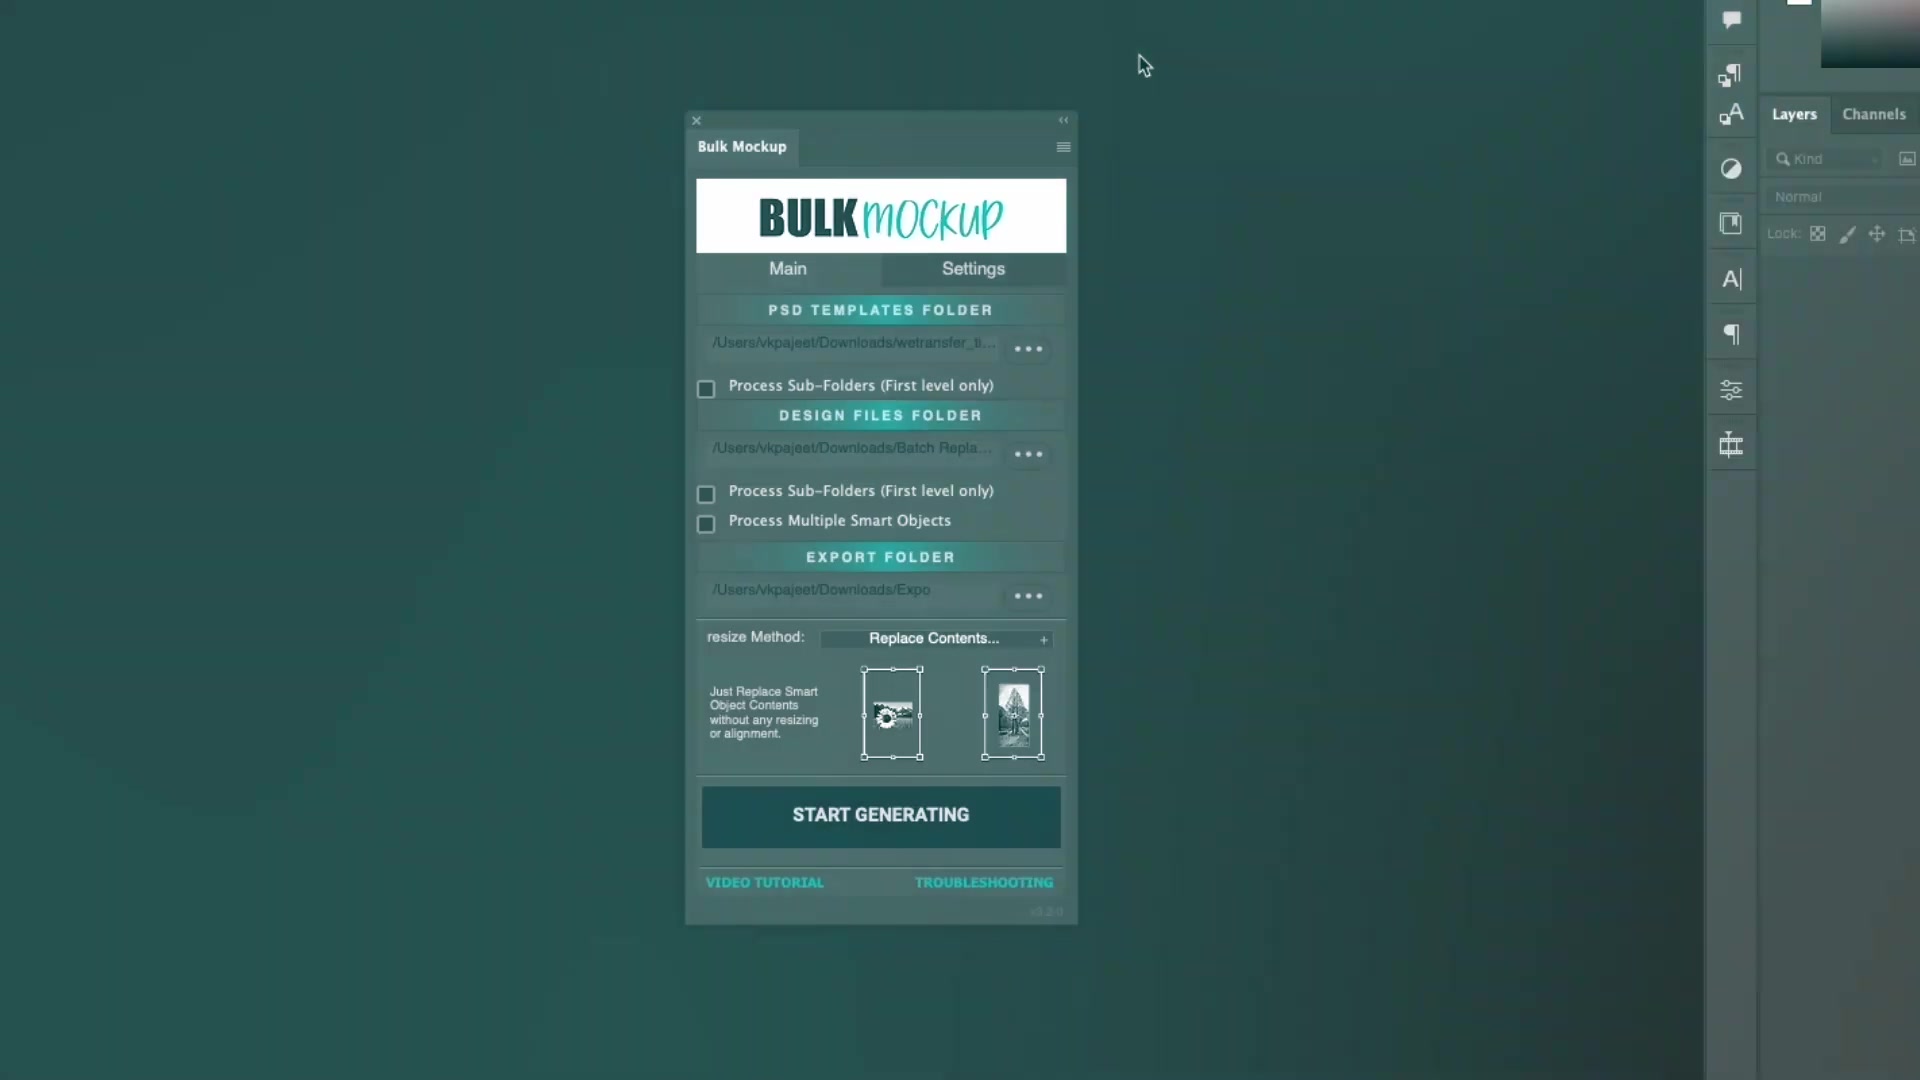
Select your three folders using the browse buttons in the Main tab.
Step 3: Set Export Format
Click the Settings tab and choose your export format (JPG, PNG, TIFF, PSD, GIF, WebP, or MP4).
Step 4: Generate Mockups
Return to the Main tab and click Start Generating. The plugin will process each template with each design file automatically.
Step 5: Review Your Exports
Check the Export folder for your completed mockups.
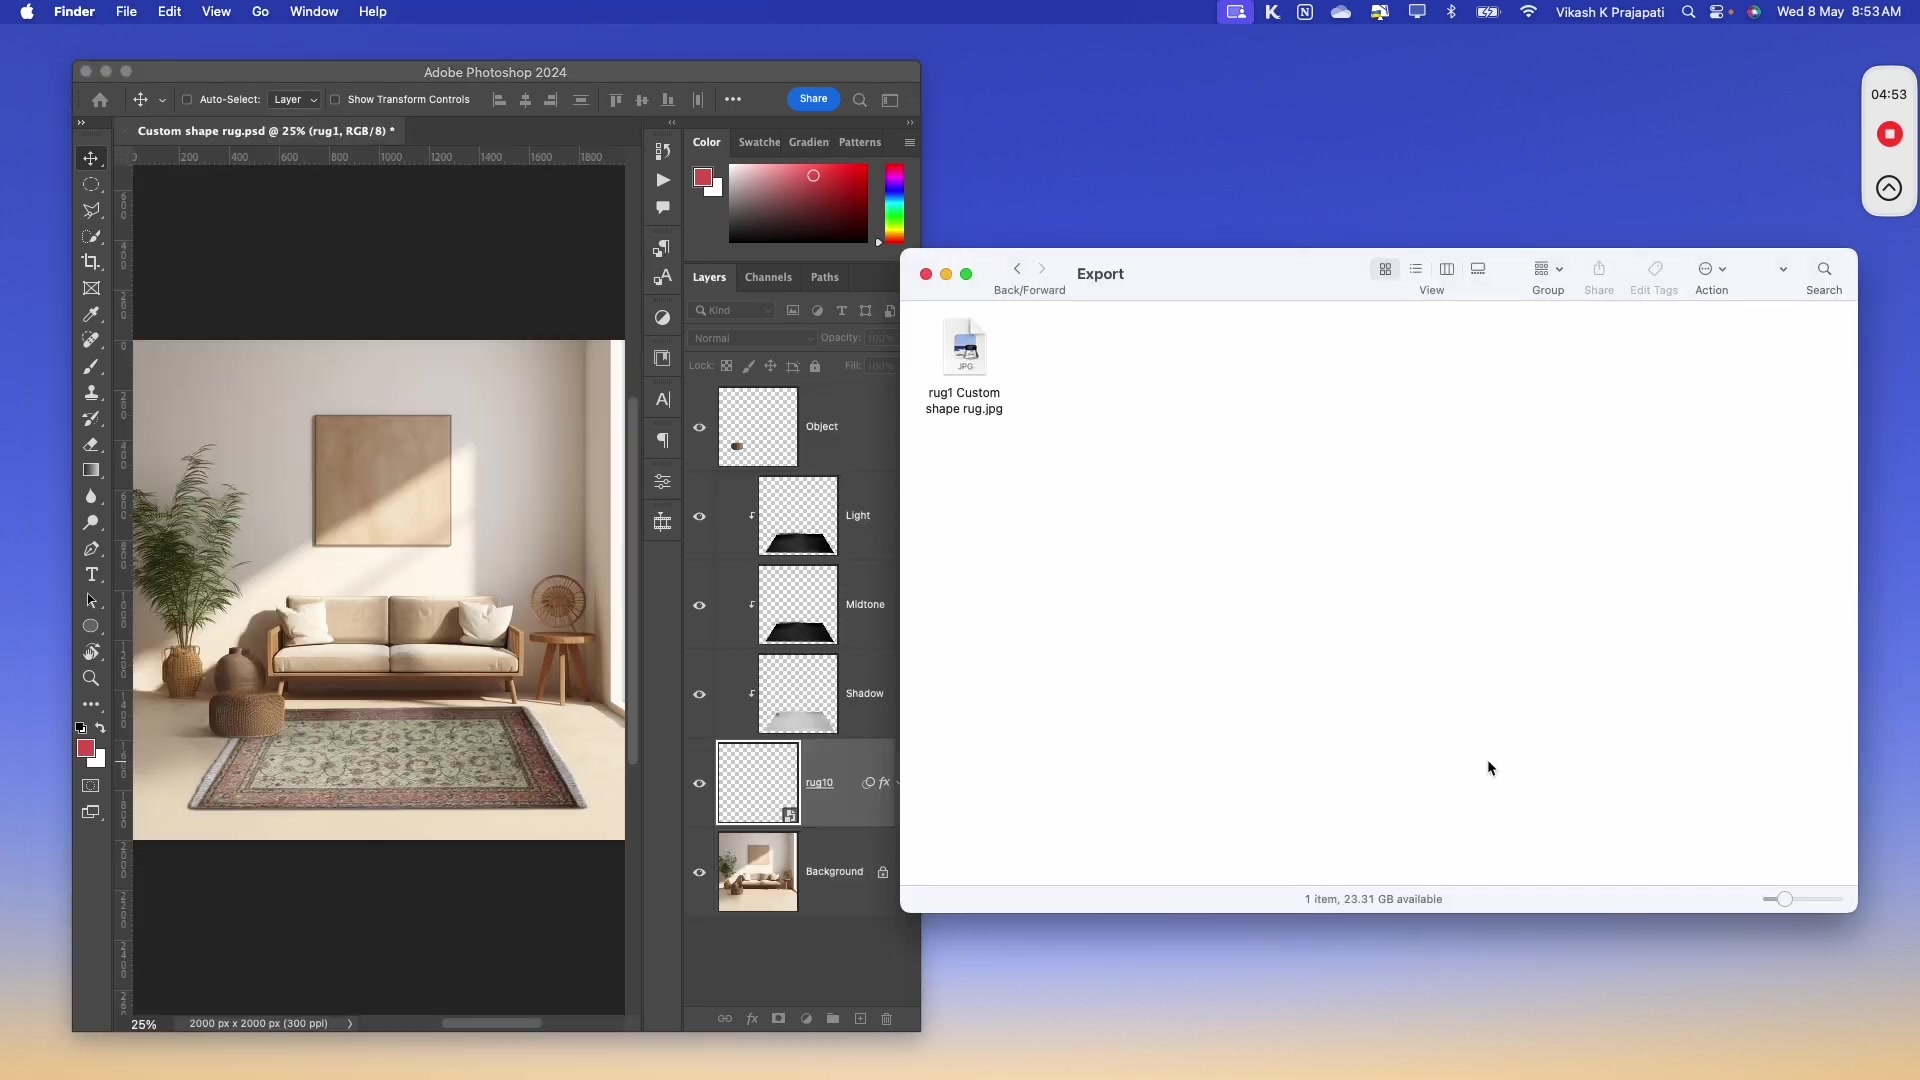
Each design file creates a separate mockup for every PSD template, making it easy to batch-generate variations.
Use Case 2: Handling Different Aspect Ratios
When your design files have different aspect ratios than your smart object canvas, use resize methods to prevent distortion.
The Problem
If your design aspect ratio doesn't match the smart object dimensions, the plugin will stretch the image by default, causing distortion.
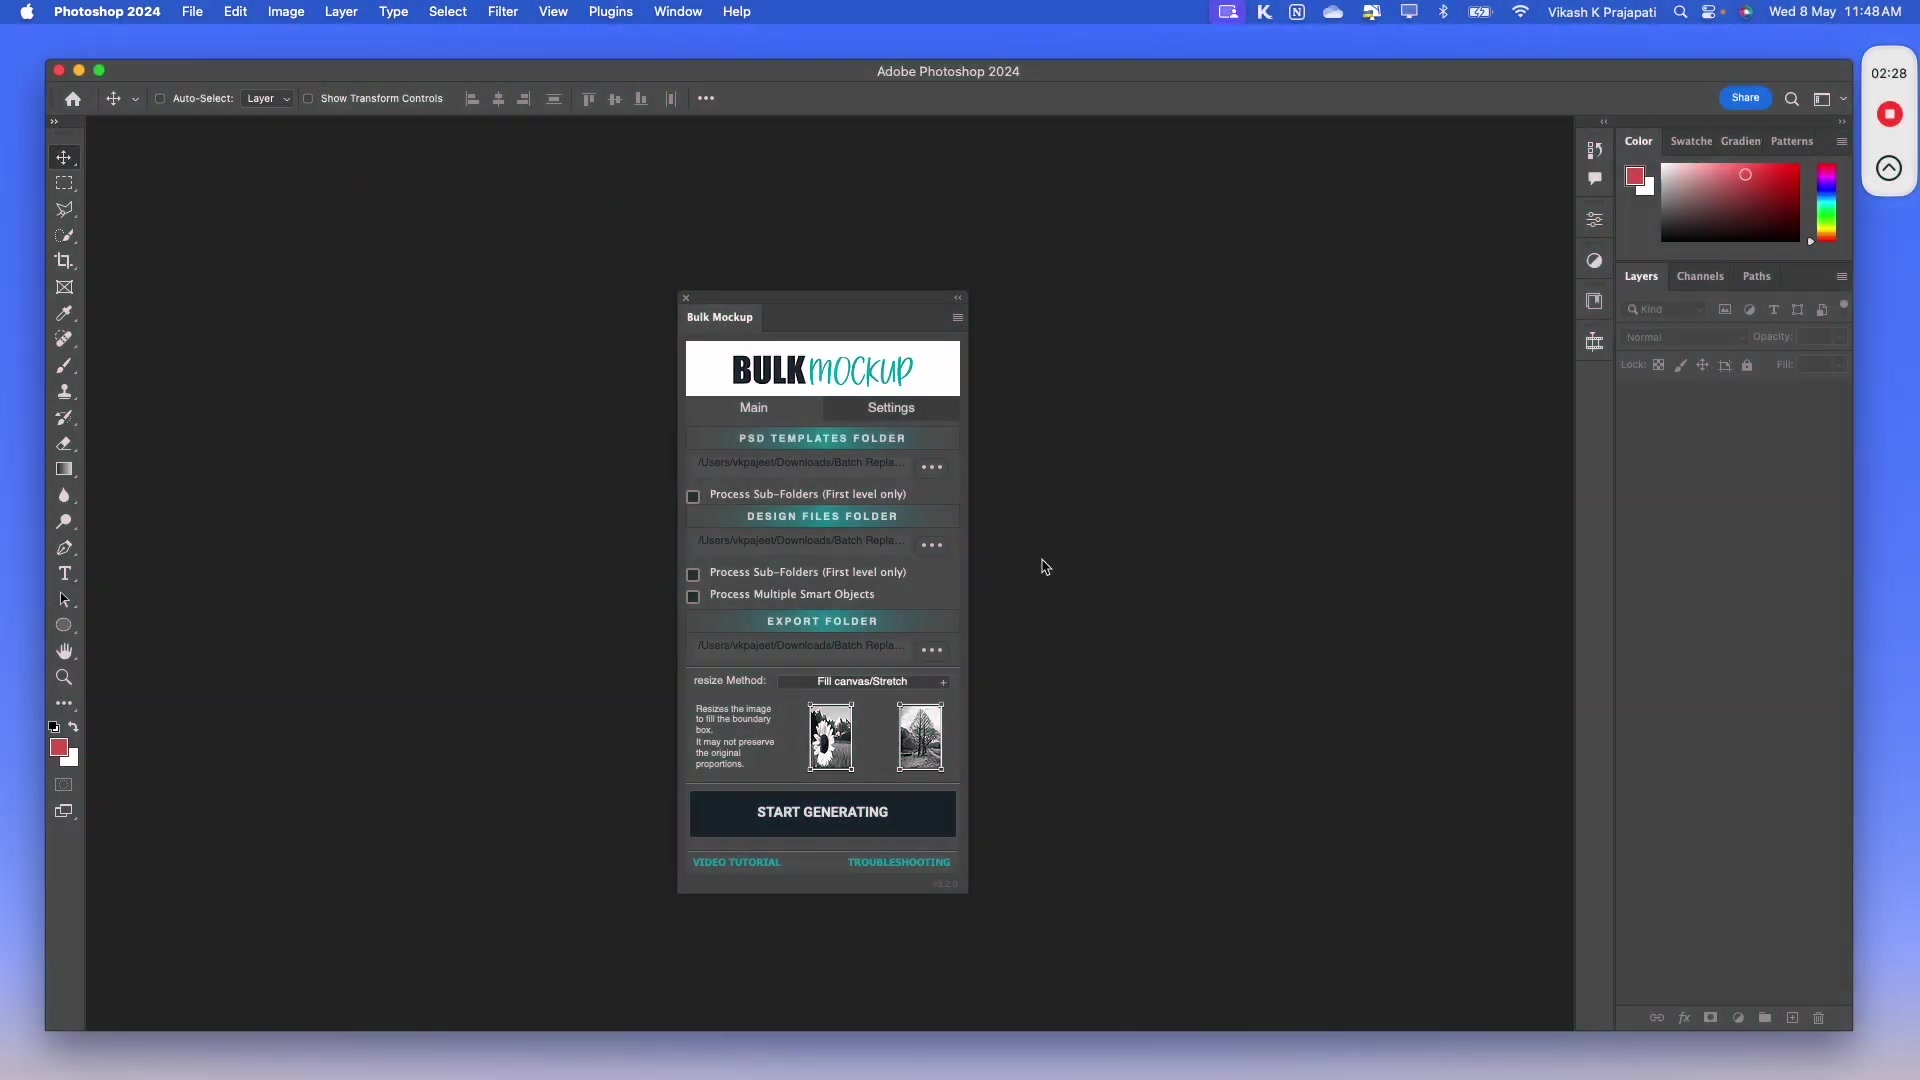
The Solution: Choose a Resize Method as per your use case
In the Main tab, click on the resize Method dropdown:
Select the method that best fits your needs:
Fill canvas/Stretch: Default—stretches design to fill canvas (may distort)
Fit to canvas without cropping: Scales design to fit completely within canvas (may leave empty space)
Fill canvas cropping the extra: Scales design to fill canvas, crops overflow
Constrain by height/width: Scales by one dimension only
Do not Resize: Uses original design dimensions
For more control over aspect ratios, see our detailed guide on changing aspect ratios without distortion.
Use Case 3: Organizing Exports with Subfolders
Keep your exports organized by automatically sorting them into subfolders based on source files.
Configure Export Subfolders
In the Settings tab under Folders, select your Export to Sub-Folders preference:
All in Export Folder: All exports in one folder (default)
PSD Mockup: Creates subfolders named after each PSD template
Design File: Creates subfolders named after each design file
Use "PSD Mockup" when you want to see all design variations for each template. Use "Design File" to see all template versions of each design.
For advanced export organization options, see the full export folder settings guide.
Use Case 4: Custom Design Alignment
Position your designs precisely on the canvas using alignment anchors—perfect for top-aligned t-shirt designs or corner placements.
Step 1: Access Alignment Settings
In the Settings tab under Design Layer, find the Align to Canvas option.
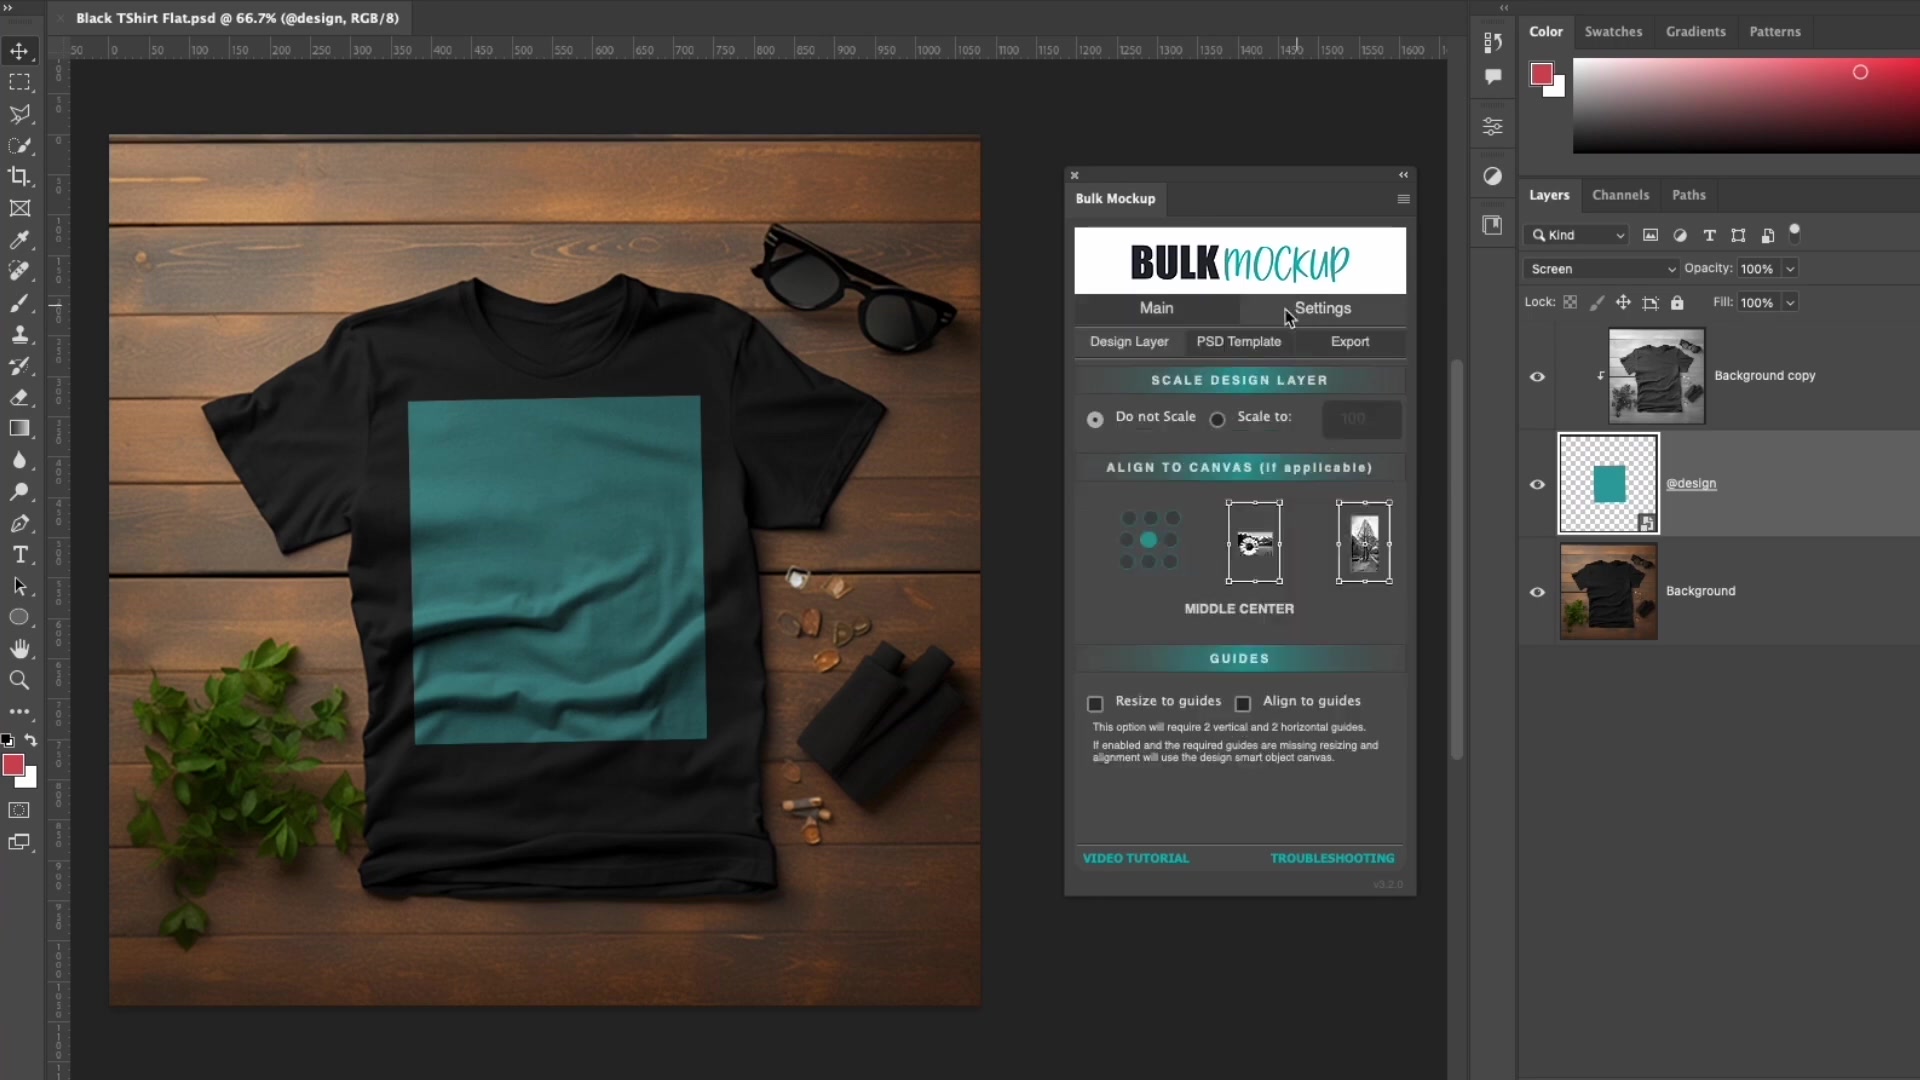
Step 2: Select Anchor Point
Click the alignment grid to choose from 9 anchor positions (top-left, top-center, top-right, middle-left, center, middle-right, bottom-left, bottom-center, bottom-right).
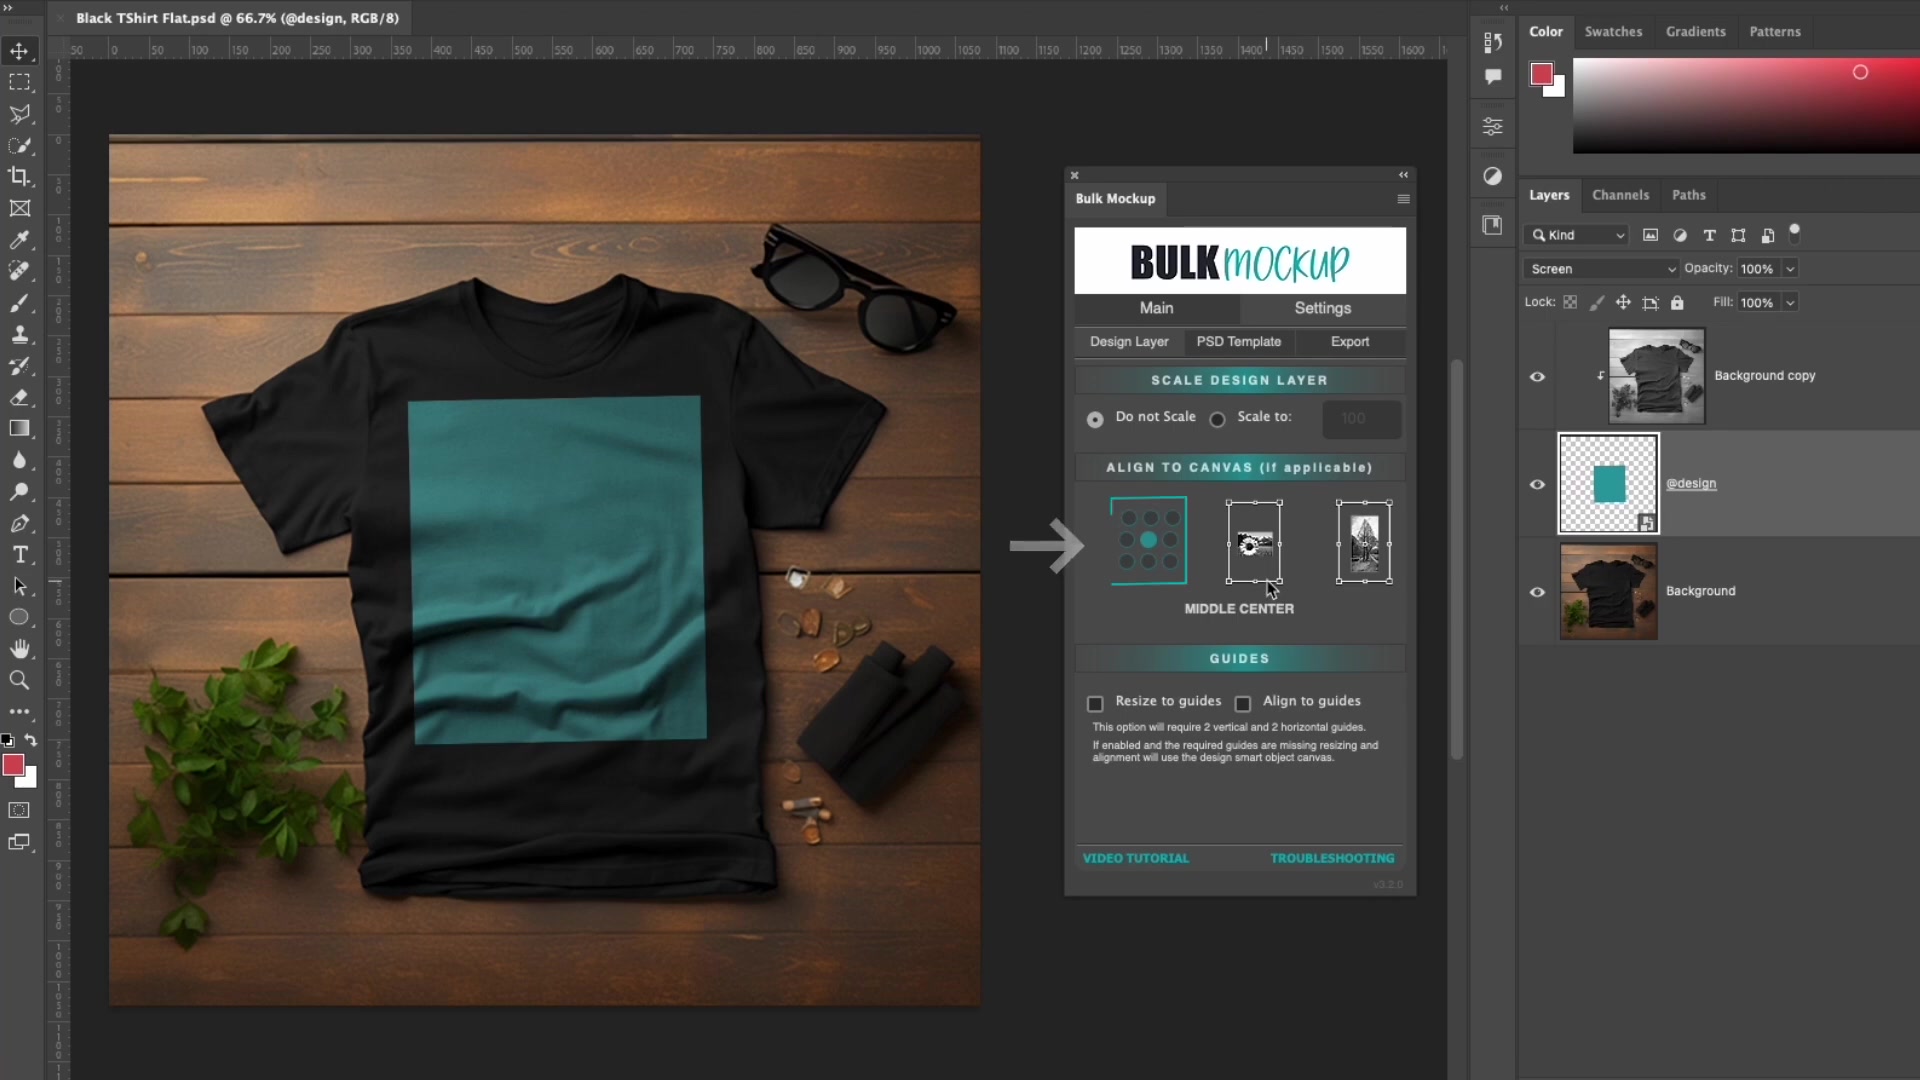
For example, select top-center to position designs at the top center of your t-shirt mockup smart object.
Alignment is applied during batch processing, ensuring consistent positioning across all mockups.
Use Case 5: Using Guides for Confining Design Placements
Confine designs to a specific area using Photoshop guides—ideal for keeping logos within safe zones or centering artwork in defined regions.
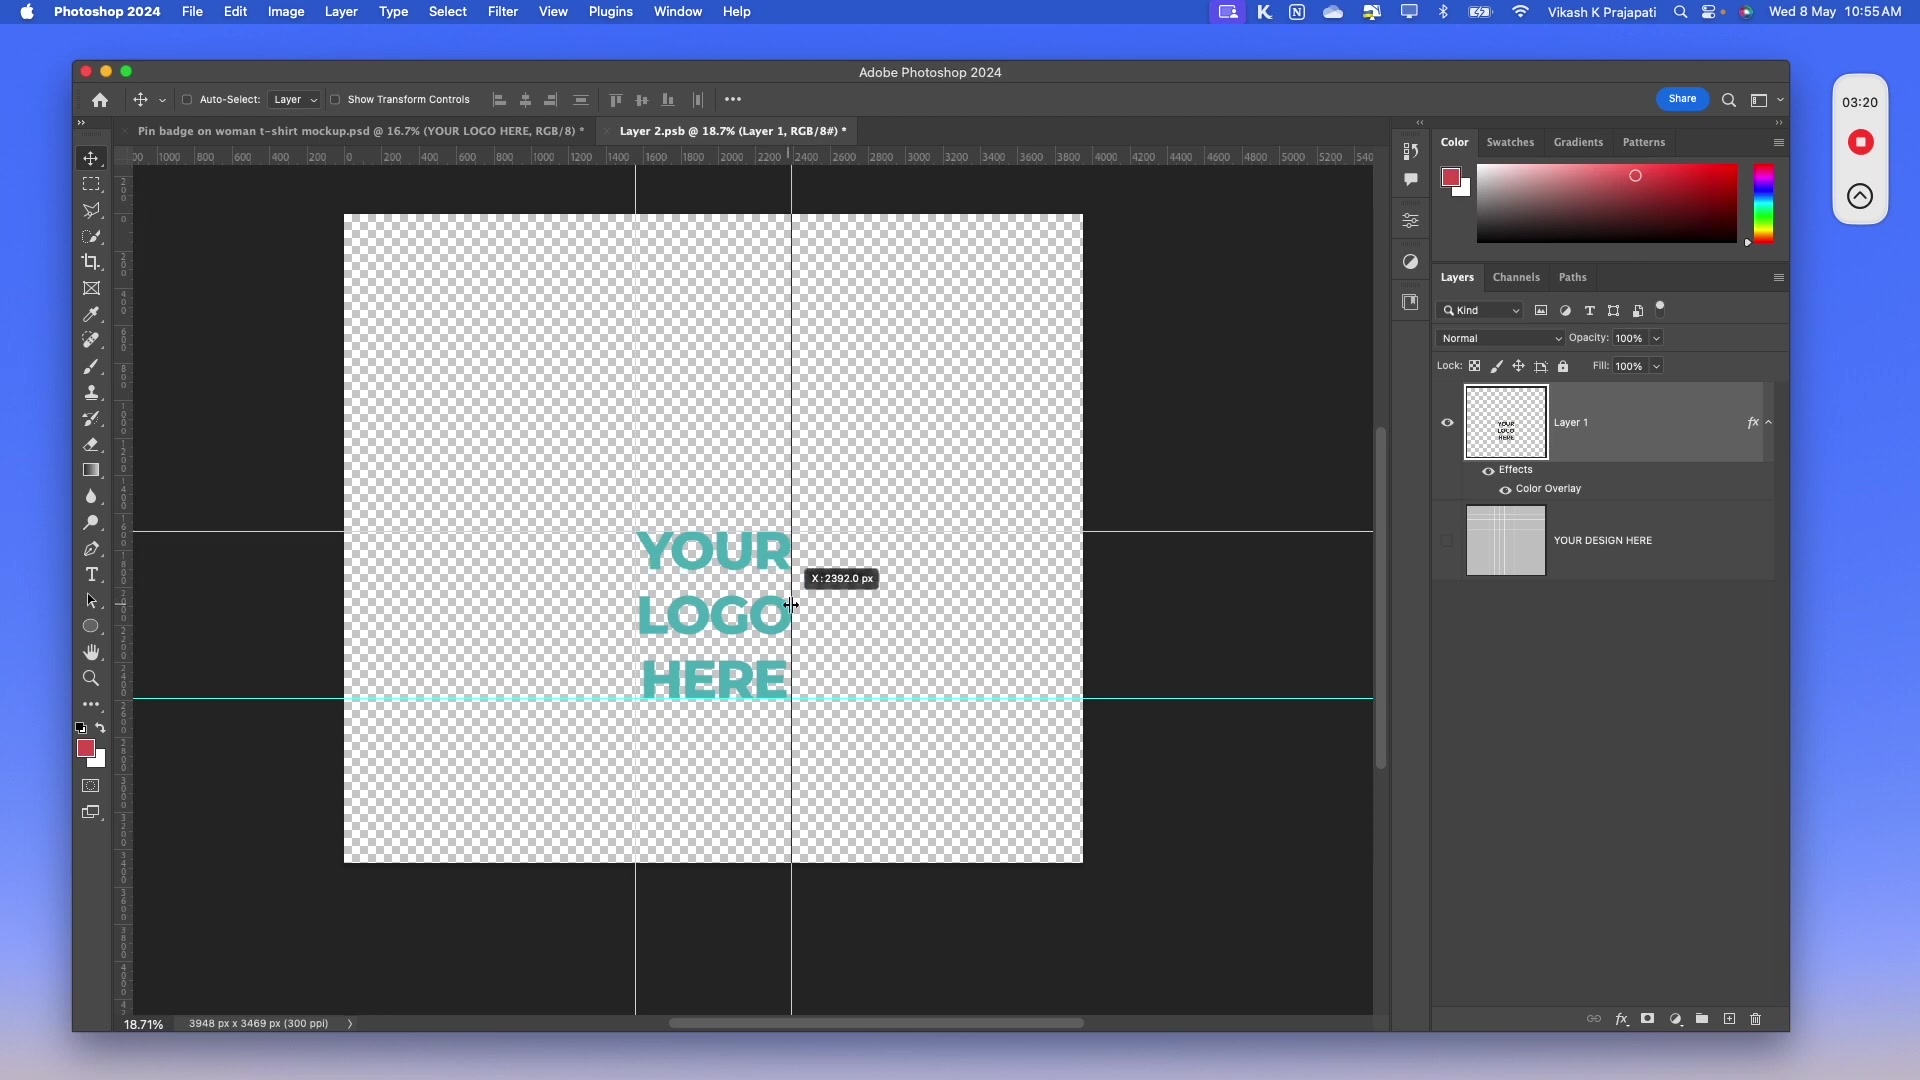
Step 1: Create Guides in Your Smart Object
Open the @design smart object in your PSD template. Add four guides to create a boundary box around the desired design area.
Step 2: Enable Guide Options
In the Bulk Mockup Settings tab under Design Layer, check both:
Resize to guides: Scales designs to fit within the guides
Align to guides: Centers designs within the guide boundaries
Step 3: Generate with Guide Constraints
Run the batch process. All designs will be resized and aligned to fit perfectly within your guide boundaries.
Guides must be set inside the smart object content, not on the main PSD canvas.
To use this guides feature, ensure your Photoshop unit preferences are set to pixels. If they are set to a different unit, update them to pixels.
Use Case 6: Nested Smart Objects for Video Mockups
Create animated video mockups like rotating tumblers by using nested smart objects—one for the animation sequence, one for the design.
Understanding Nested Smart Objects
A nested structure contains:
Outer smart object (
@design): Contains the animation timeline/framesInner smart object (
@nested): Contains the replaceable design layer
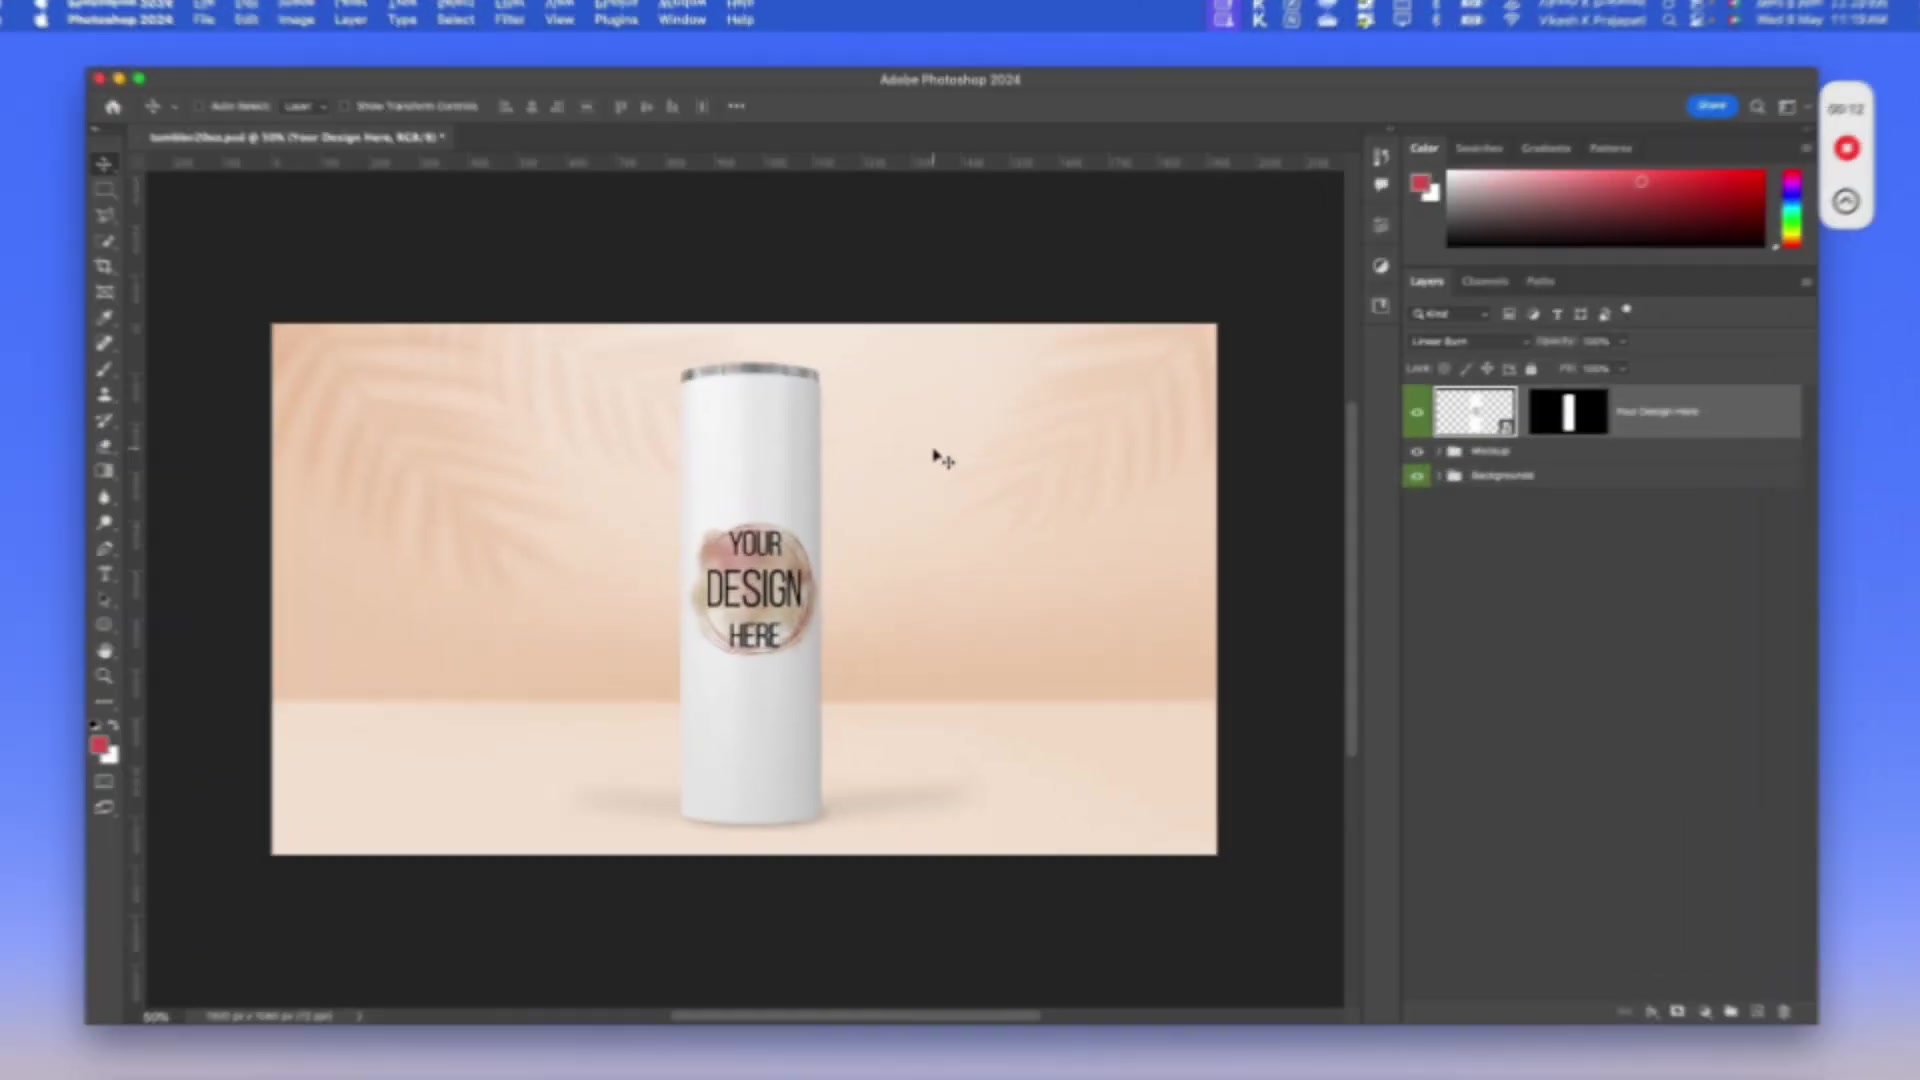
Step 1: Rename the Outer Smart Object
In your PSD template's layers panel, rename the top-level smart object to @design.
Step 2: Rename the Inner Smart Object
Double-click to open the @design smart object. Inside, rename the design layer smart object to @nested.
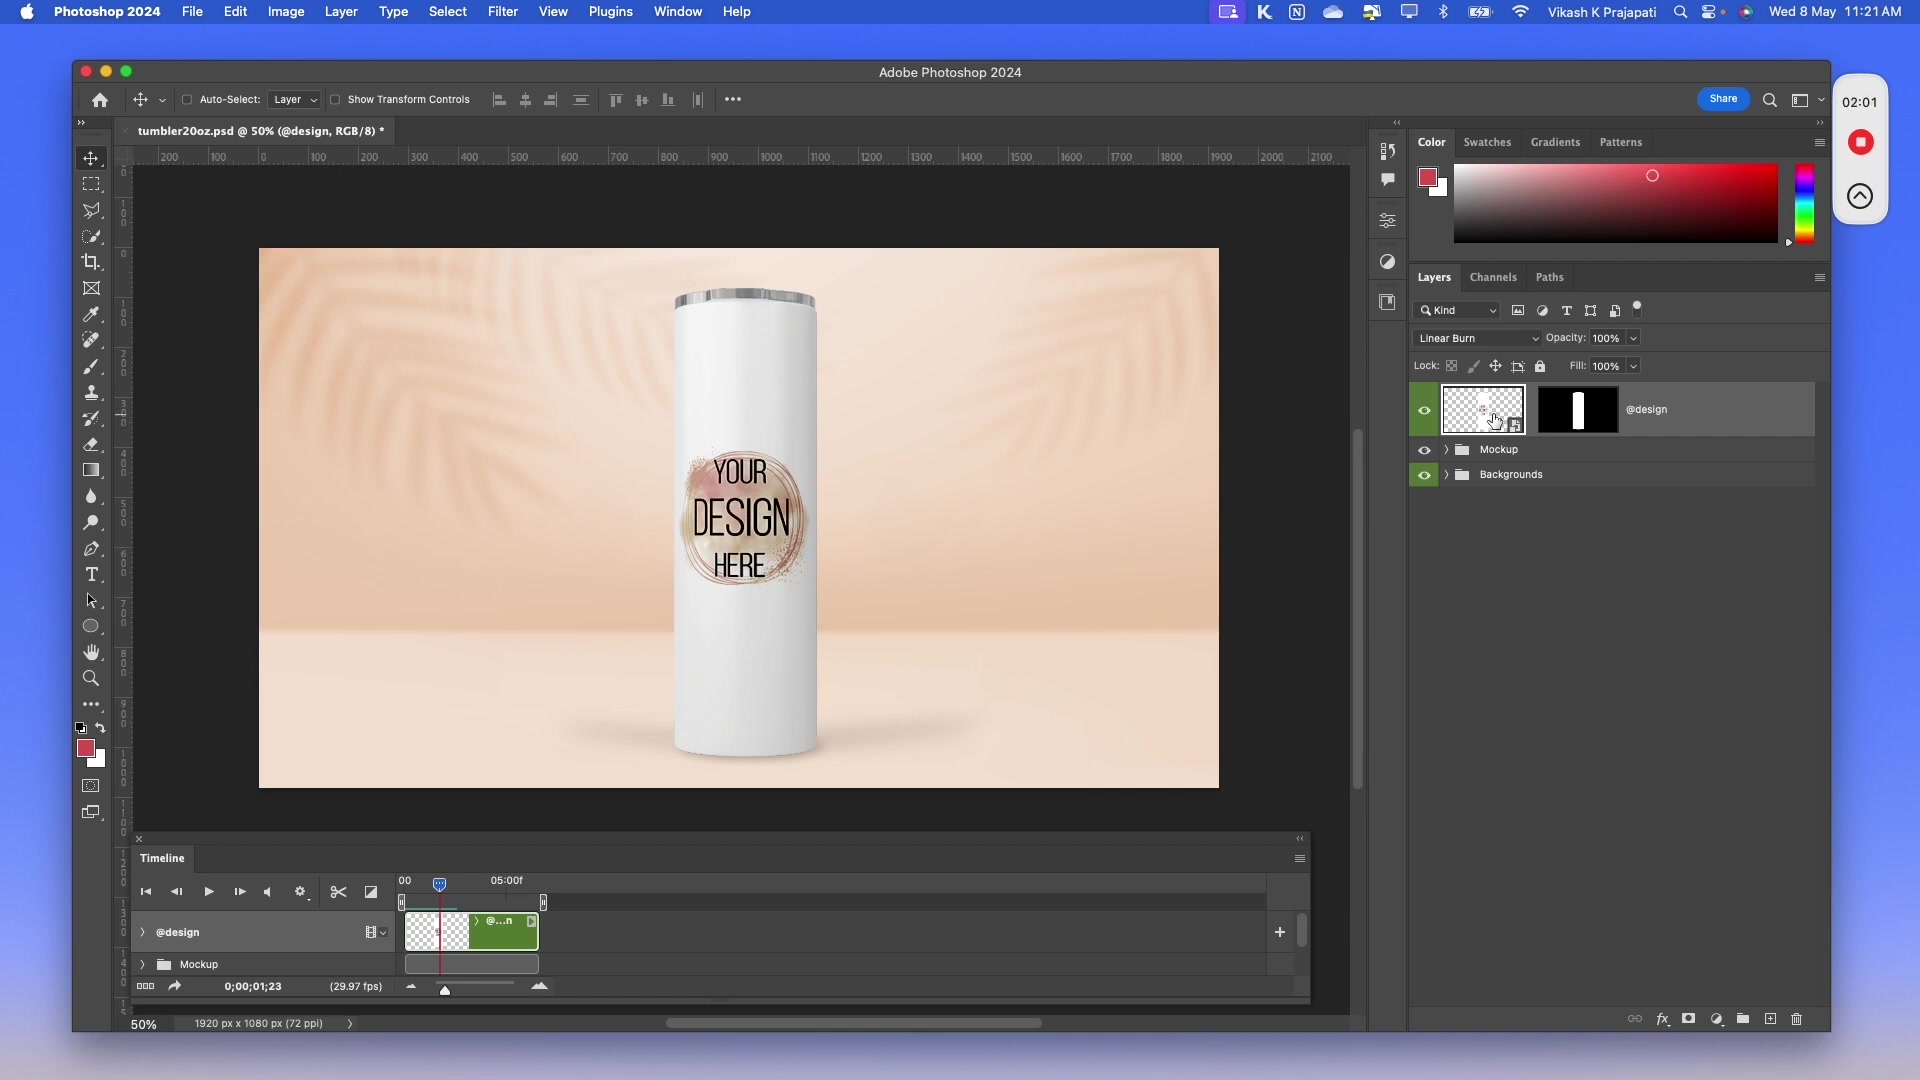
Step 3: Set Export Format to MP4
In the plugin Settings tab, select MP4 as the export format.
Step 4: Generate Video Mockups
Run the batch process. Each design file will be inserted into the @nested layer, and Photoshop will render the animation timeline as MP4 video.
For detailed video mockup workflows, see batch processing video mockups with multiple scenes.
Use Case 7: Creating Patterns with Nested Smart Objects
Generate seamless pattern mockups (like wallpapers) by duplicating and renaming nested smart object layers for tiling effects.
Step 1: Set Up Nested Smart Object
Open your pattern mockup PSD. Inside the @design smart object, identify the pattern fill layer.
Step 2: Rename to @nested
Rename the pattern layer smart object to @nested.
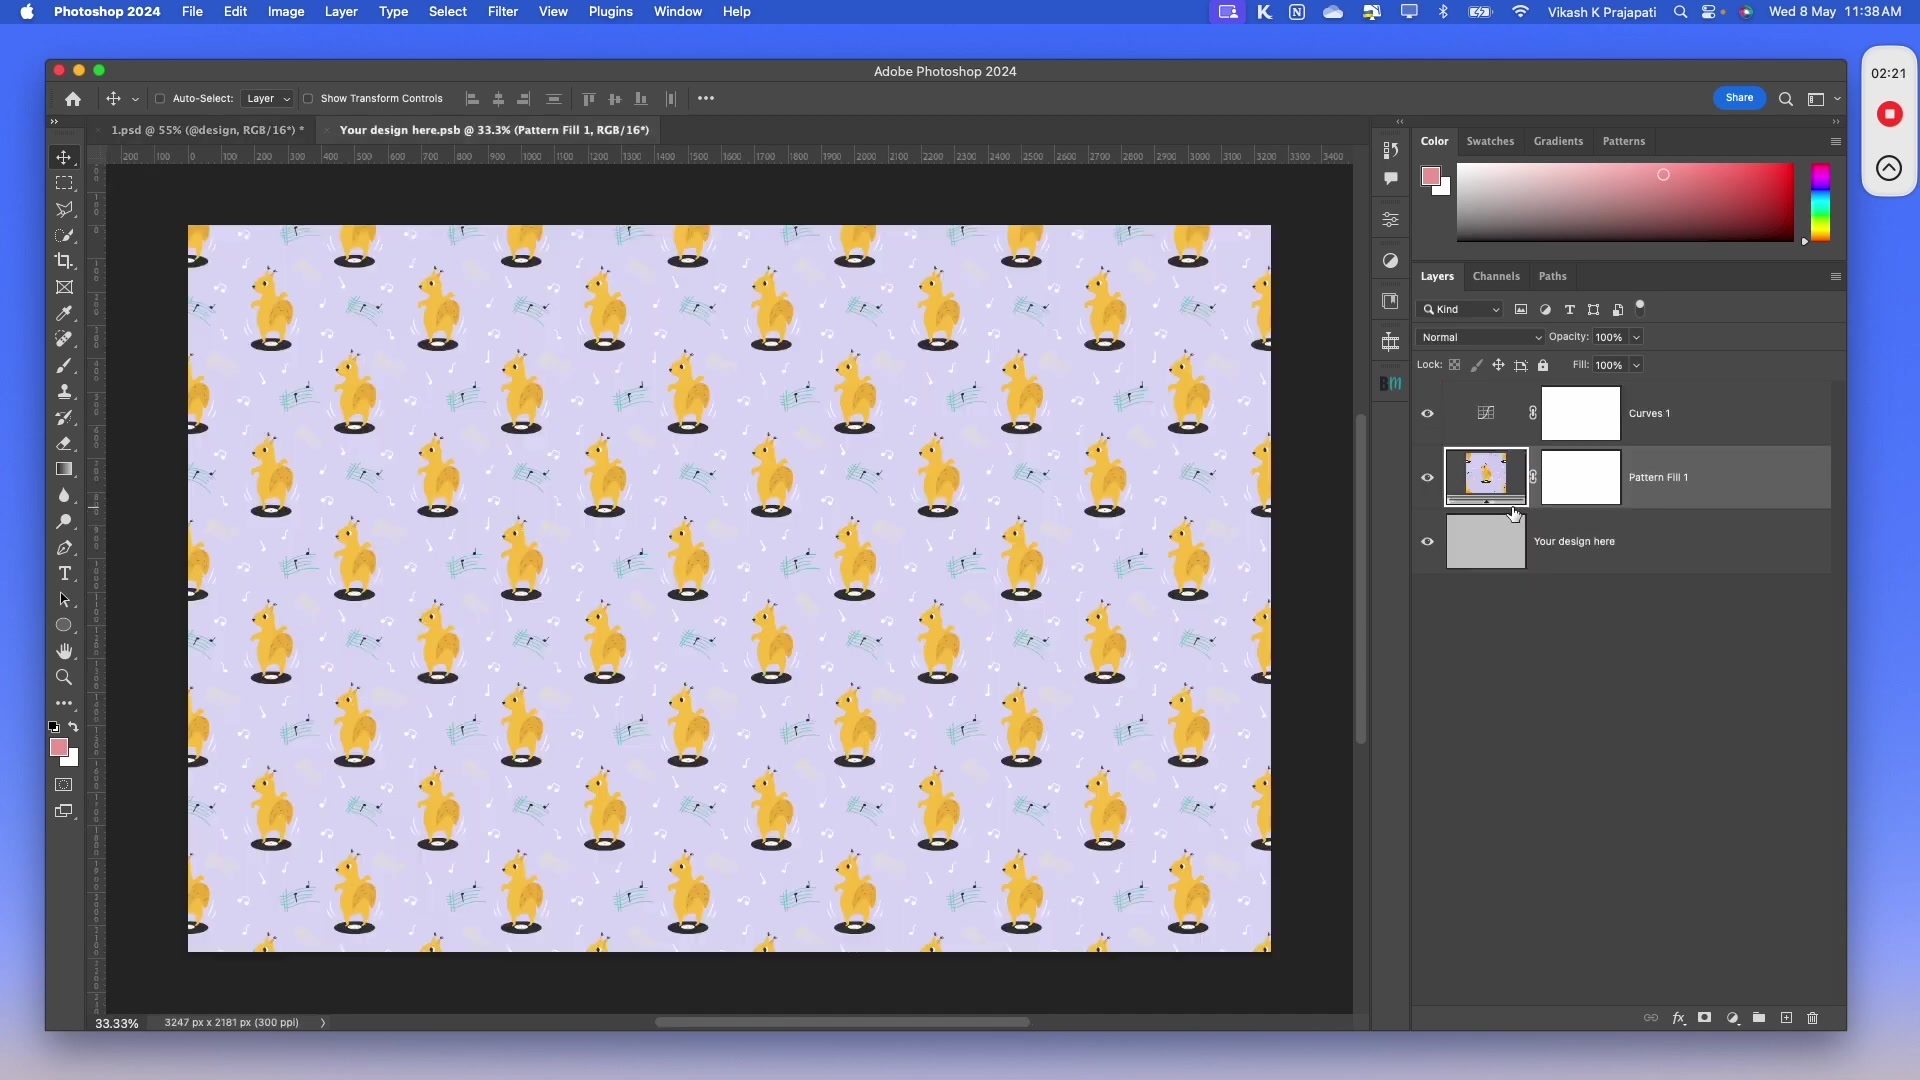
Step 3: Duplicate for Tiling
If your mockup requires multiple pattern instances (e.g., wallpaper with repeating tiles), duplicate the @nested layer and arrange it to fill the canvas with tile. The plugin will replace all instances with the same design.
Step 4: Generate Pattern Mockups
Run the batch process. Your designs will automatically populate all @nested layers, creating seamless pattern effects.
For wallpaper-specific workflows, see how to bulk add patterns in wallpaper mockups.
Use Case 8: Processing Multiple Smart Objects
Handle templates with multiple independent smart objects (like t-shirt front and back) by organizing design files into named subfolders.
Step 1: Identify Smart Object Layers
Open your PSD template and note the names of all smart object layers you want to replace (e.g., "Front", "Back", "Sleeve").
Step 2: Create Subfolders in Design Files Folder
In your Design Files Folder, create subfolders with names that exactly match your smart object layer names:
Design Files Folder
Front (contains designs for front layer)
Back (contains designs for back layer)
Step 3: Enable Multiple Smart Objects Processing
In the plugin's Main tab, check the Process Multiple Smart Objects checkbox.
Step 4: Generate Mockups
Run the batch process. The plugin will match subfolder names to smart object layer names and replace each accordingly.
Subfolder names must match smart object layer names exactly (case-sensitive). If names don't match, those designs will be skipped.
For advanced multi-smart object techniques, see the complete guide on processing multiple smart object layers.
Need More Help?
If you have questions about these use cases or encounter any issues, contact the Bulk Mockup support team at [email protected].