
My export has a design at an unexpected position
If your exported mockup places the design too high, too low, off-center, or stretched across the whole product area, check the resize and alignment settings in the Bulk Mockup Photoshop Plugin. This tutorial walks you through the exact settings that control design placement so you can fix the output before running a full batch.
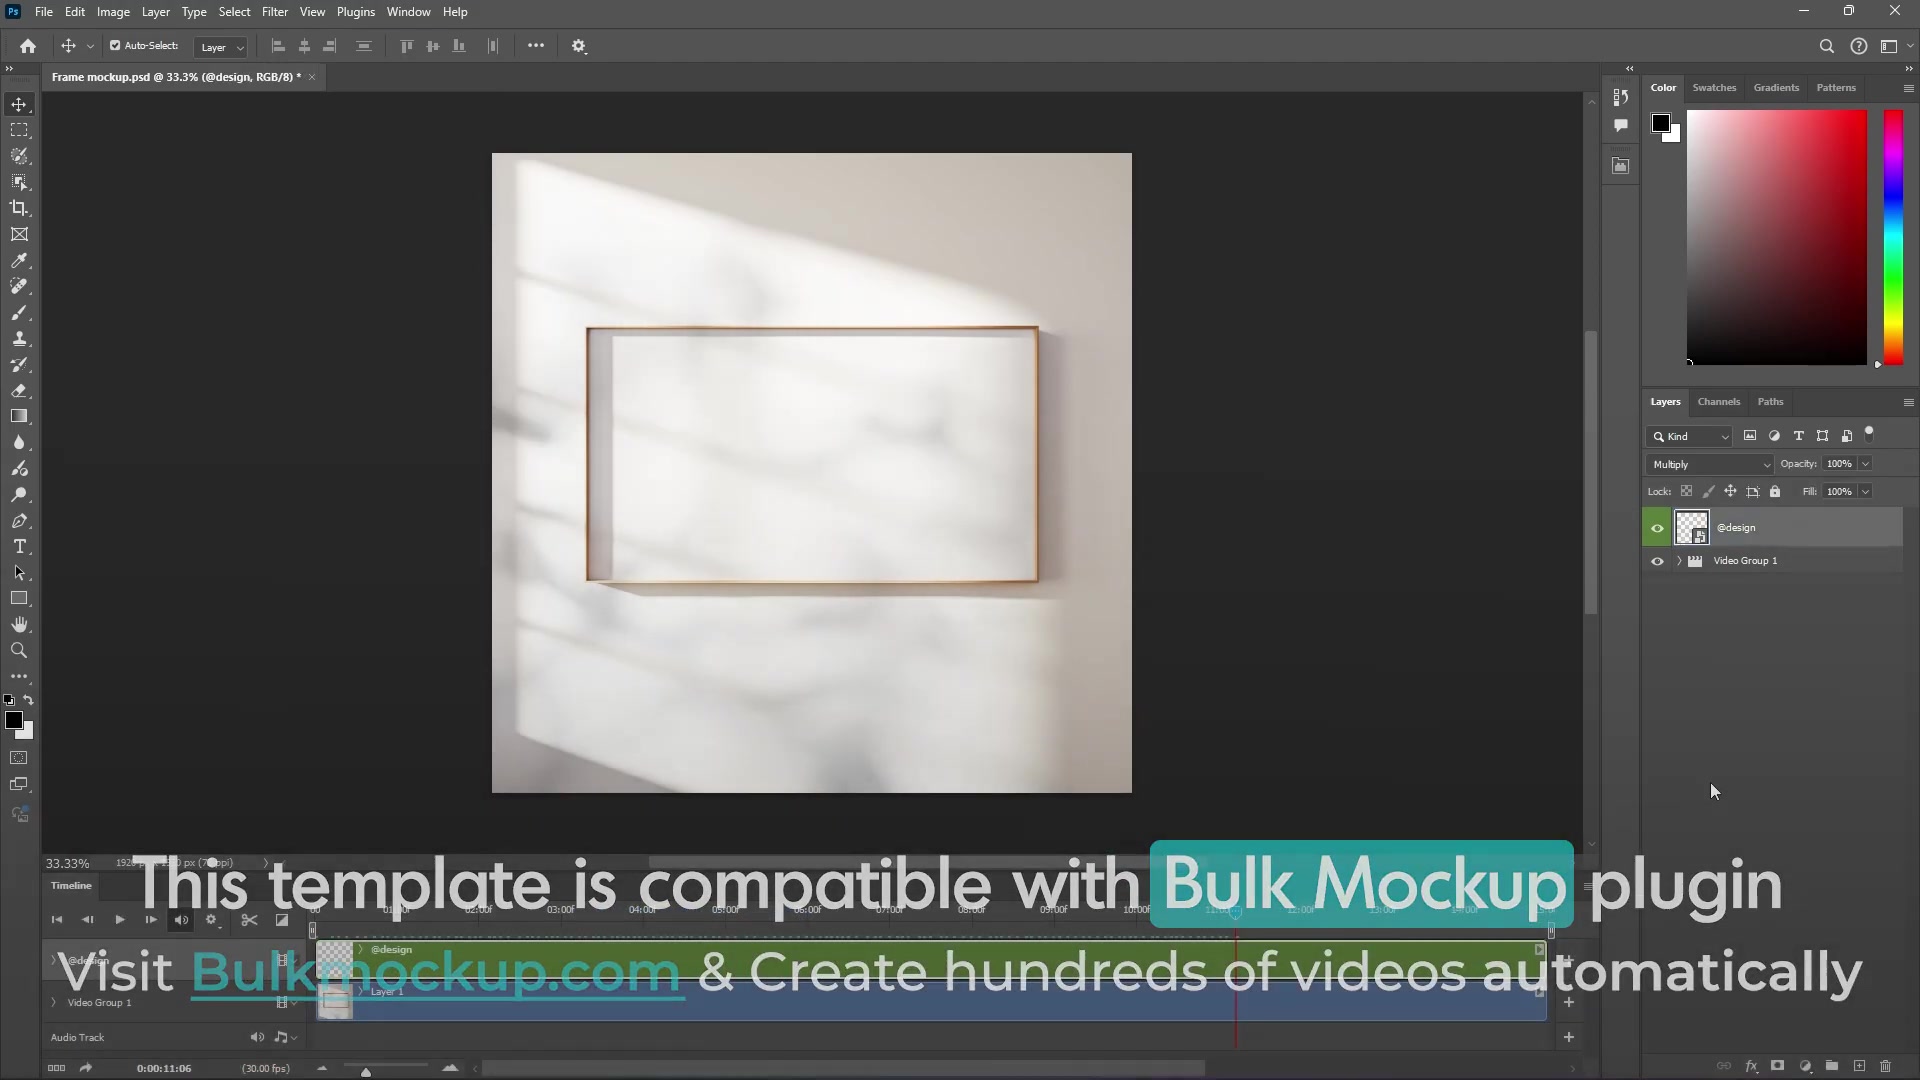
Before you start, use a smart object-based PSD template and make sure the target smart object is named @design. Bulk Mockup works with smart object templates, not flat JPG or PNG mockups.
Step 1: Confirm Bulk Mockup is targeting the correct smart object
Open your PSD template in Photoshop and check the Layers panel.
Find the smart object layer that should receive your artwork.
Rename that layer to
@designif it uses a different name.Double-click the smart object thumbnail to open it and confirm this is the actual design area.
If the wrong smart object is targeted, the export can place your design in the wrong area even when the resize settings are correct.
If your template uses nested smart objects, the outer smart object should be @design and the inner replaceable smart object should be @nested. For more complex templates, see Batch Replace Smart Object Layer in Photoshop | 8 Practical Use Cases.
Step 2: Check the Resize Method in the Main tab
Open the Bulk Mockup Photoshop Plugin from Plugins > Bulk Mockup. In the Main tab, review the Resize Method dropdown before you generate exports.
Choose Fit to canvas without cropping if you want to keep the full design visible without distortion.
Choose Fill canvas cropping the extra if you want the print area filled while keeping the aspect ratio.
Avoid Fill canvas/Stretch when the design looks oversized or distorted, because it forces the artwork to fill the full smart object canvas.
Choose Do not Resize only when your design is already prepared at the exact size you want.
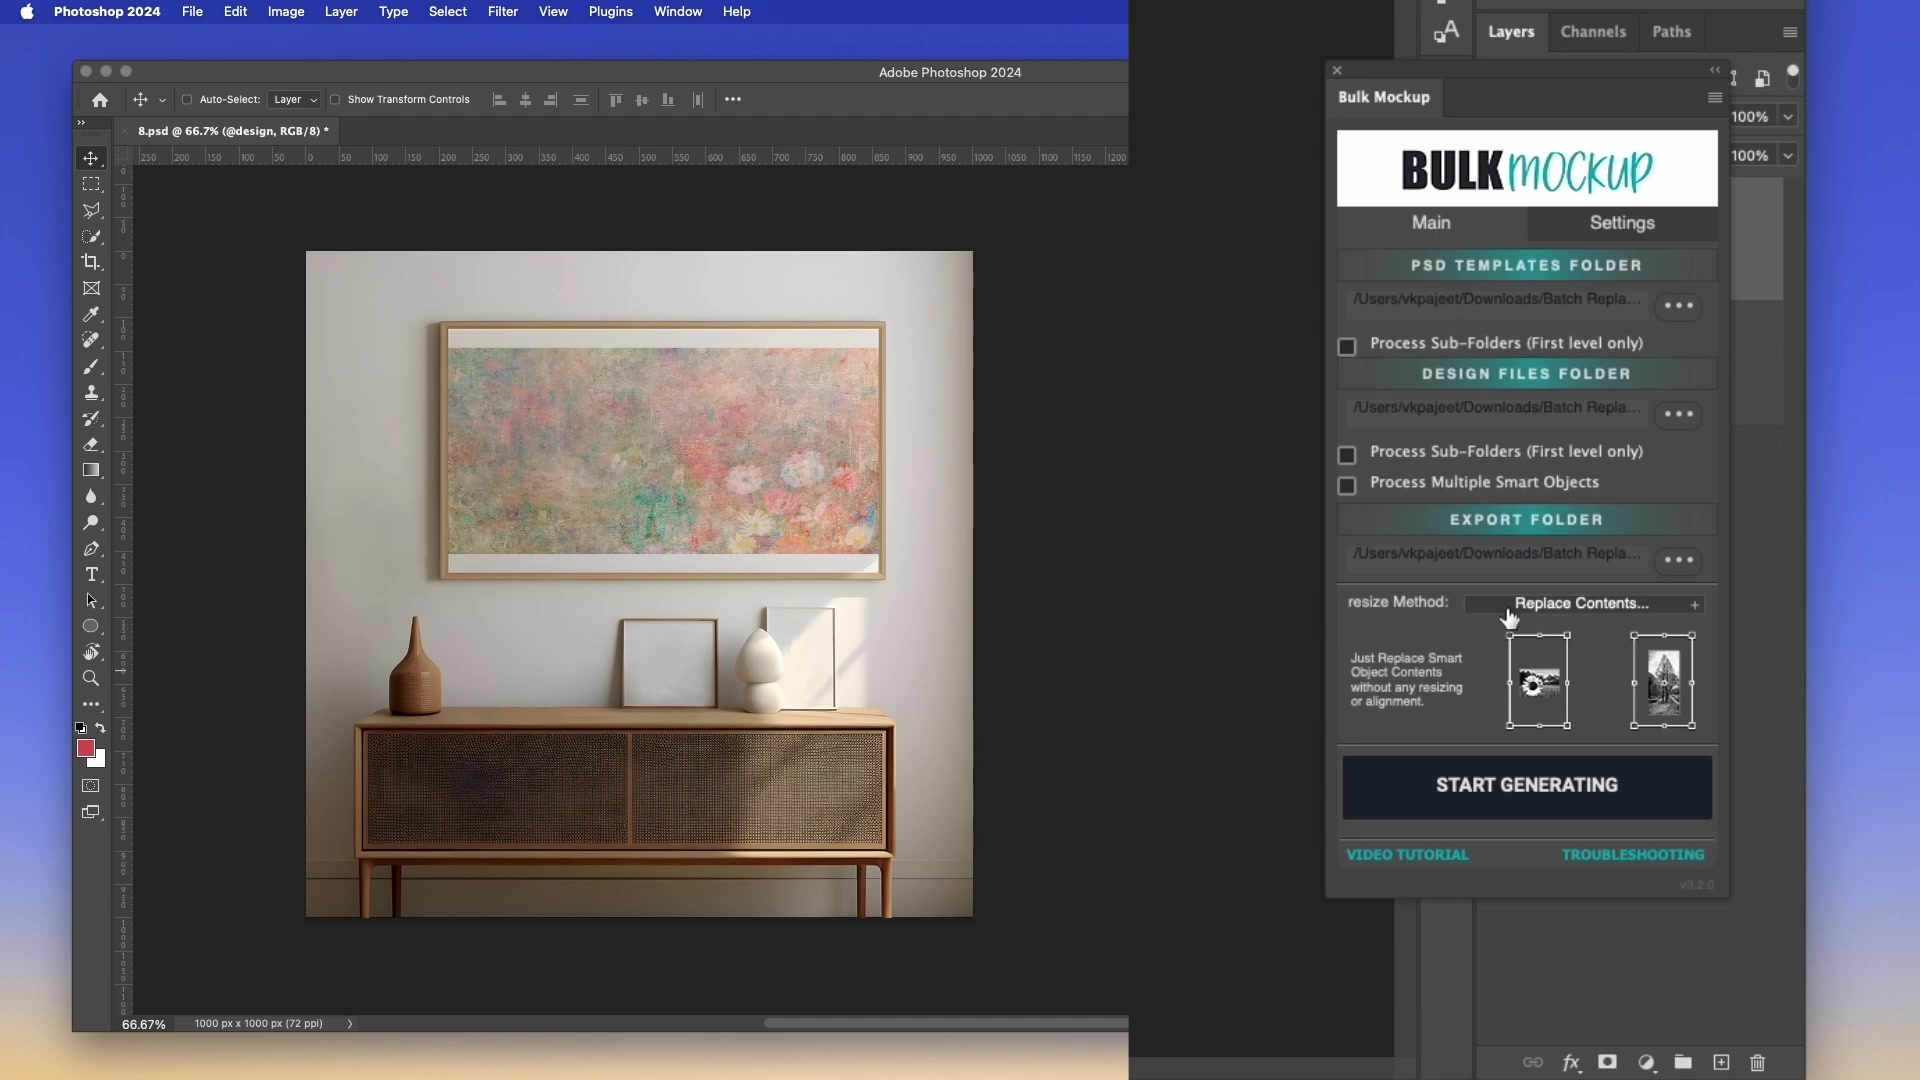
These options affect placement because the plugin first resizes the design, then applies alignment.
Fill canvas/Stretch can make the design look too large or unexpectedly positioned because it stretches the artwork to cover the entire smart object canvas.
Step 3: Set Align to Canvas in Settings
If the size looks correct but the design is sitting in the wrong part of the product area, adjust the alignment anchor.
Click the Settings tab.
Open the Design Layer settings.
Find Align to Canvas.
Select the anchor point that matches where the design should sit, such as top-center for a chest print or center for wall art.
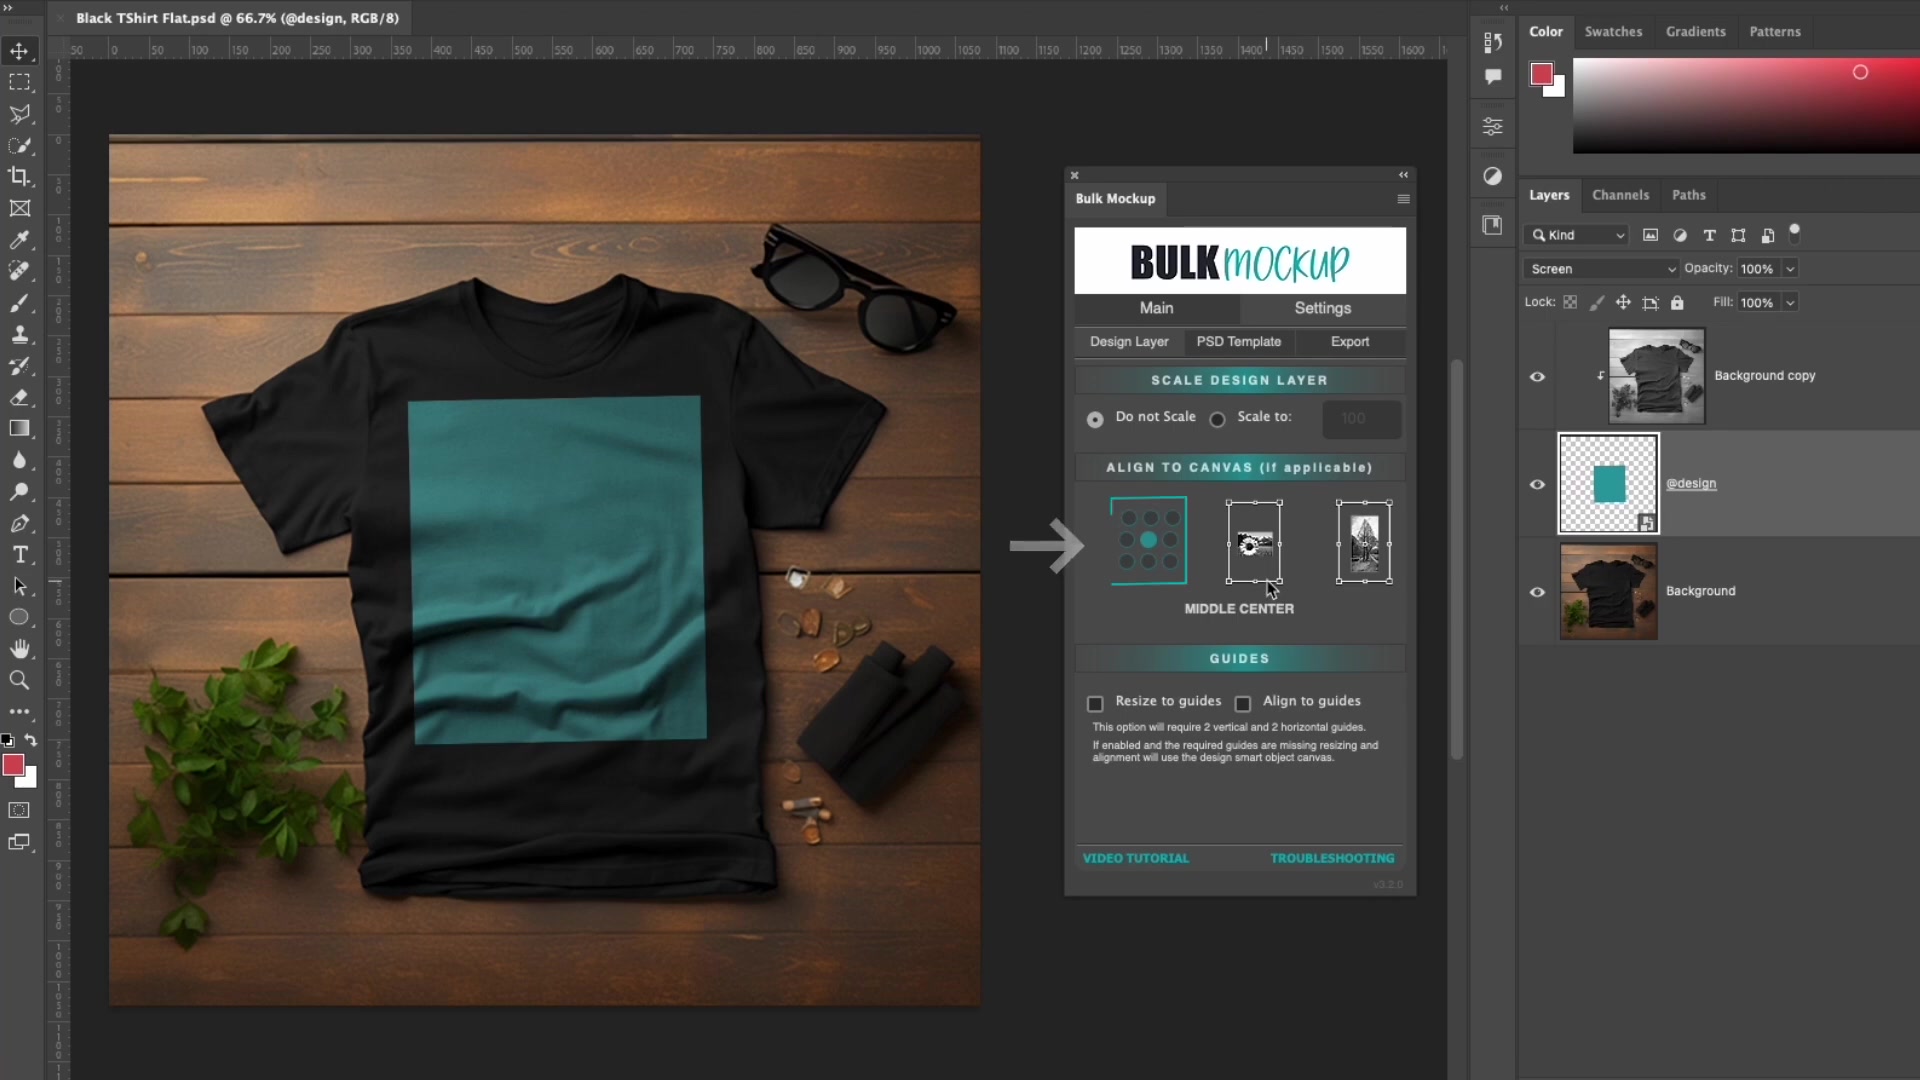
The Bulk Mockup Photoshop Plugin provides 9 anchor positions, so you can control whether the design aligns to the top, middle, bottom, left, center, or right of the smart object canvas.
Step 4: Use guides when the printable area is smaller than the full smart object canvas
Some PSD templates include extra canvas space around the real print area. In that case, canvas alignment alone may still place the design in an unexpected spot.
Open the
@designsmart object.Add four Photoshop guides around the exact area where the design should fit.
Return to the plugin and open Settings > Design Layer.
Enable Resize to guides and Align to guides.
Run a test export and review the result.
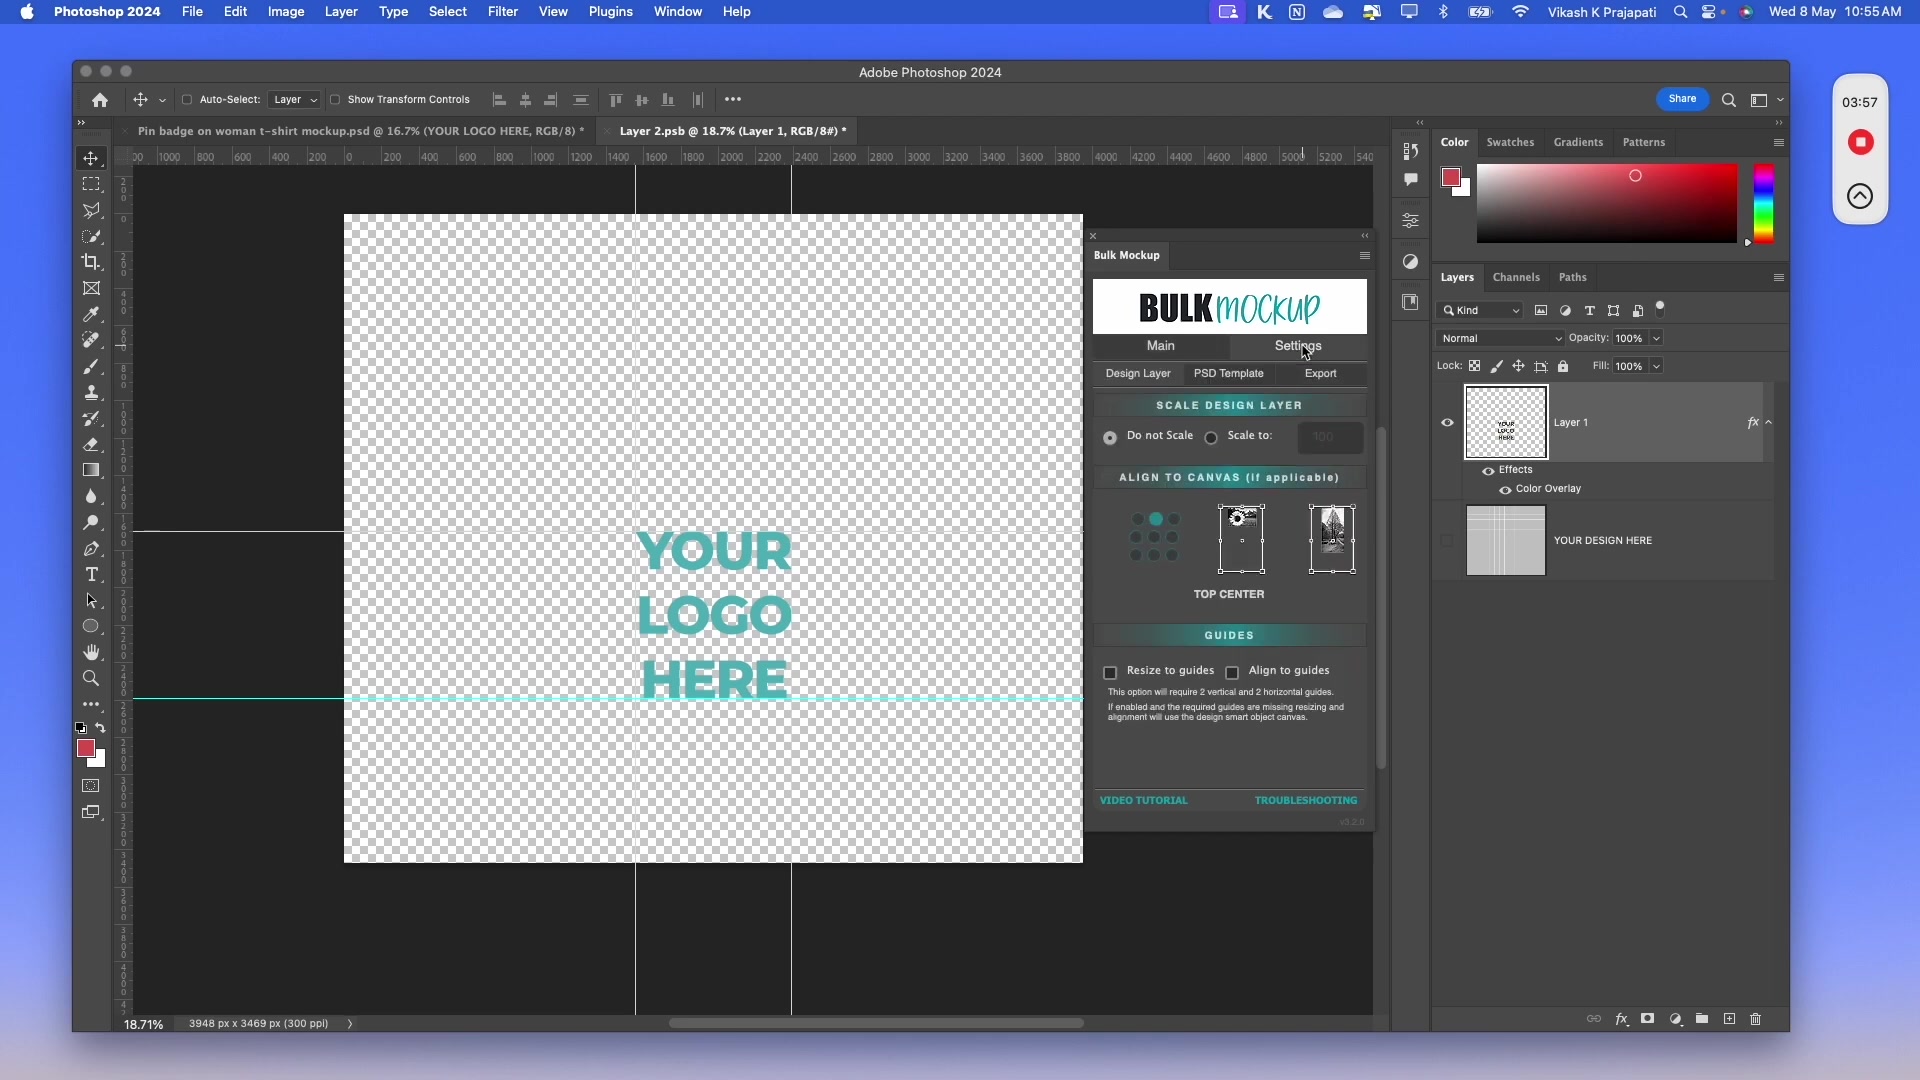
Set guides inside the smart object content, not on the main PSD canvas. The guides feature only works when the guides are inside the @design smart object.
Set Photoshop units to pixels before using guides. If the units use another measurement, guide-based placement may not behave as expected.
Step 5: Test one design before exporting the full batch
After changing resize or alignment settings, run a quick test instead of processing every design at once.
Select one PSD template and one design file.
Generate a single export.
Check whether the design now sits in the correct position.
If needed, adjust the Resize Method or Align to Canvas setting and test again.
This helps you confirm the correct setup before generating the complete batch.
Common causes of unexpected design position
The wrong smart object is being used instead of
@design.Fill canvas/Stretch is forcing the design to cover the full smart object canvas.
The design aspect ratio does not match the smart object area.
Align to Canvas is set to the wrong anchor point.
The real print area is smaller than the smart object canvas, so you need guides instead of canvas alignment.
If you need a deeper explanation of resize behavior, read How to Use Resize Methods in Bulk Mockup for Wall Art.
Watch Similar videos:
Use Cases:
Fixing off-center apparel mockups such as T-shirts and hoodies
Correcting wall art exports that sit too high, low, or stretched
Troubleshooting custom PSD templates with extra space around the print area
Need More Help?
If you have questions about export folder settings or encounter any issues, contact the Bulk Mockup support team at [email protected].