
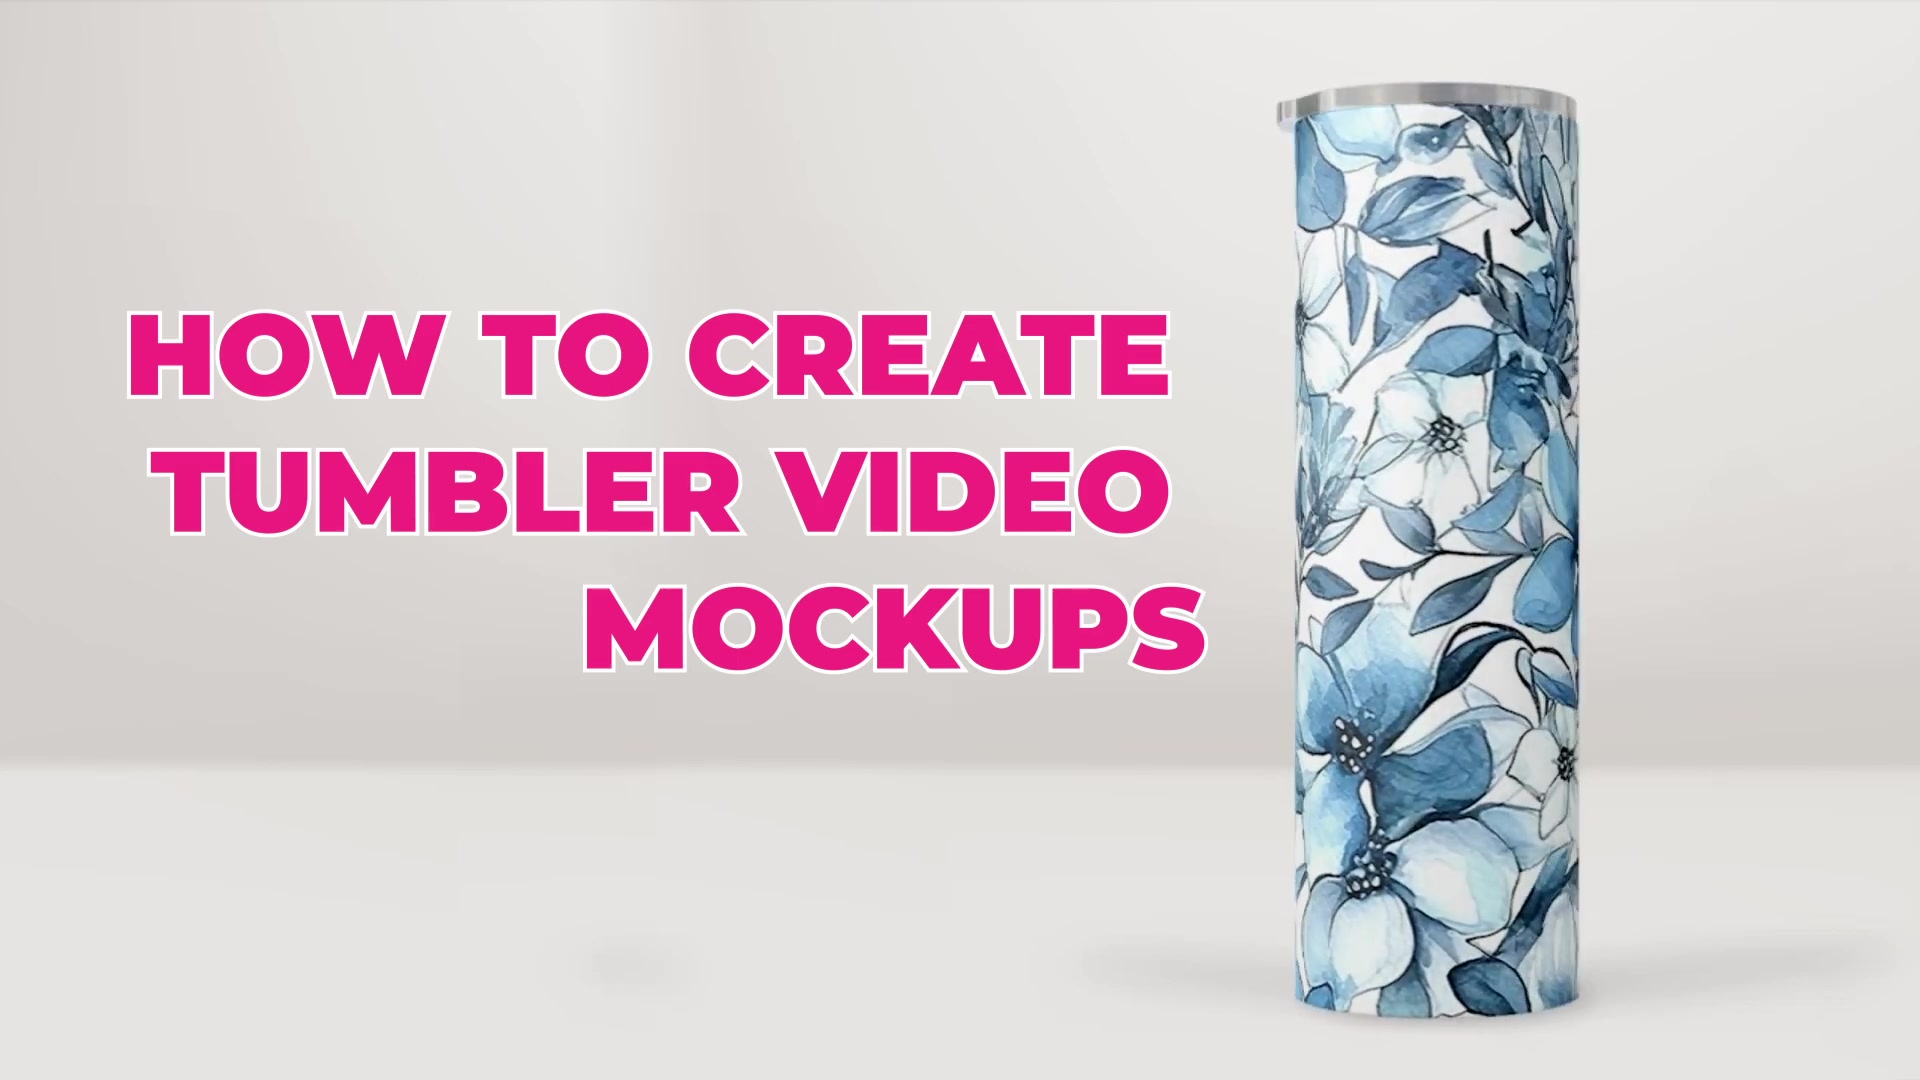
How to Create Tumbler Video Mockups for Etsy
Use this workflow to create tumbler video mockups for Etsy with a Photoshop Smart Object template and the Bulk Mockup Photoshop Plugin. You will first test one template in Photoshop, then batch-export multiple MP4 videos from the same setup.
Before you start, make sure you are using Adobe Photoshop. Bulk Mockup’s website states that the plugin works with Adobe Photoshop CC 2022 or later, and its FAQ says template compatibility depends on Smart Object layers.
What you'll need
Adobe Photoshop
The Bulk Mockup Photoshop Plugin installed
A tumbler video mockup PSD template that uses Smart Objects
Your design files in PNG or JPG format
Choose a Photoshop PSD template with Smart Objects, not a Canva template. Smart Object templates are the compatible option for the Bulk Mockup Photoshop Plugin workflow.
Step 1: Choose a tumbler video mockup template
Start by getting a tumbler video mockup PSD template. The key requirement is that the template must use Smart Objects, because Bulk Mockup works with Smart Object-based mockups.
Search for a tumbler video mockup template
Check that the download includes a PSD file
Confirm the template uses Smart Object layers for the design area
If you are buying a template from Etsy, searching for tumbler video mockup is a practical place to start.
Step 2: Open the PSD in Photoshop and enable Timeline
Open the PSD template in Photoshop. Because this is a video mockup, you also need Photoshop’s Timeline panel enabled so you can preview the animation and render an MP4 file.
Open the tumbler PSD file in Photoshop
Go to Window > Timeline
Confirm the Timeline panel appears at the bottom of the workspace
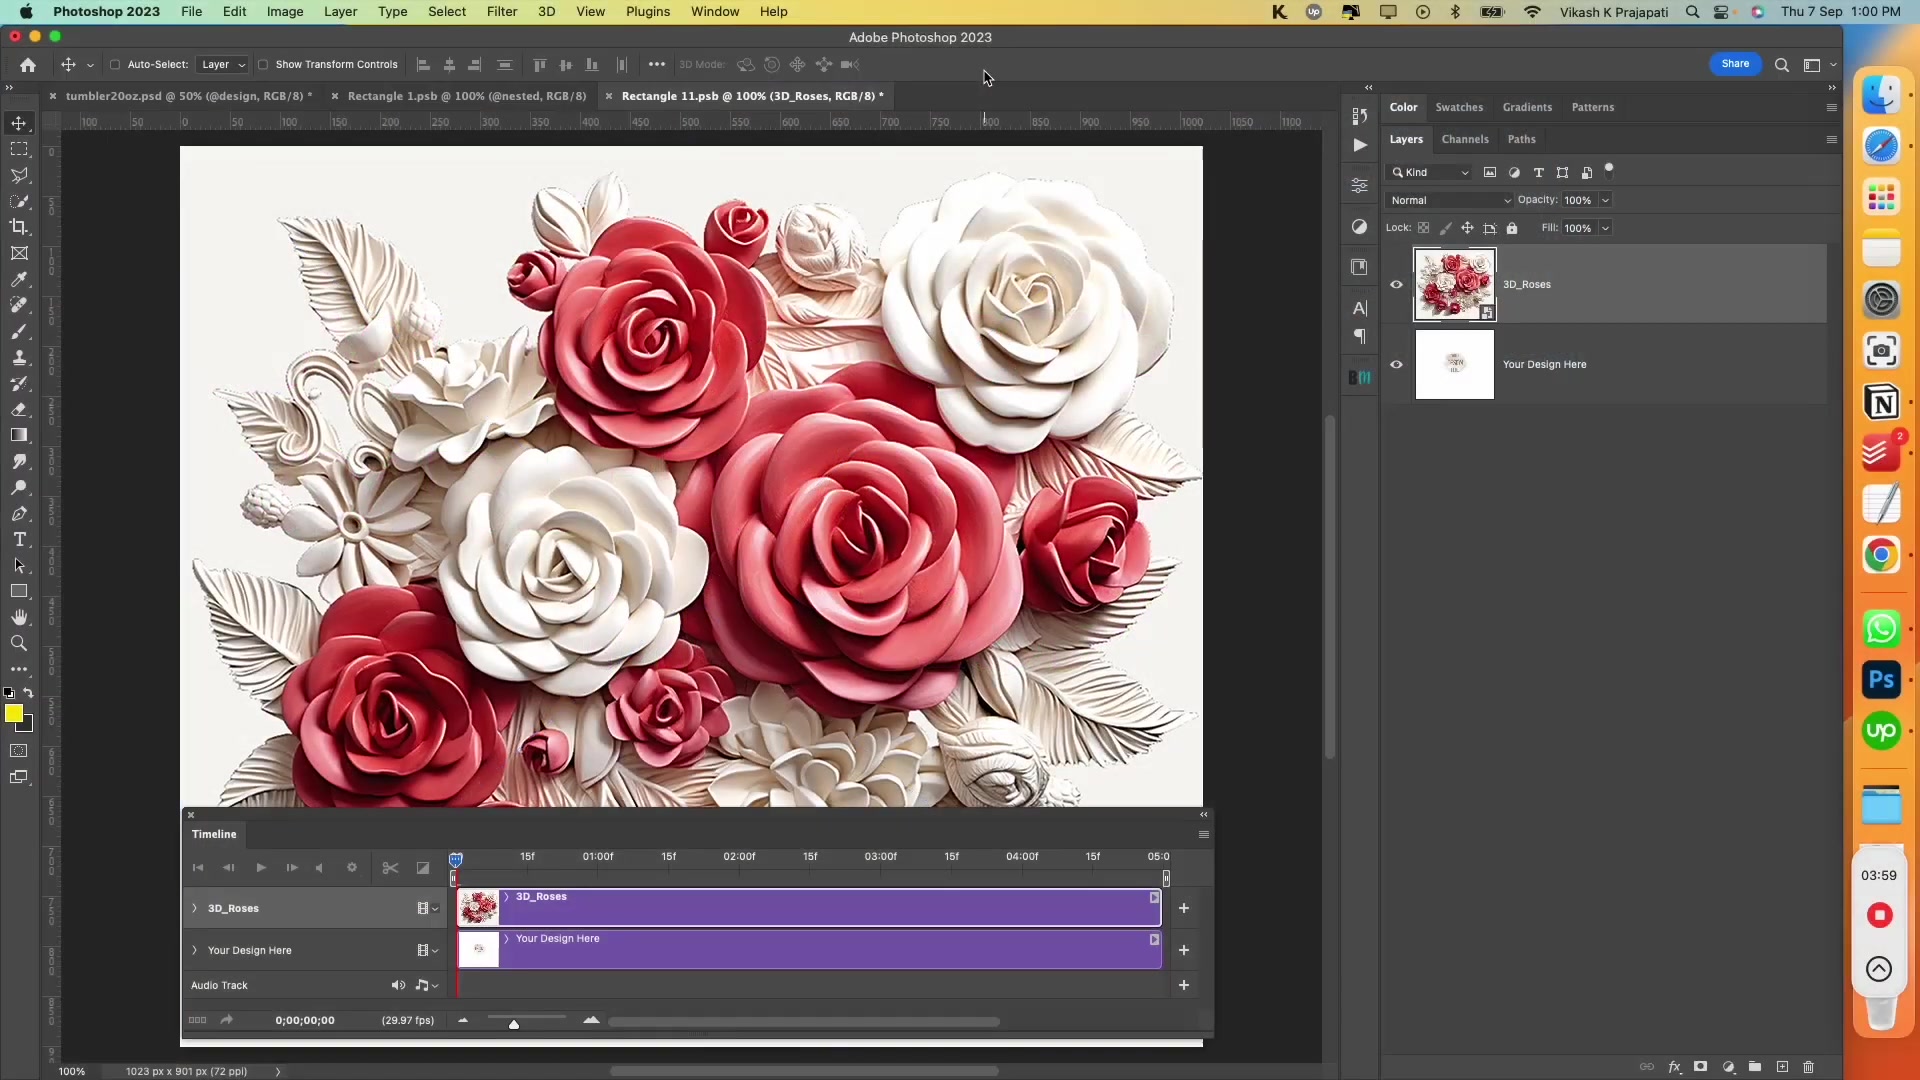
Step 3: Replace the template design inside the Smart Objects
Many tumbler templates use nested Smart Objects. That means you may need to open one Smart Object, then open another Smart Object inside it before placing your artwork.
In the Layers panel, find the design placeholder layer such as @design or a similar name
Double-click the Smart Object to open it
If another Smart Object opens inside it, double-click that one too
Place your artwork with File > Place Embedded
Resize and position the artwork as needed
Save and close the inner Smart Object
Save and close the outer Smart Object
Save and close every Smart Object tab you opened. If you skip one level, the final tumbler mockup will not update correctly.
When you return to the main PSD, your design should appear on the tumbler.
Step 4: Preview the tumbler animation
Use the Timeline panel to review the motion before exporting. This helps you catch placement or scaling issues before you batch-process multiple designs.
Press play in the Timeline panel
Check that the design stays aligned throughout the animation
Adjust the artwork in the Smart Object again if needed
Step 5: Export one test video from Photoshop
Render one sample video first. This lets you confirm the template, timing, and design placement before running a larger batch in the plugin.
Go to File > Export > Render Video
Choose your export location
Use H.264 format
Click Render
The exported file will be an MP4 video.
Step 6: Adjust the speed for Etsy if needed
The existing Bulk Mockup tumbler workflow notes Etsy’s 15-second listing video limit. If your rendered video is shorter than you want, you can slow the animation down inside Photoshop before running your batch export.
In the Timeline panel, locate the video layer
Right-click the layer and select Speed
Lower the speed percentage to increase the duration
Preview the result in the Timeline again
Test the timing on one export before you generate a full batch. It is faster to correct the template once than to re-export every finished video.
Step 7: Organize folders for batch processing
Once your template looks right, prepare the folders you will use inside the Bulk Mockup Photoshop Plugin.
Create a folder for your PSD template
Create a folder for all design files
Create a folder for finished exports
Keeping these folders separate makes it easier to batch process many tumbler designs at once.
Step 8: Batch create tumbler video mockups with the Bulk Mockup Photoshop Plugin
Now use the plugin to automate the rest of the work.
In Photoshop, go to Plugins > Bulk Mockup
Select your PSD folder
Select your designs folder
Select your export folder
Set the resize option to Fill, Stretch Canvas
Set the export format to MP4
Click Start Generating
The Bulk Mockup Photoshop Plugin will process each design file and export individual tumbler video mockups to your export folder.
After the batch finishes, open your export folder and review a few MP4 files to confirm the design placement and timing look correct across the full set.
Troubleshooting tips
If the design does not update, reopen the Smart Objects and make sure you saved every level before closing
If the plugin does not process the template correctly, verify that the PSD uses Smart Objects
If the result looks stretched, test the resize option again on one sample export before running the full batch
If you need help organizing exports, read How to Organise Exports with Export Folder Settings
Watch Similar videos:
Use Cases:
Create Etsy listing videos for tumbler designs
Batch export multiple tumbler videos for a new product launch
Test different tumbler artwork variations with one PSD template
Need More Help?
If you have questions about export folder settings or encounter any issues, contact the Bulk Mockup support team at [email protected].